When Lego announced a replacement for the retired 10261 Roller Coaster I knew immediately I'd be buying one. I had wanted the old set for years but never had the space to display it, and when I finally did have space, the set was retired.
I finally got my hands on the new 10303 Loop Coaster at the beginning of July and I was so excited to build it that I live tweeted the process with lots of photos.
I've collected all those tweets here for better preservation of the build diary.
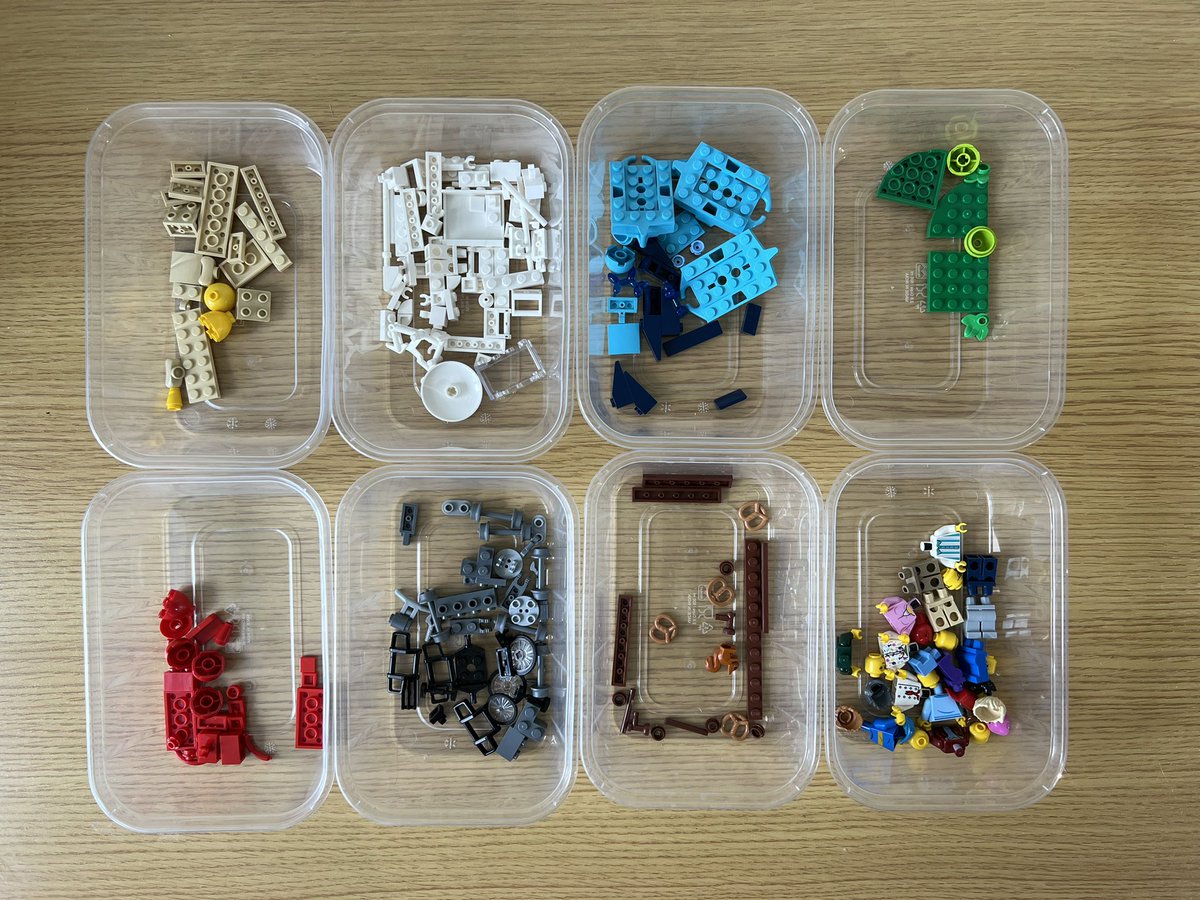
It all started with me tipping out all the bags onto the floor and tweeting a before and after.
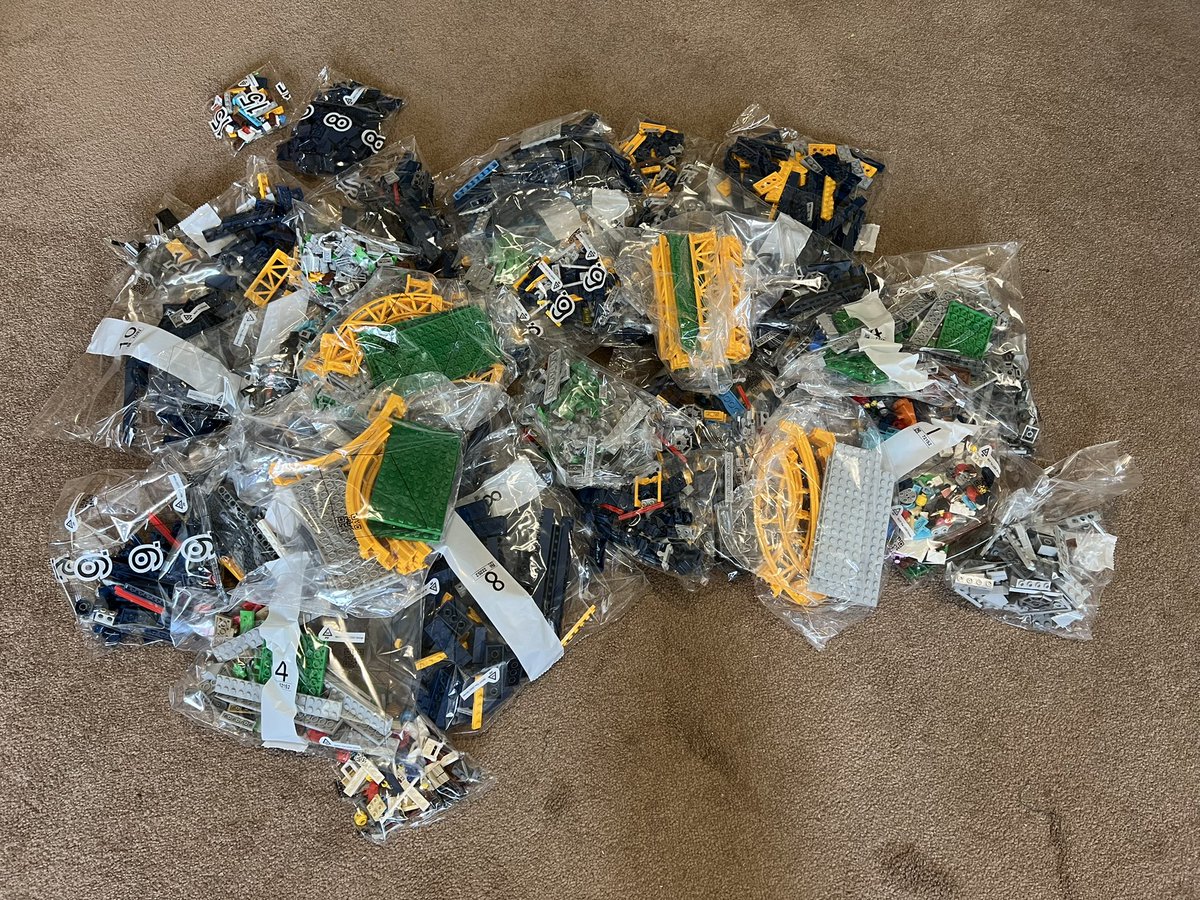
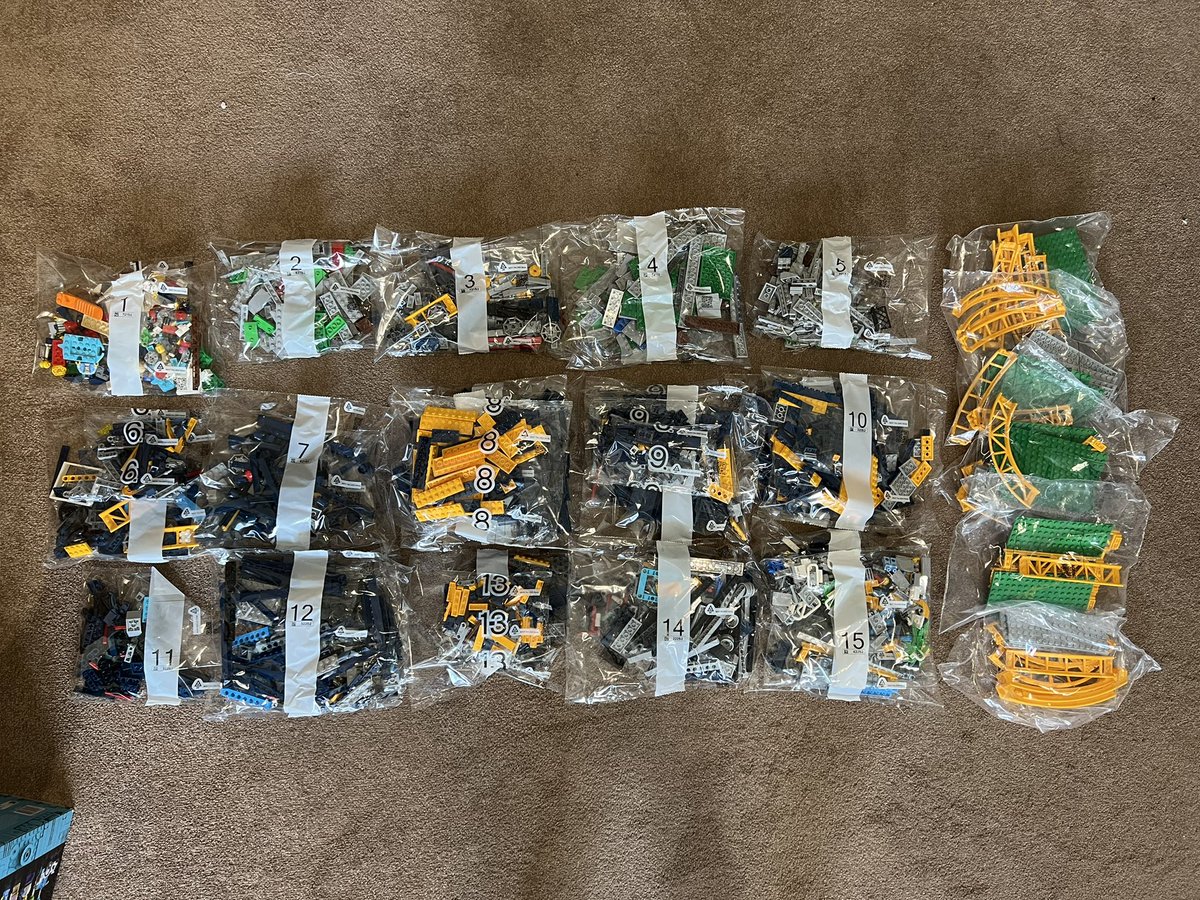
From there, it turned into a spontaneous thread with over 100 tweets. I've replicated the thread mostly as-is below.
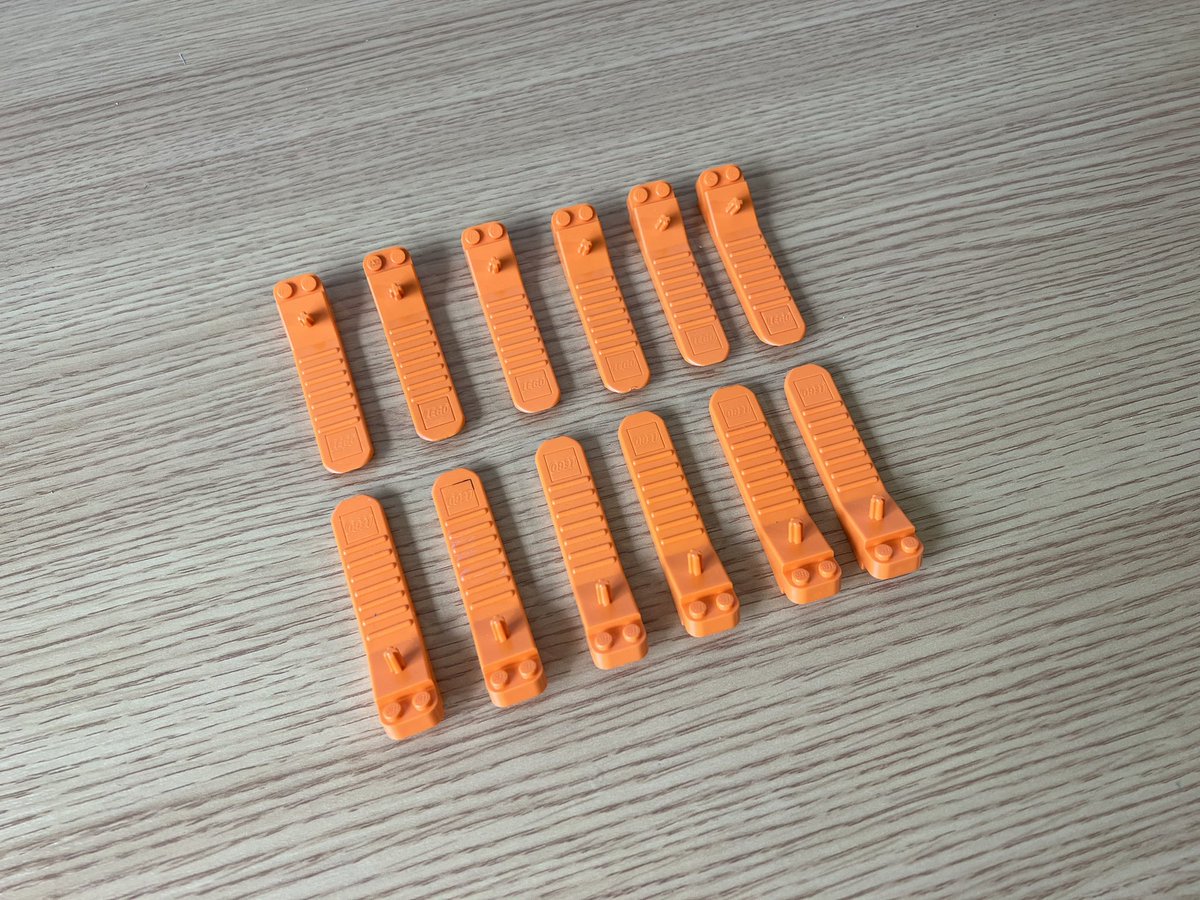
Another brick separator for the collection.
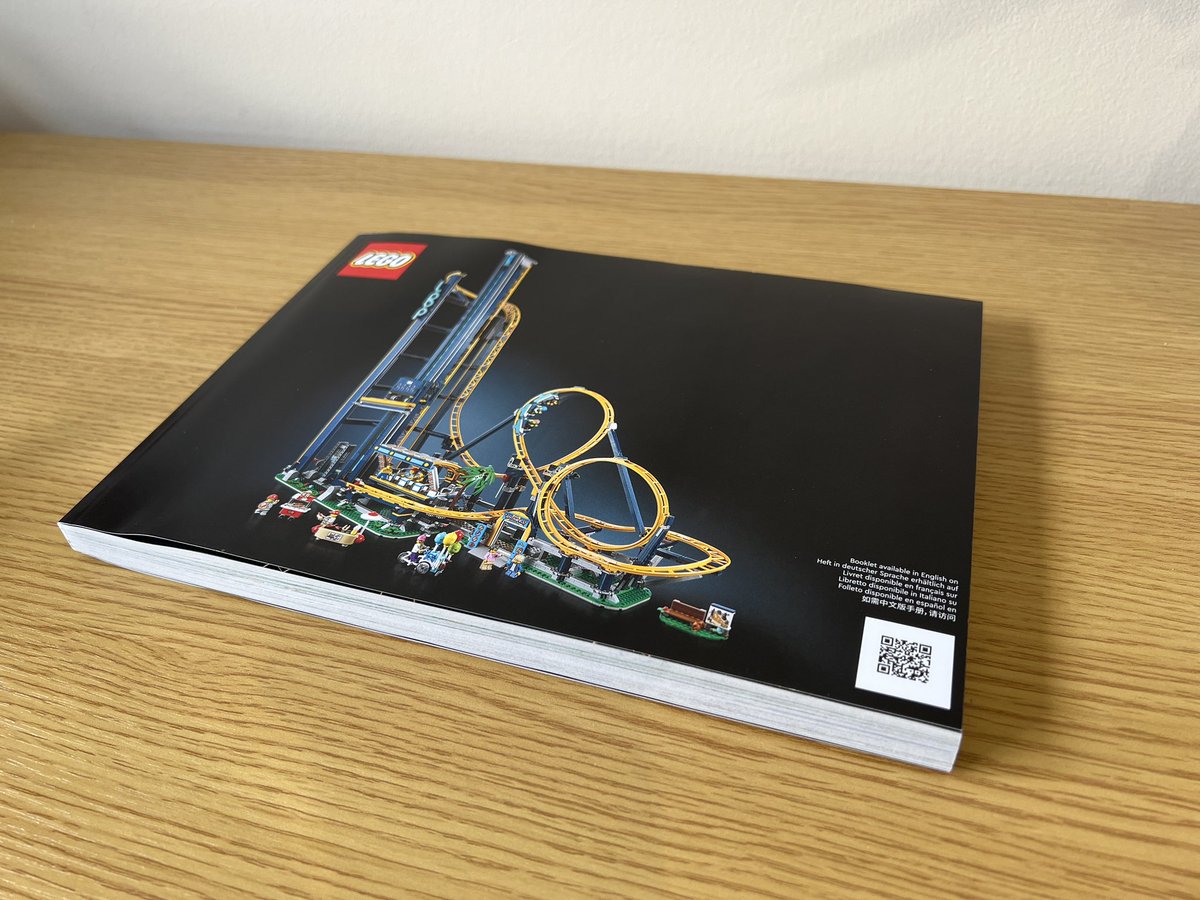
The instruction book has 454 pages of goodness.
We’re at a theme park so of course a wide array of colours to work with.
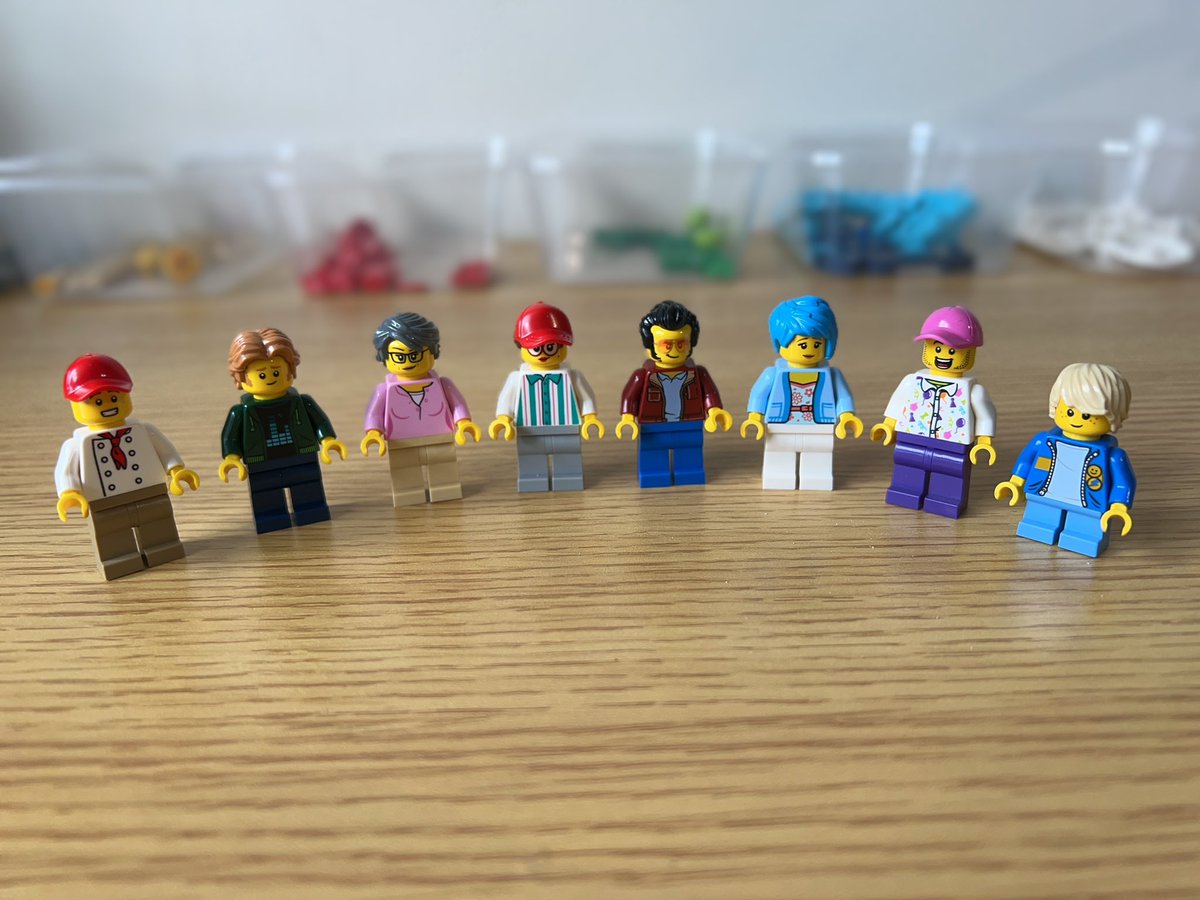
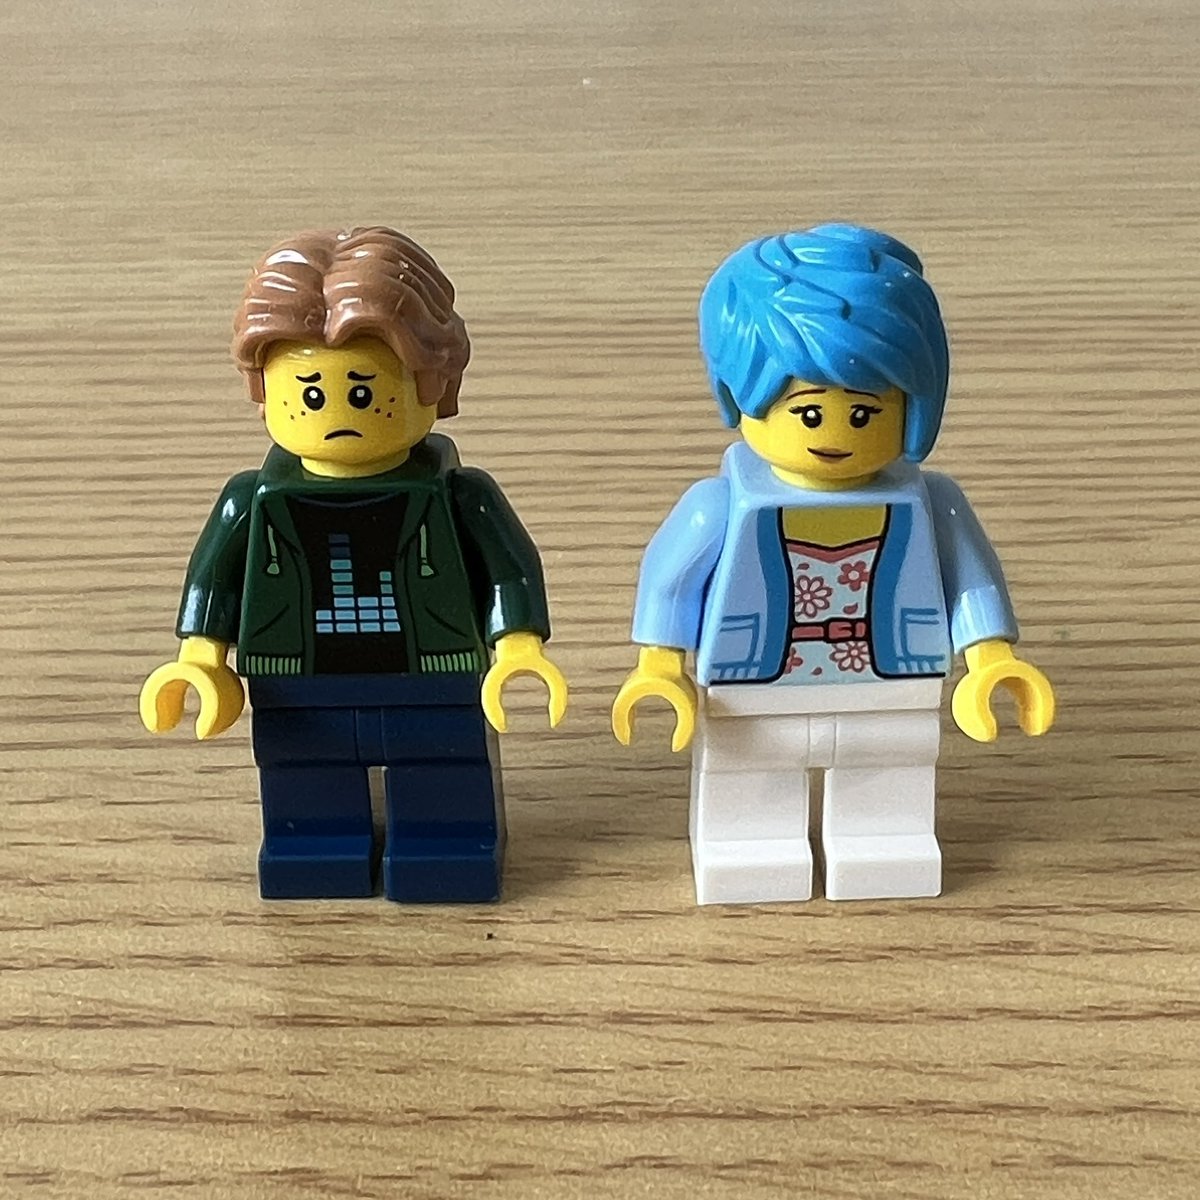
The gang’s all here.
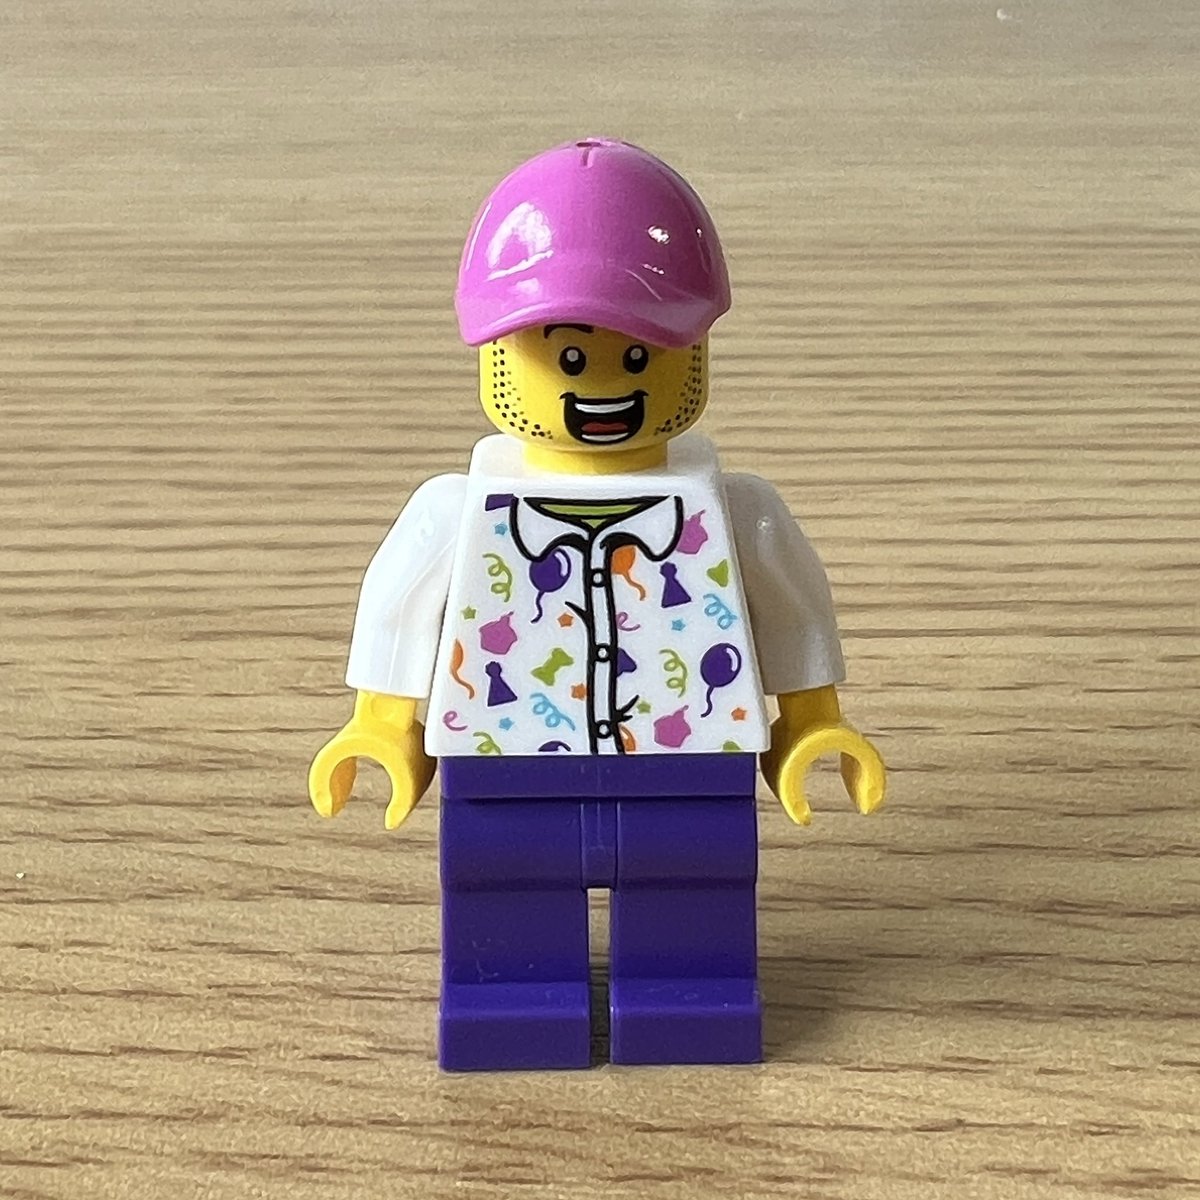
Where can I get this shirt?
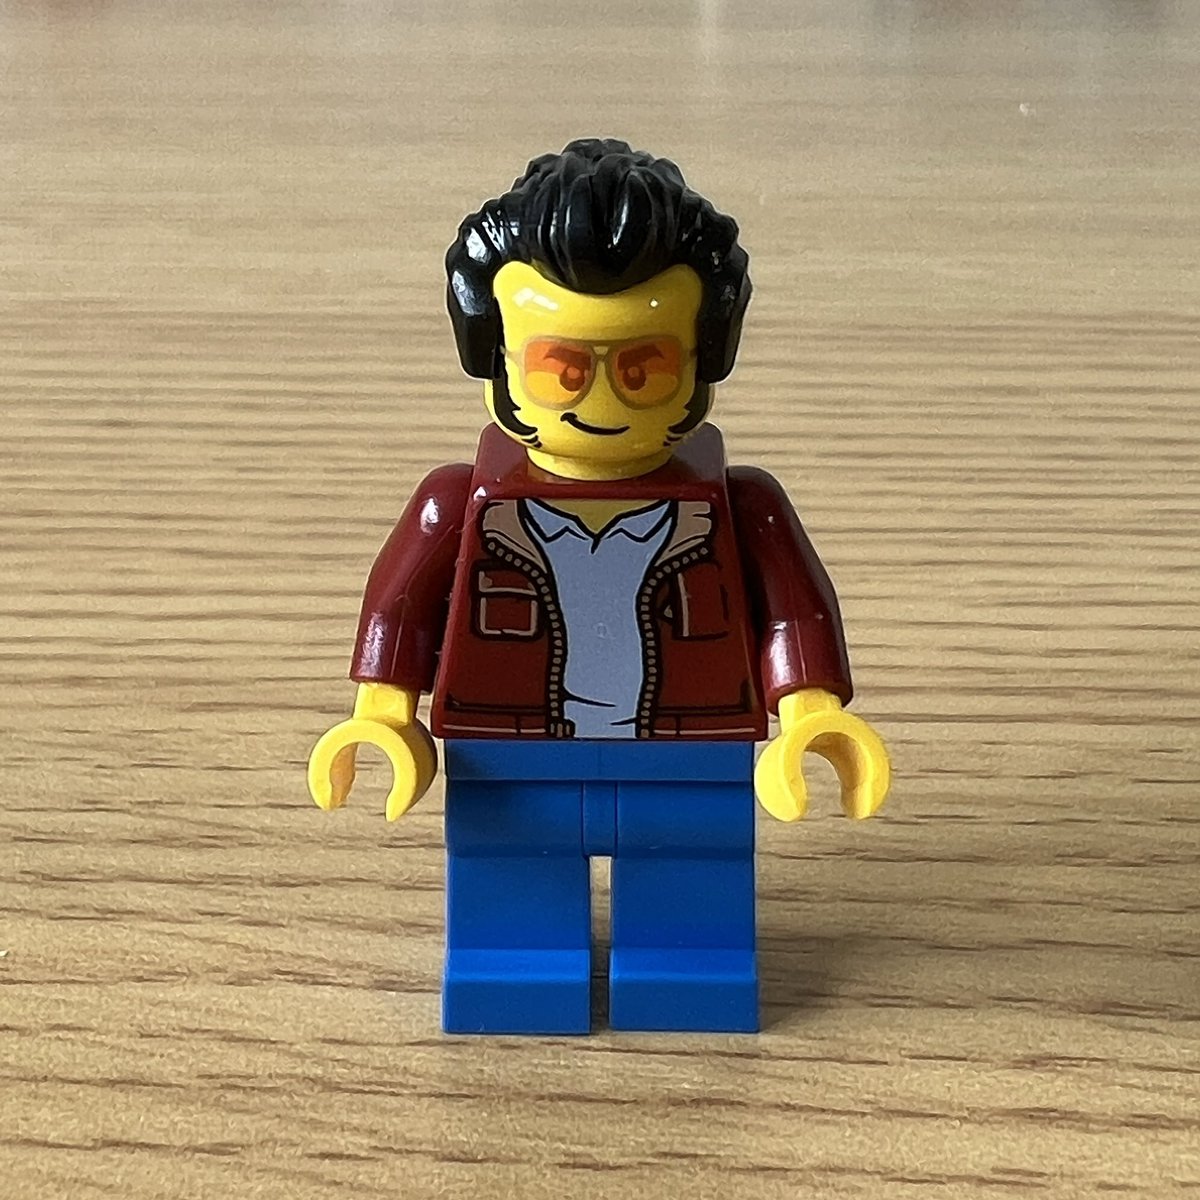
Pretty sure this guy is a chaser…
Congrats on your transition timeline, total glow up!
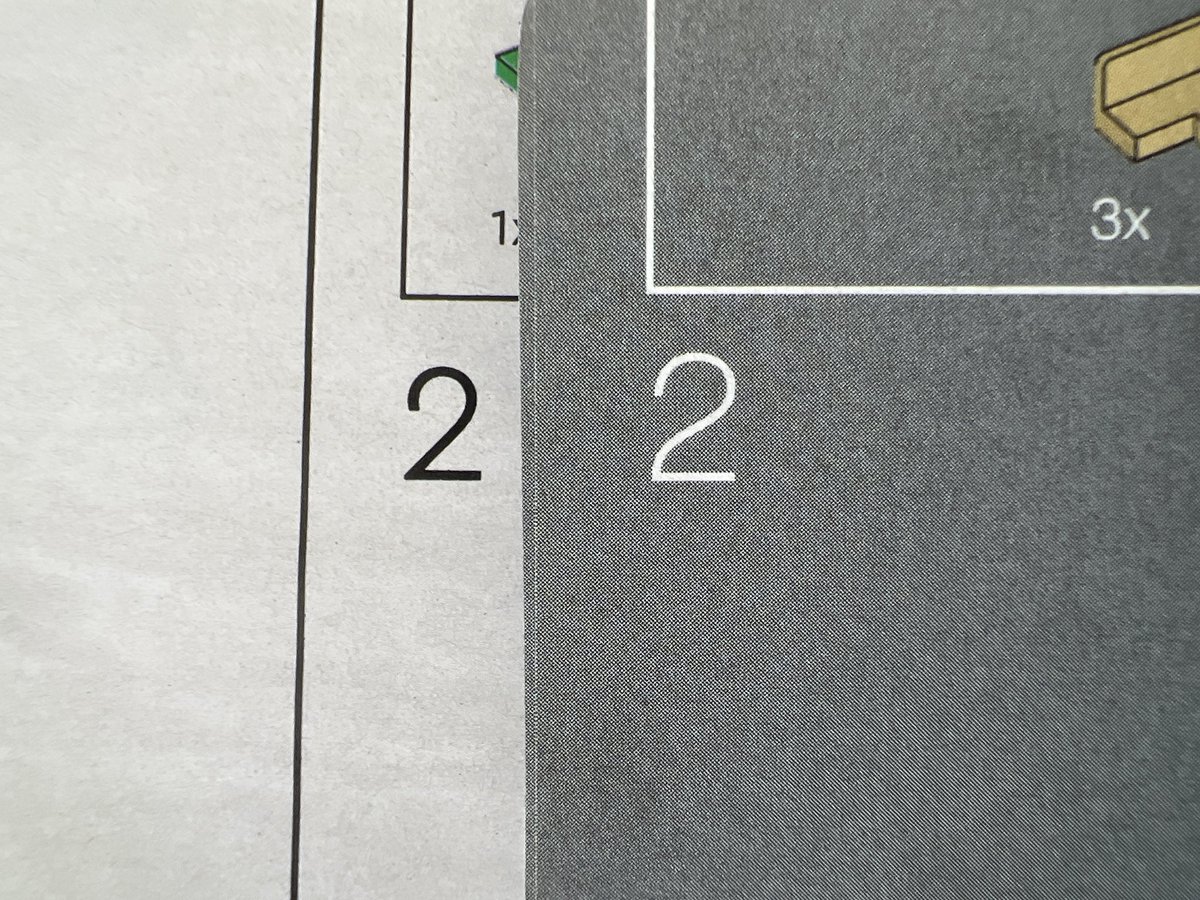
As soon as I turned the page in the instructions, I spotted immediately that the typeface Lego uses has changed. There's a distinct difference in the shape of the number 2. The one on the left is the newer one.
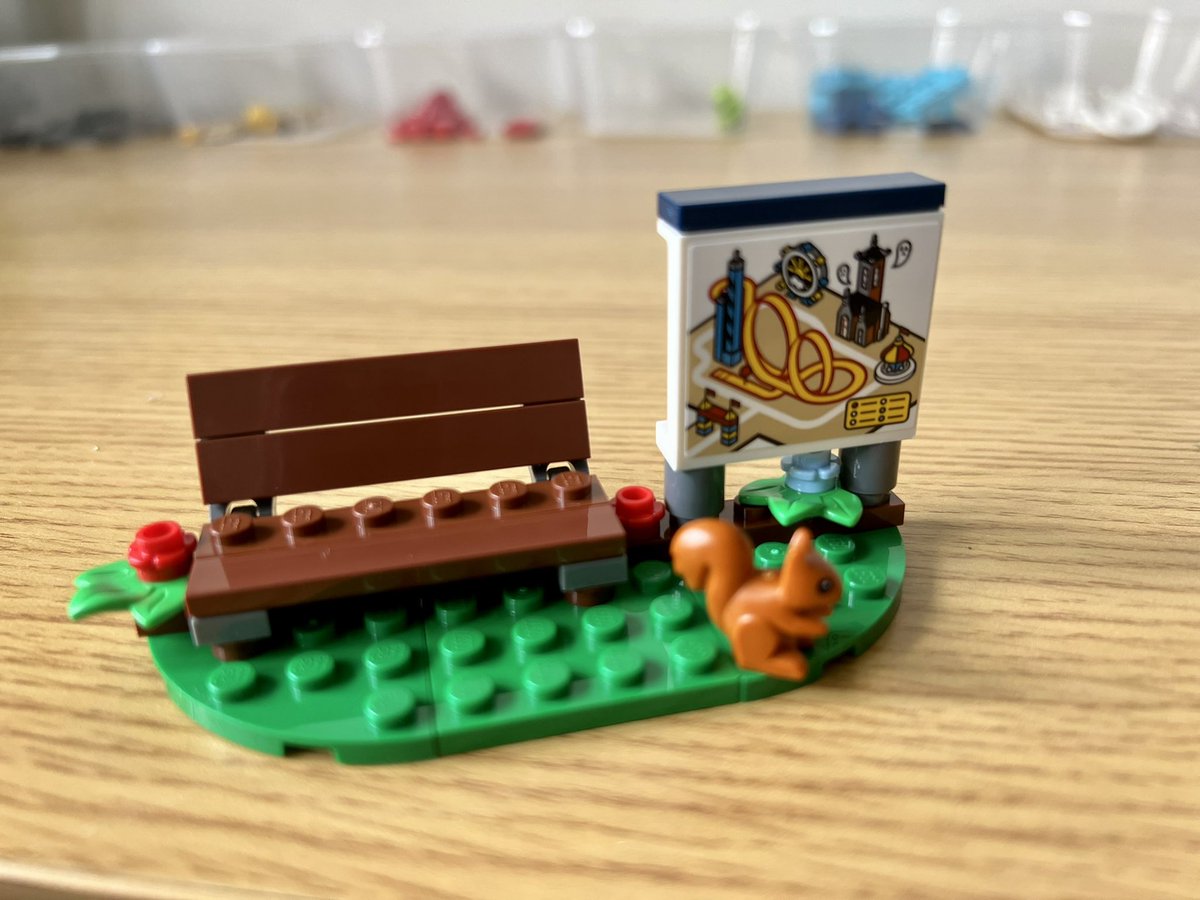
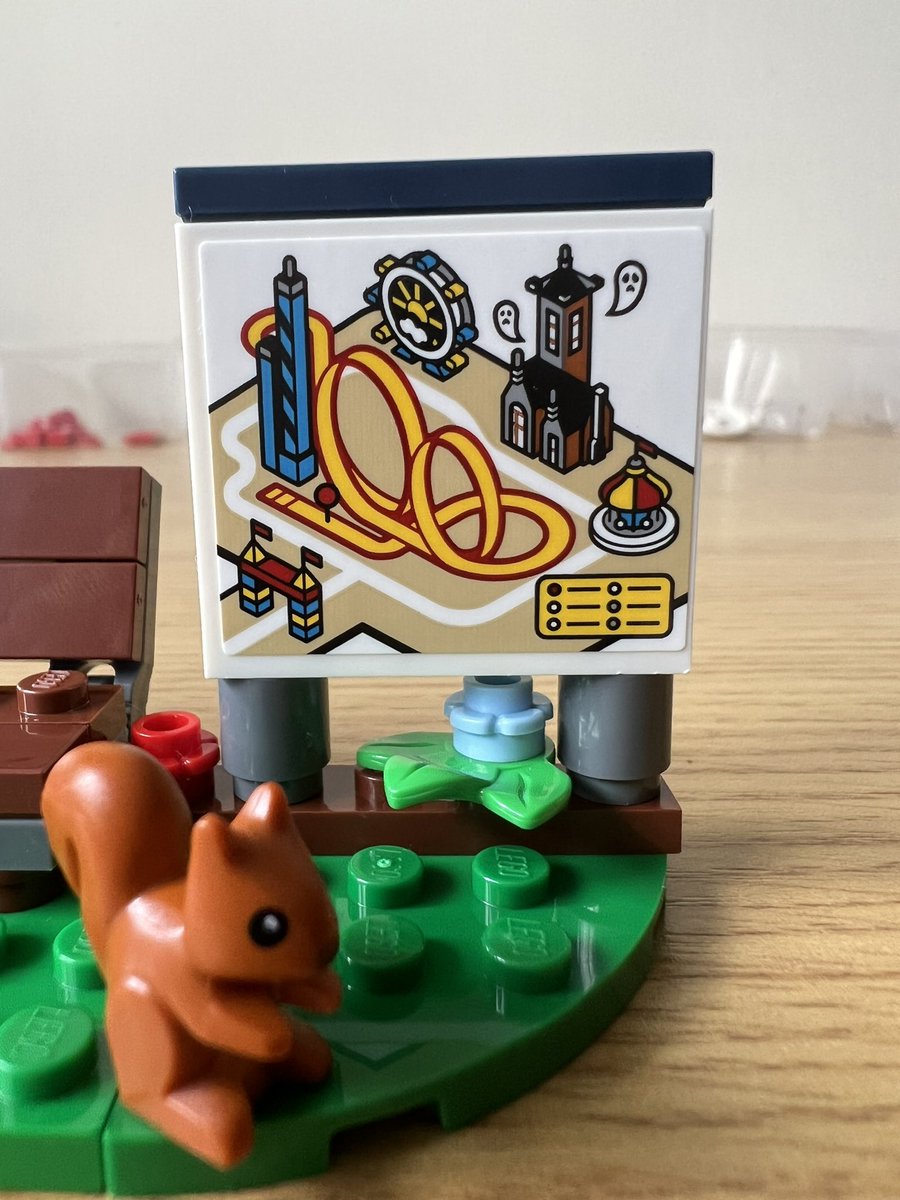
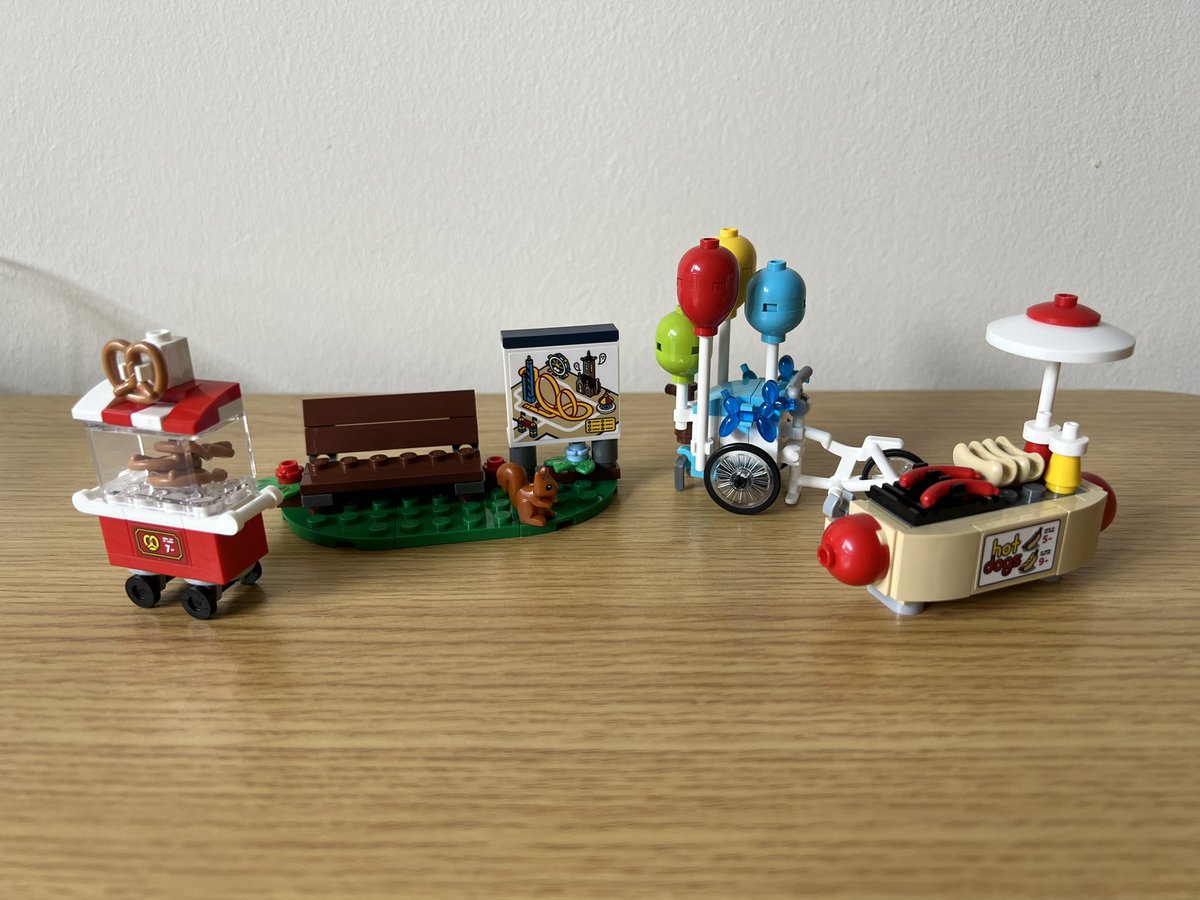
Adorable squirrel and a lovely map with references to older amusement park sets.
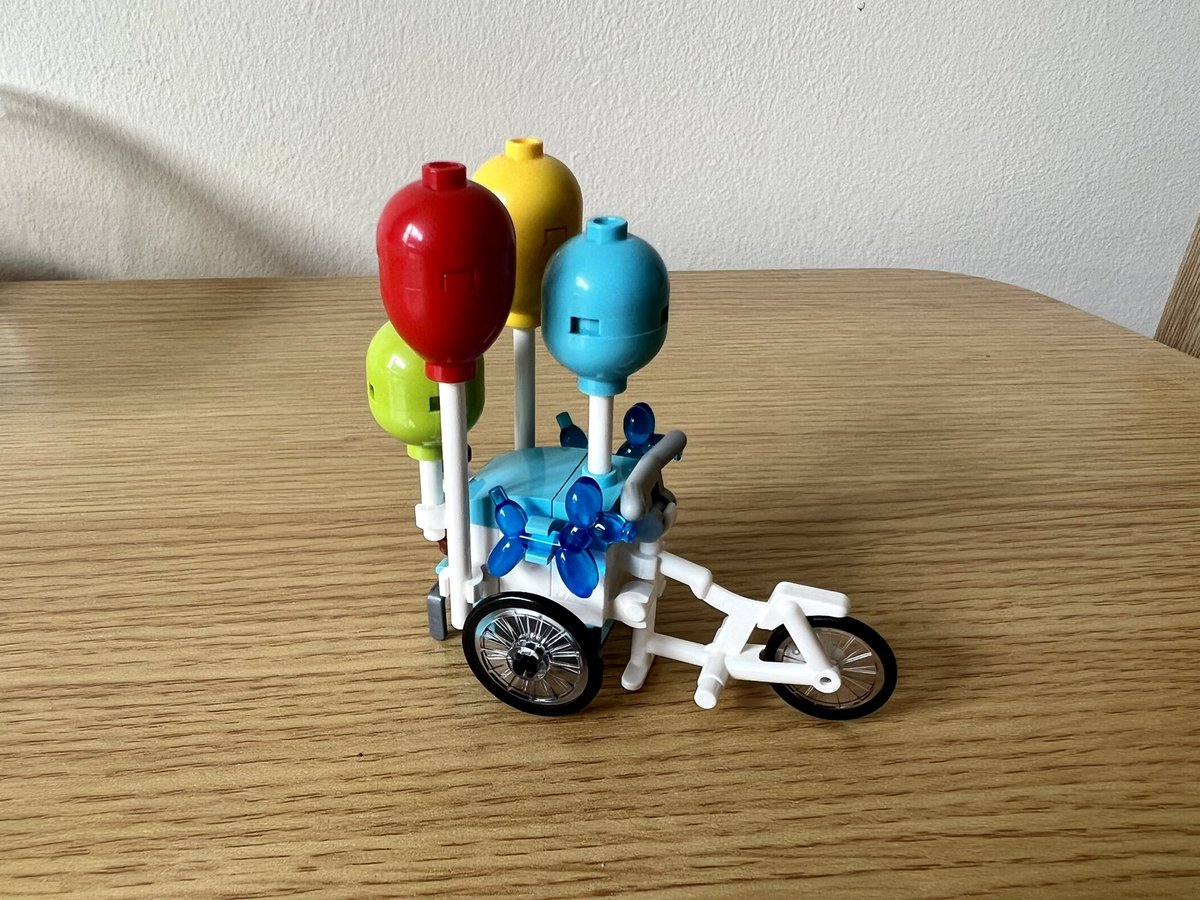
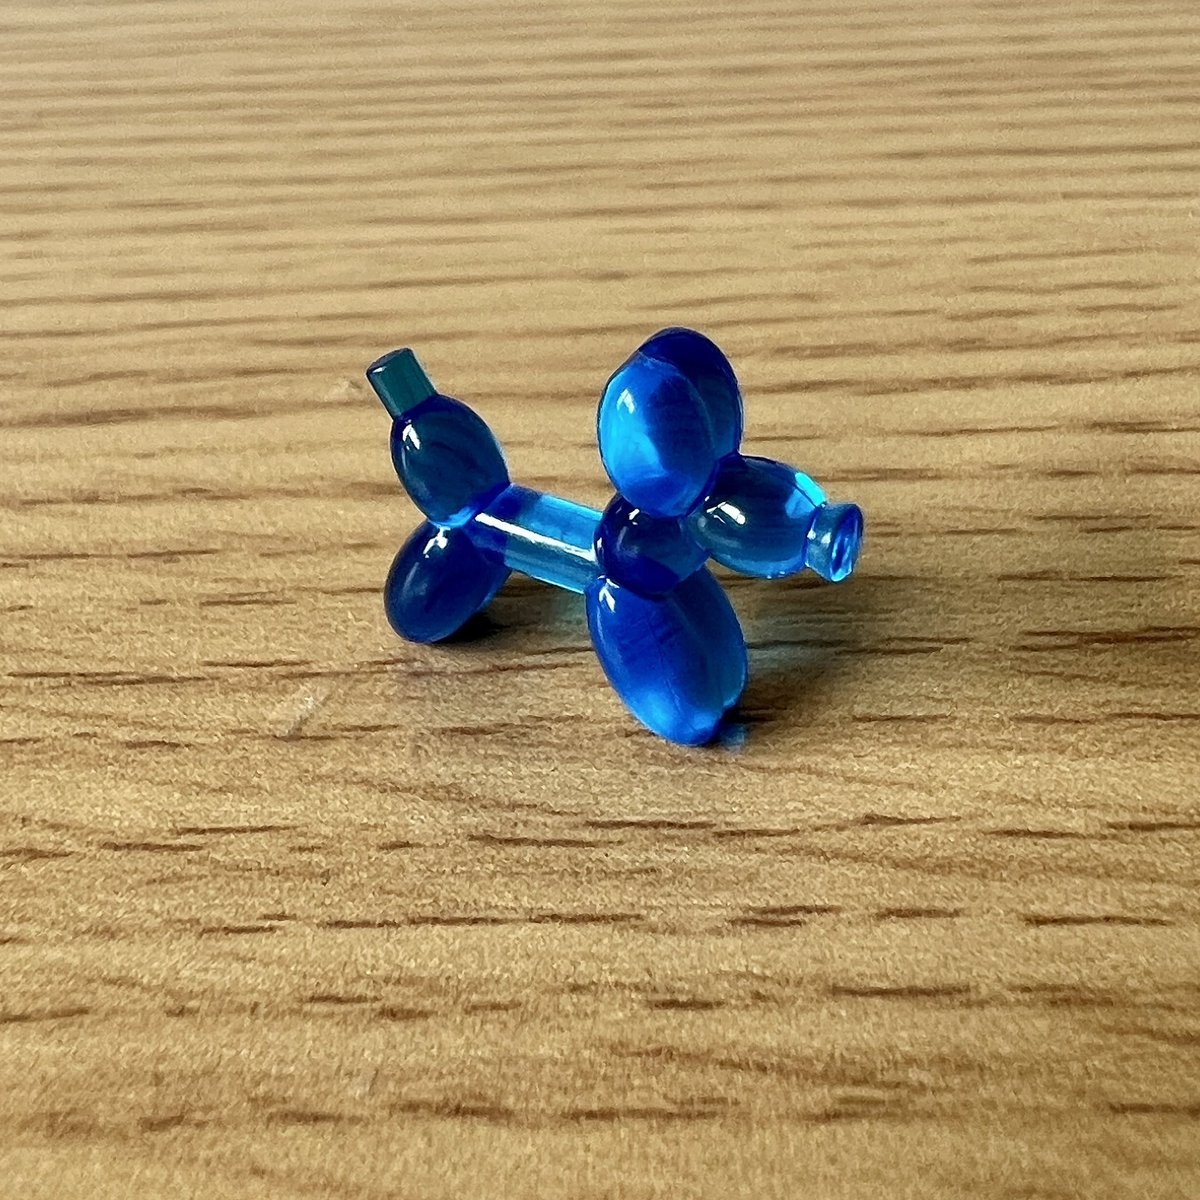
I need to find more of these balloon dogs to make earrings.
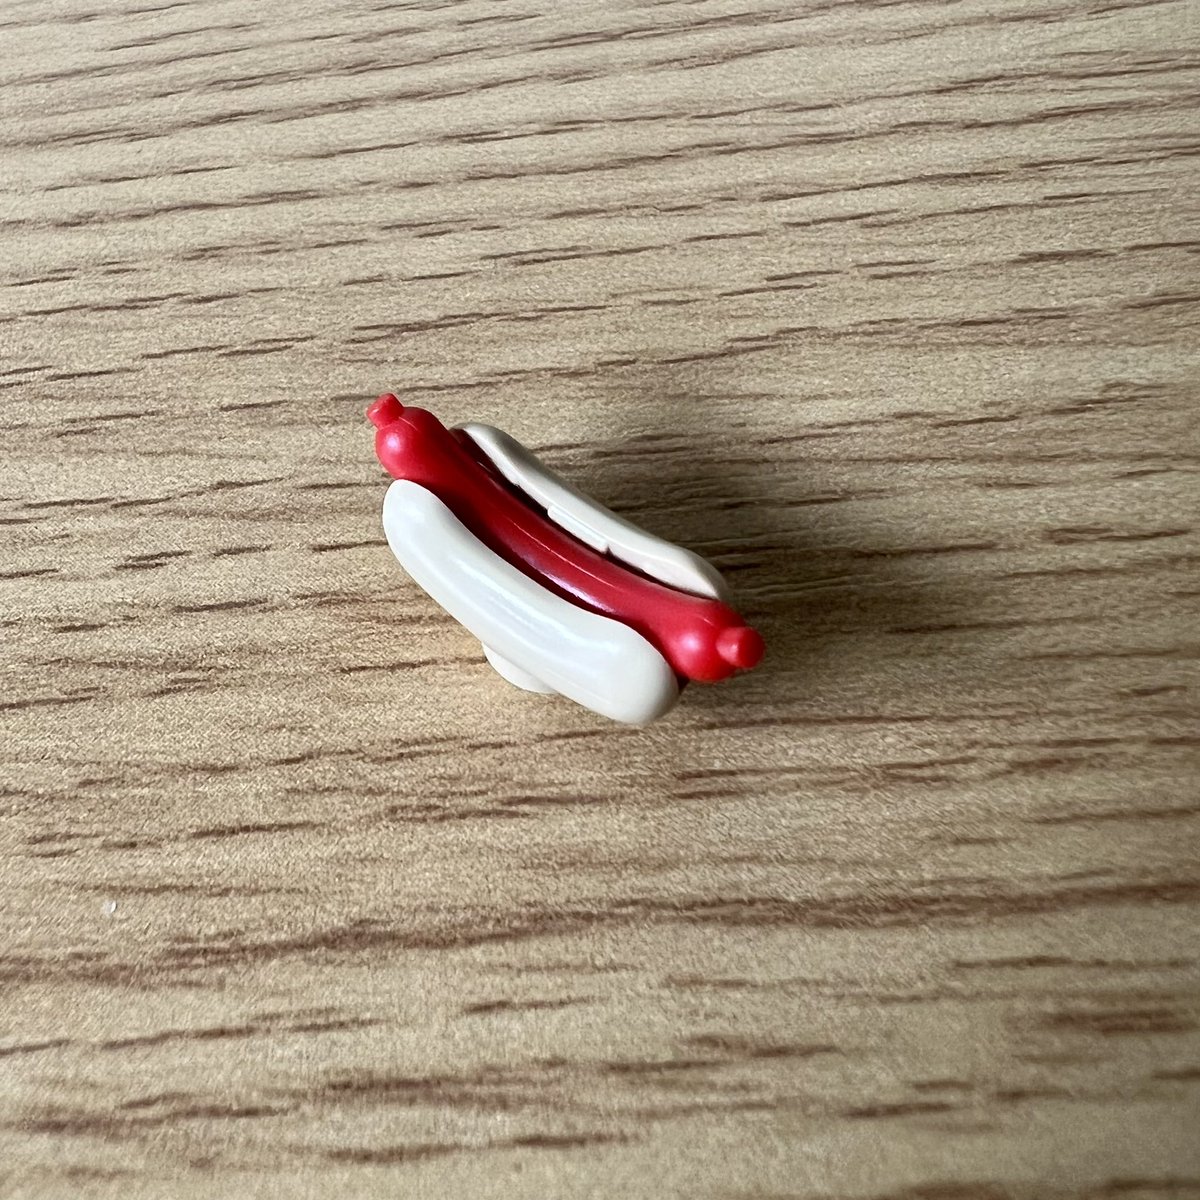
I am also desperate for lego hot dog earrings.
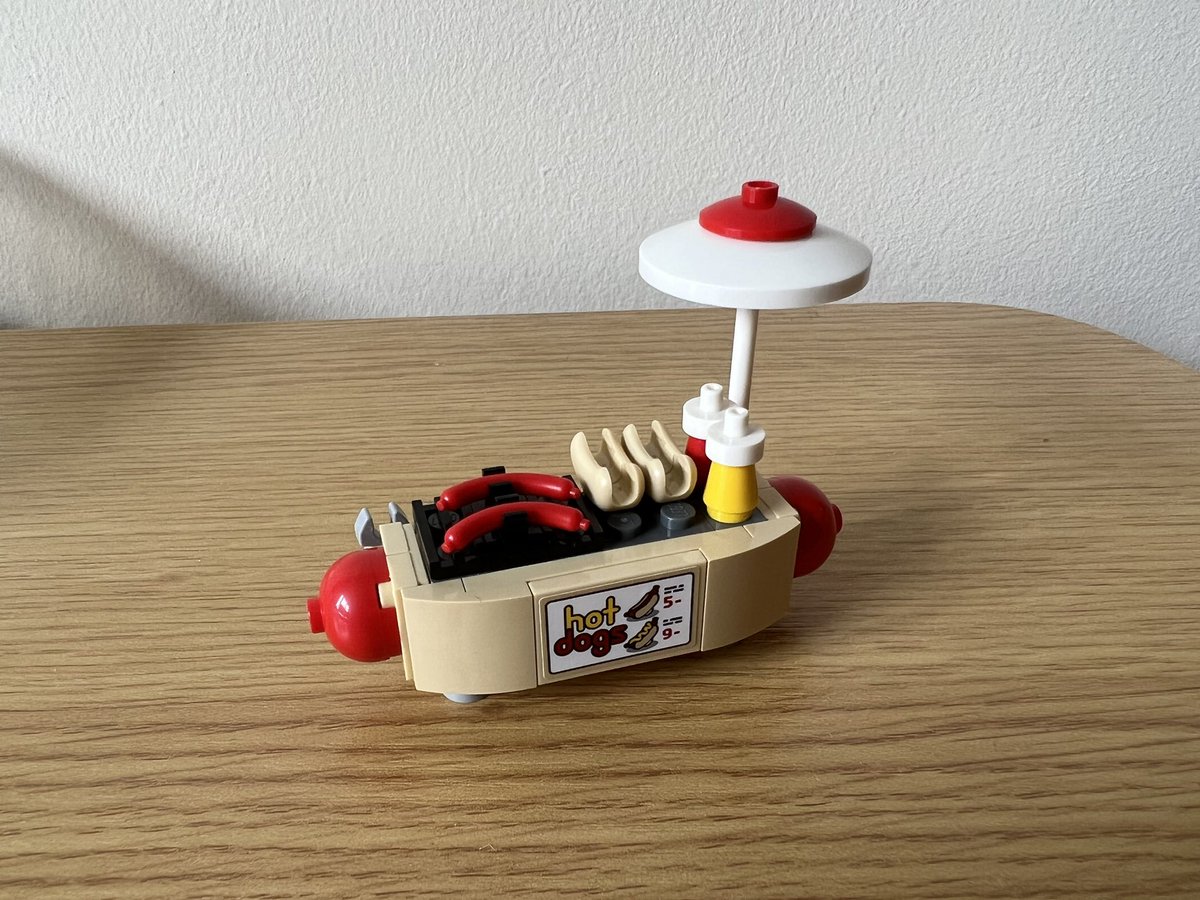
Who’s paying 4 currencies just for mustard?
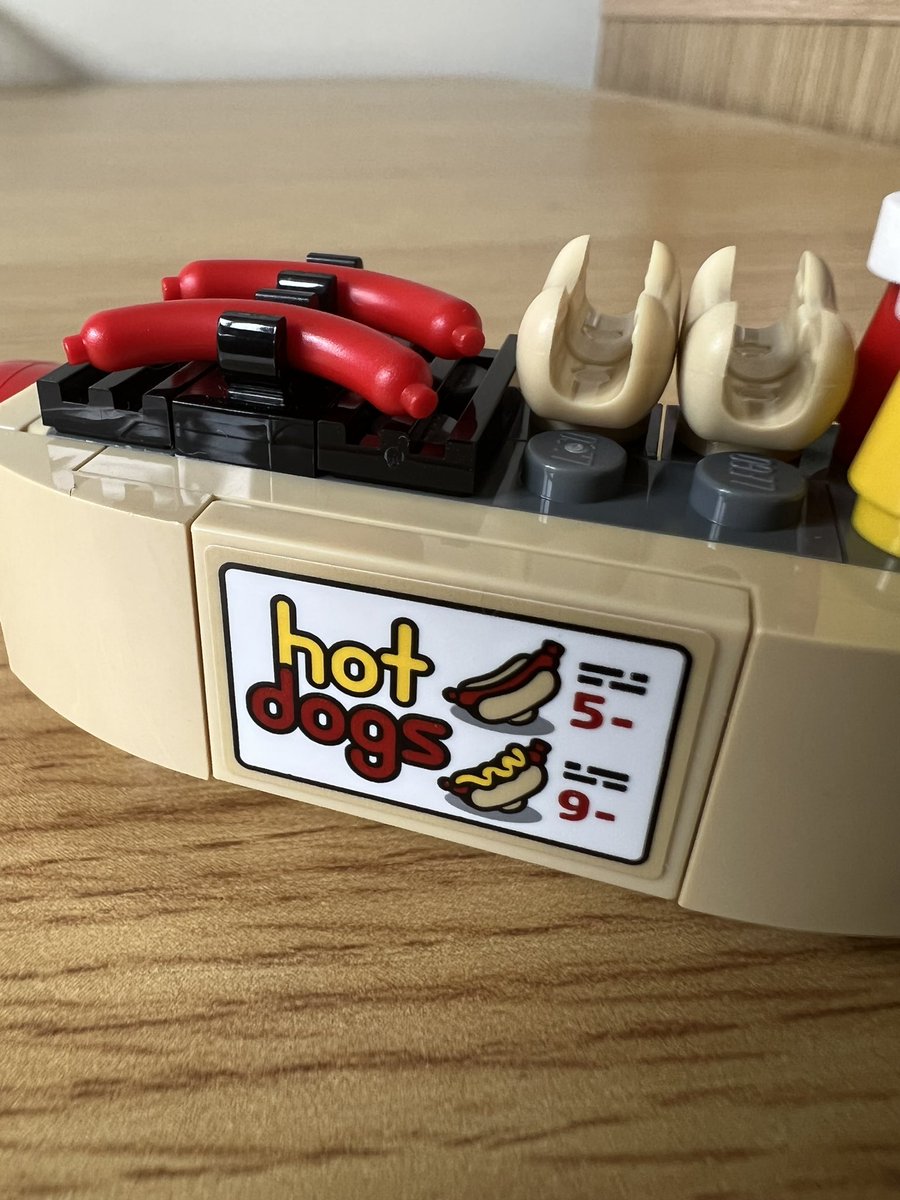
And if a whole hot dog costs 5 how can they justify 7 for a pretzel??
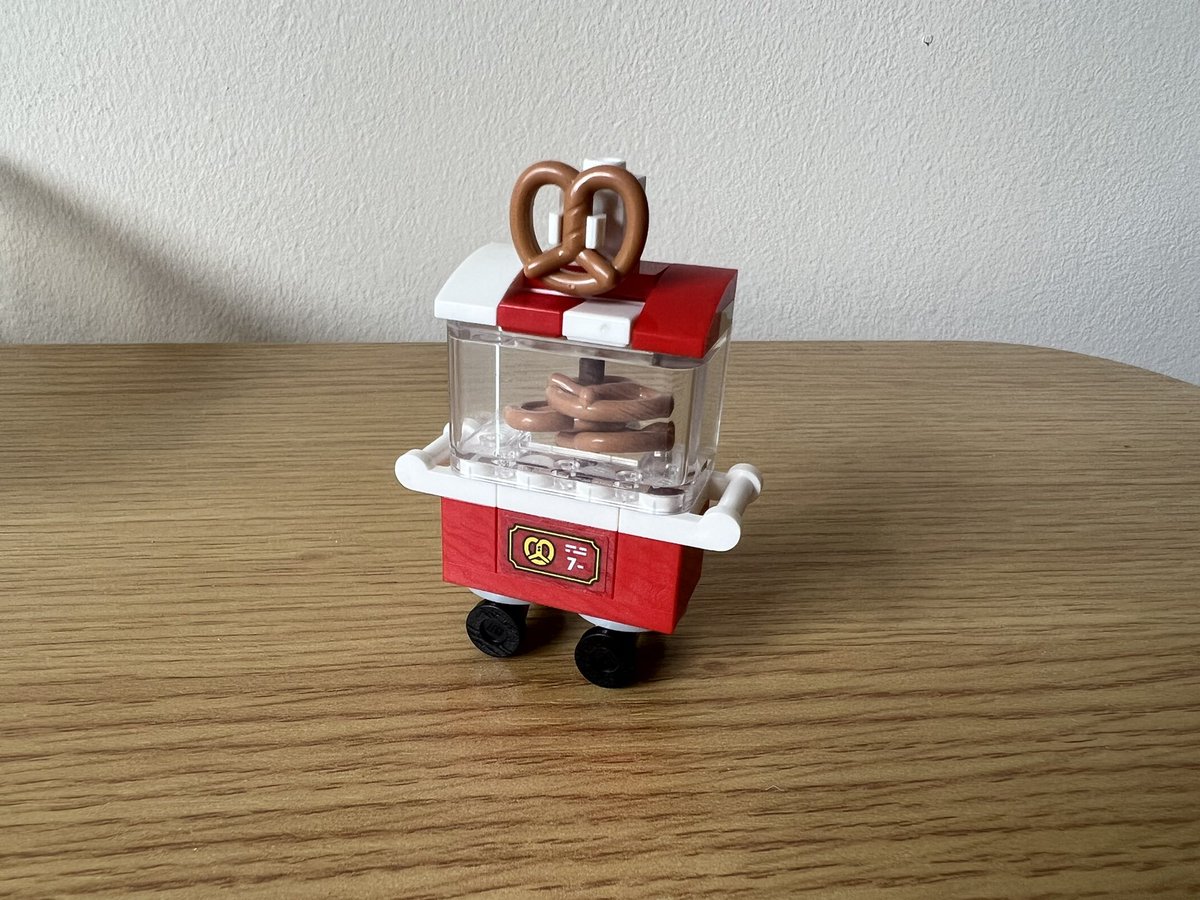
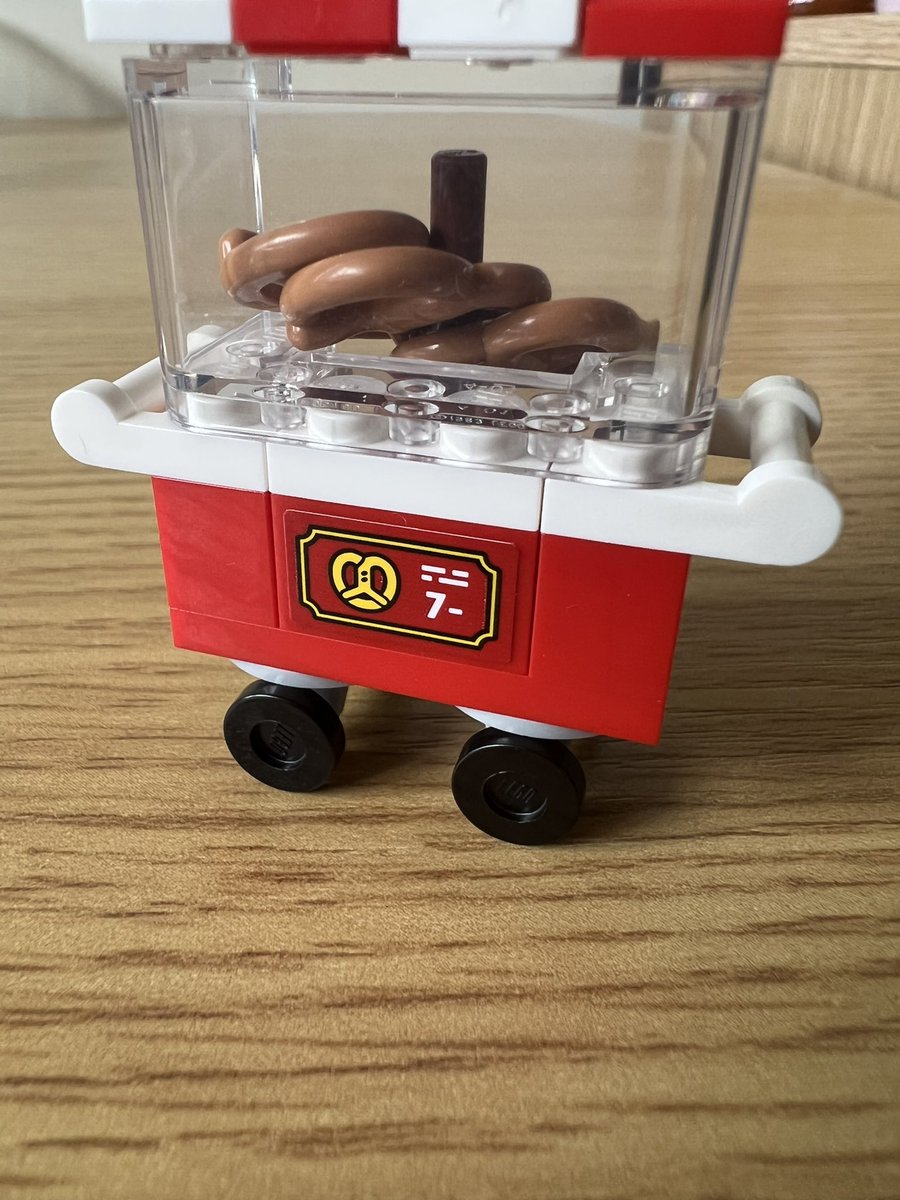
It has been correctly pointed out to me that these pretzels are HUGE and therefore totally worth 7 currencies (it’s bigger than her head!)
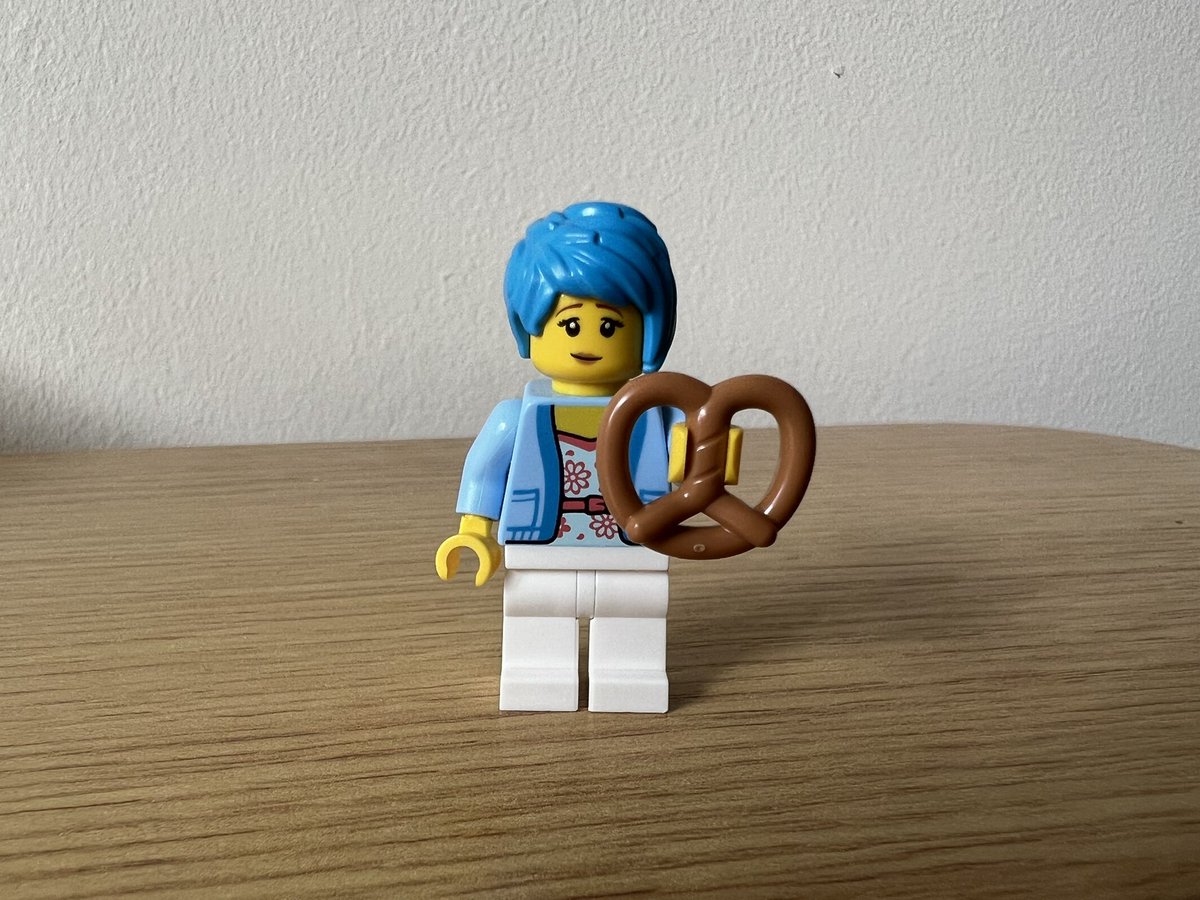
I already have lego pretzel earrings 😏.

This brings us to the end of the “accessories” arc.
What does a roller coaster need? A train of course! With working lap bars even.
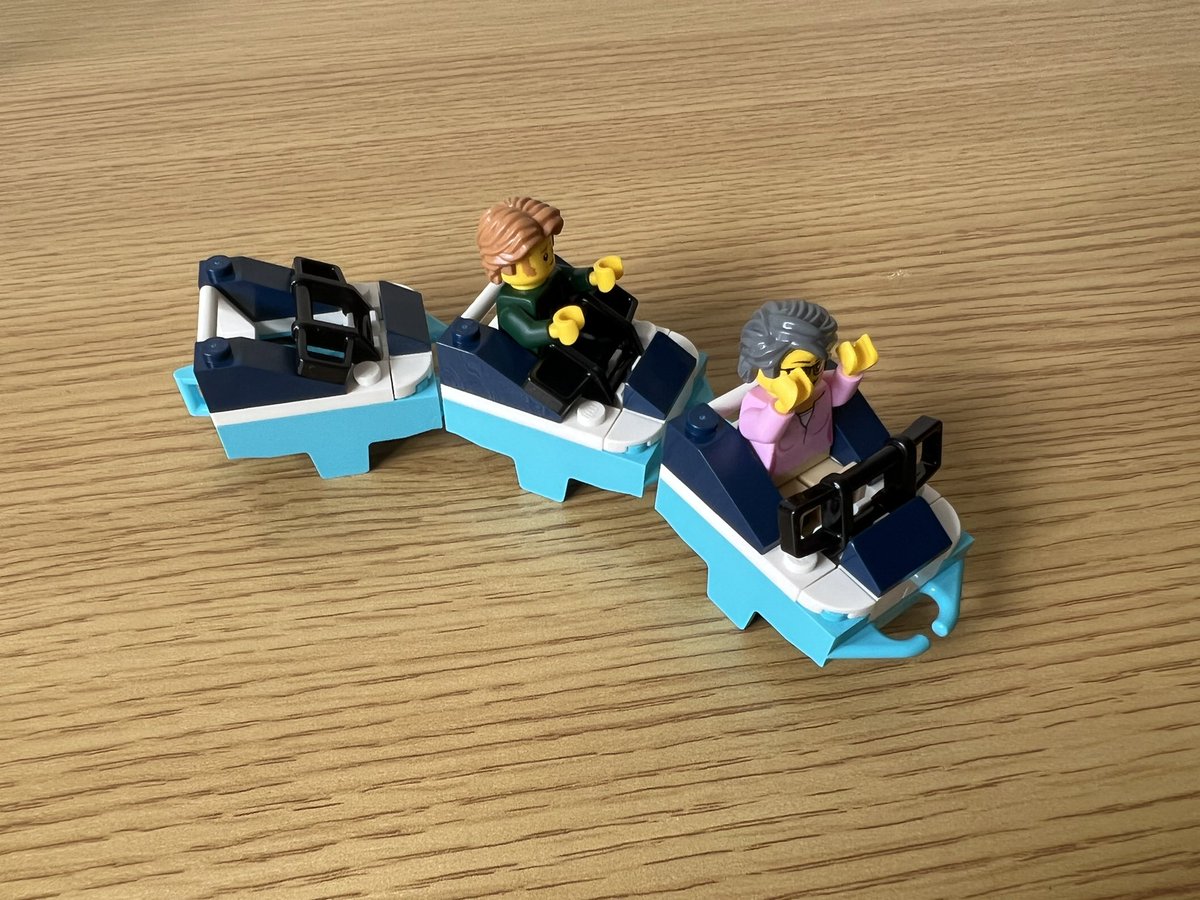
Considering this is going to be a looping coaster I think I’d use shoulder restraints instead of lap bars, but good luck making those out of Lego.
On to bag 2: seemingly just the floor judging by the colours and pieces.
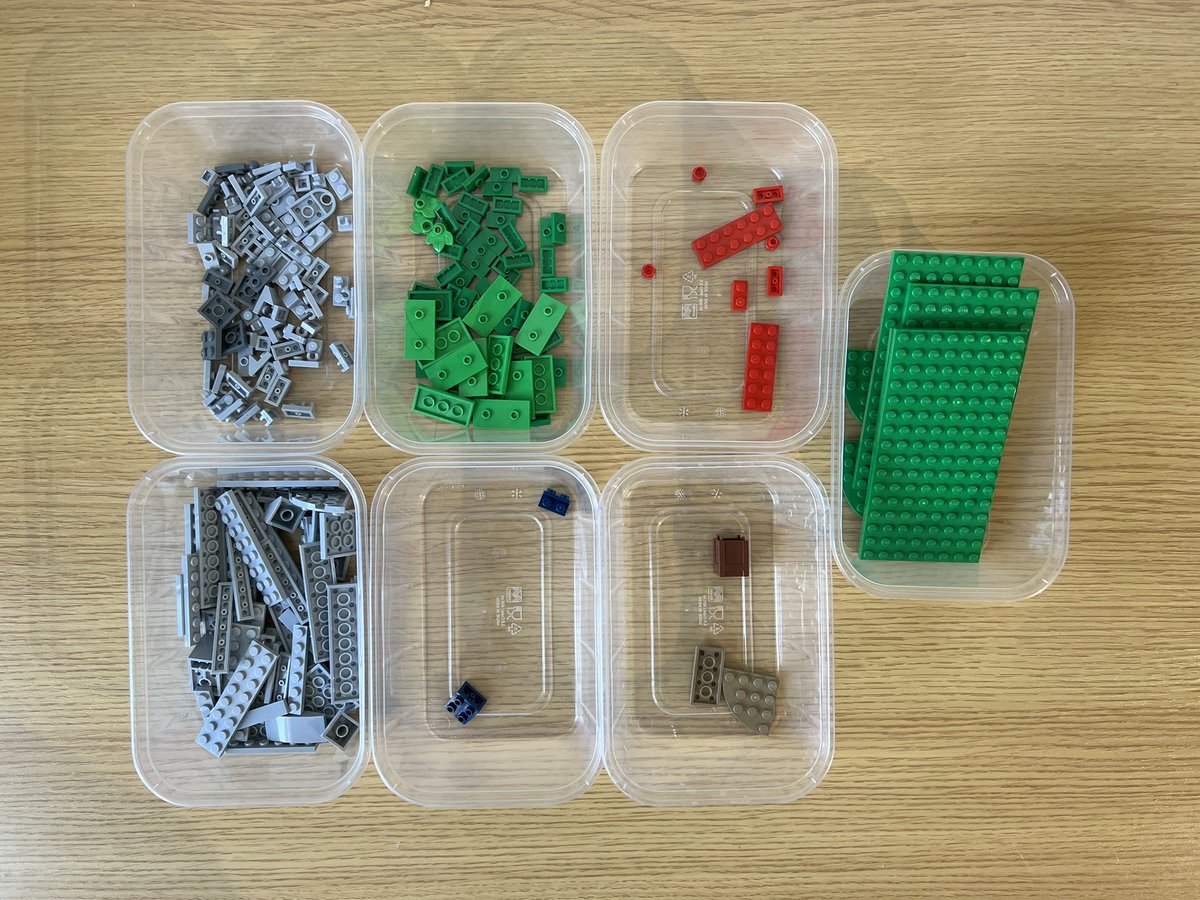
Lots of floor nubbins, presumably for attaching buildings and coaster supports to.
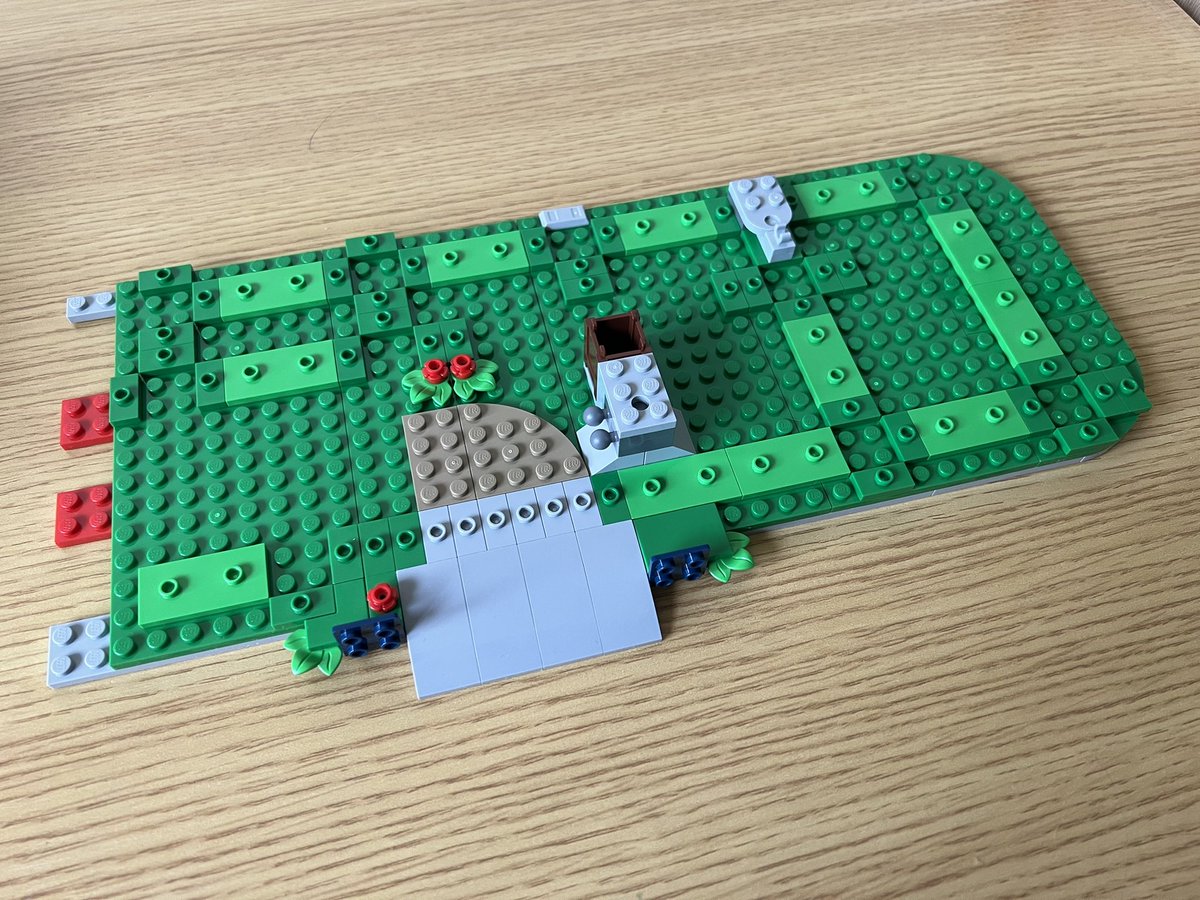
Bag 2 is over already with all these little foundations.
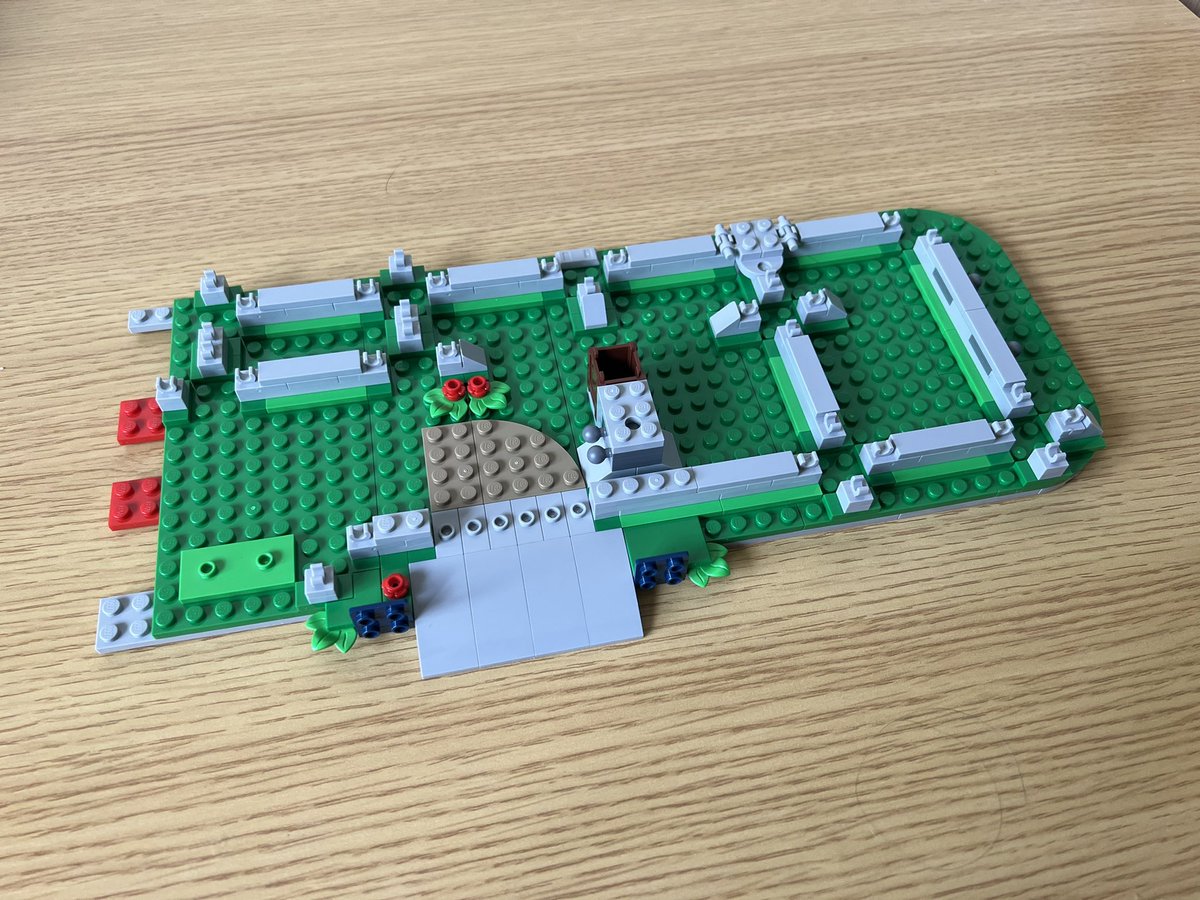
Onto bag 3 and we’re already starting some of the track!
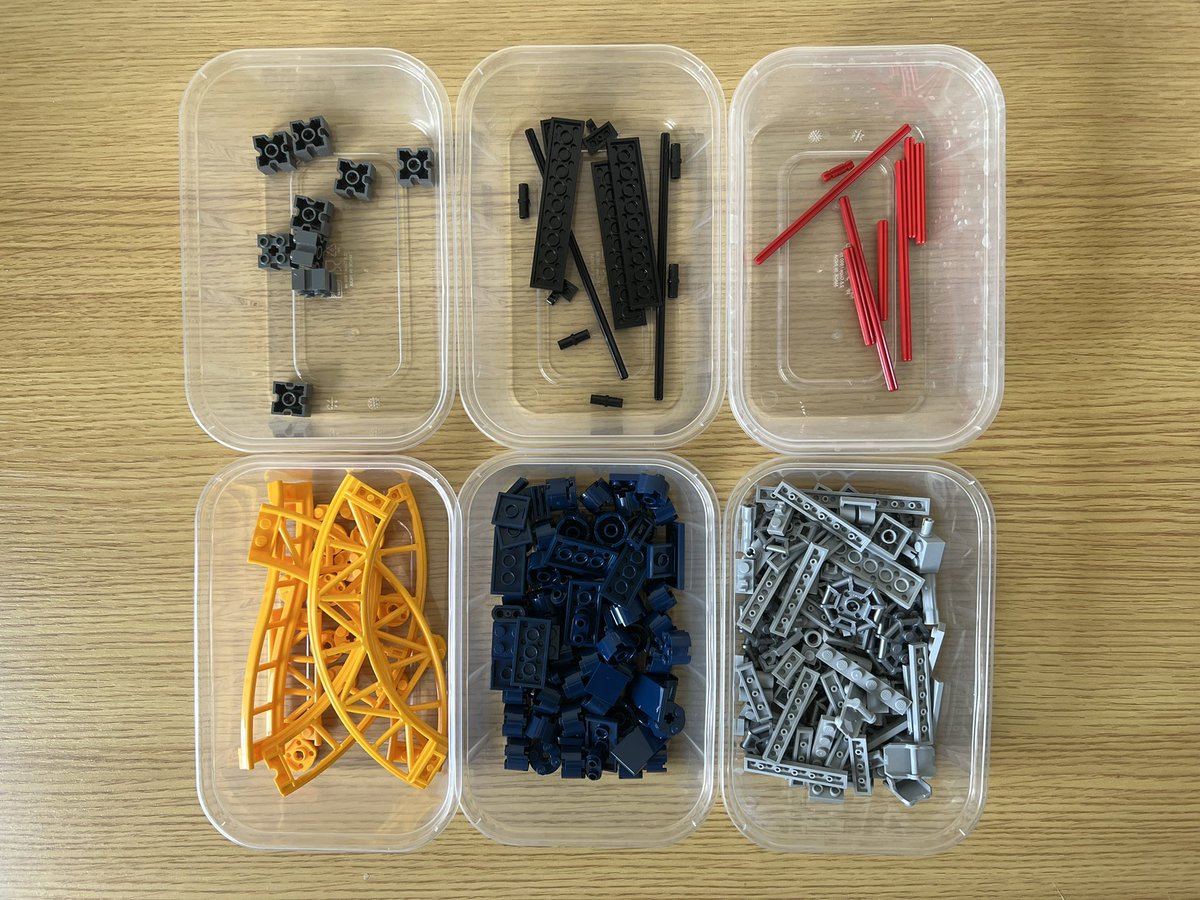
I don’t know why I’m surprised but these are really convincing roller coaster supports.
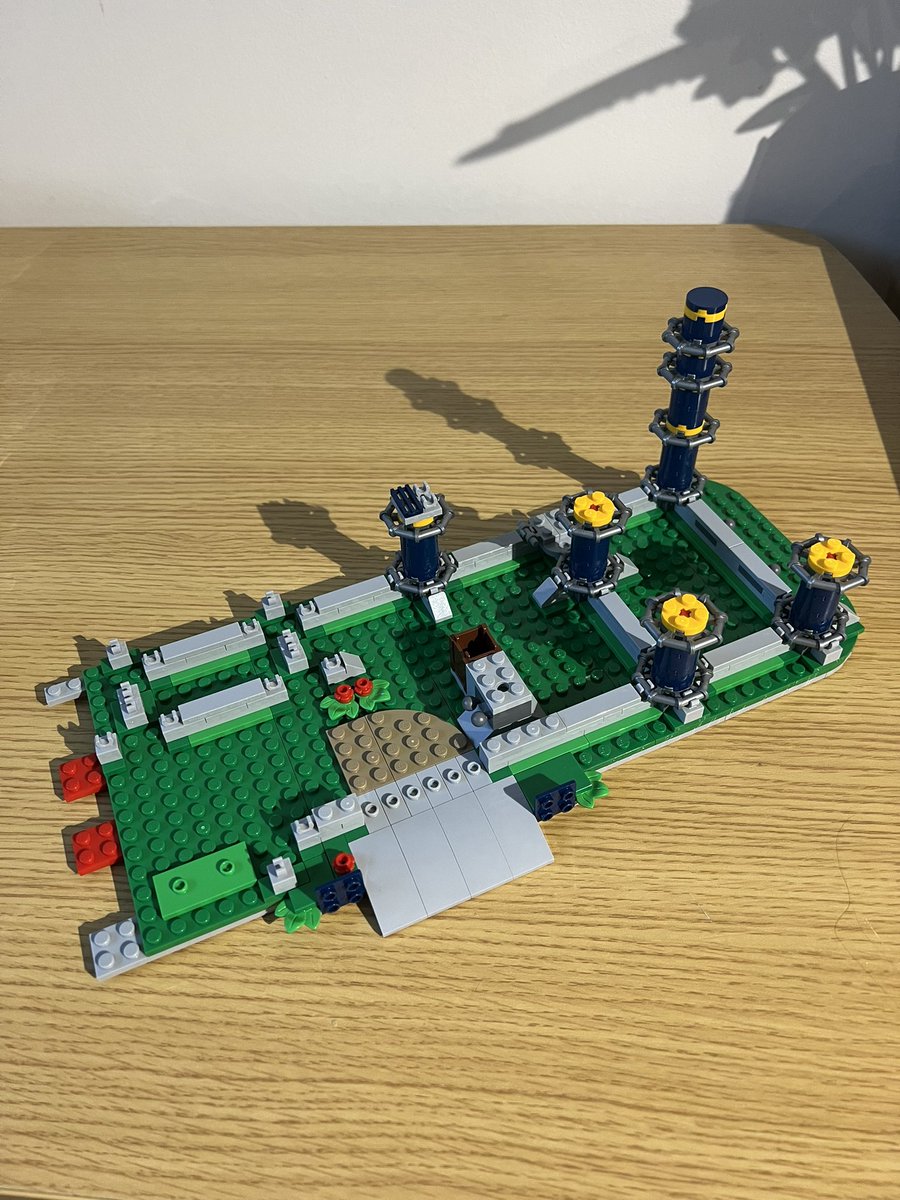
The first piece of track is in! I feel there’s quite a lot left before it’s a functioning roller coaster…
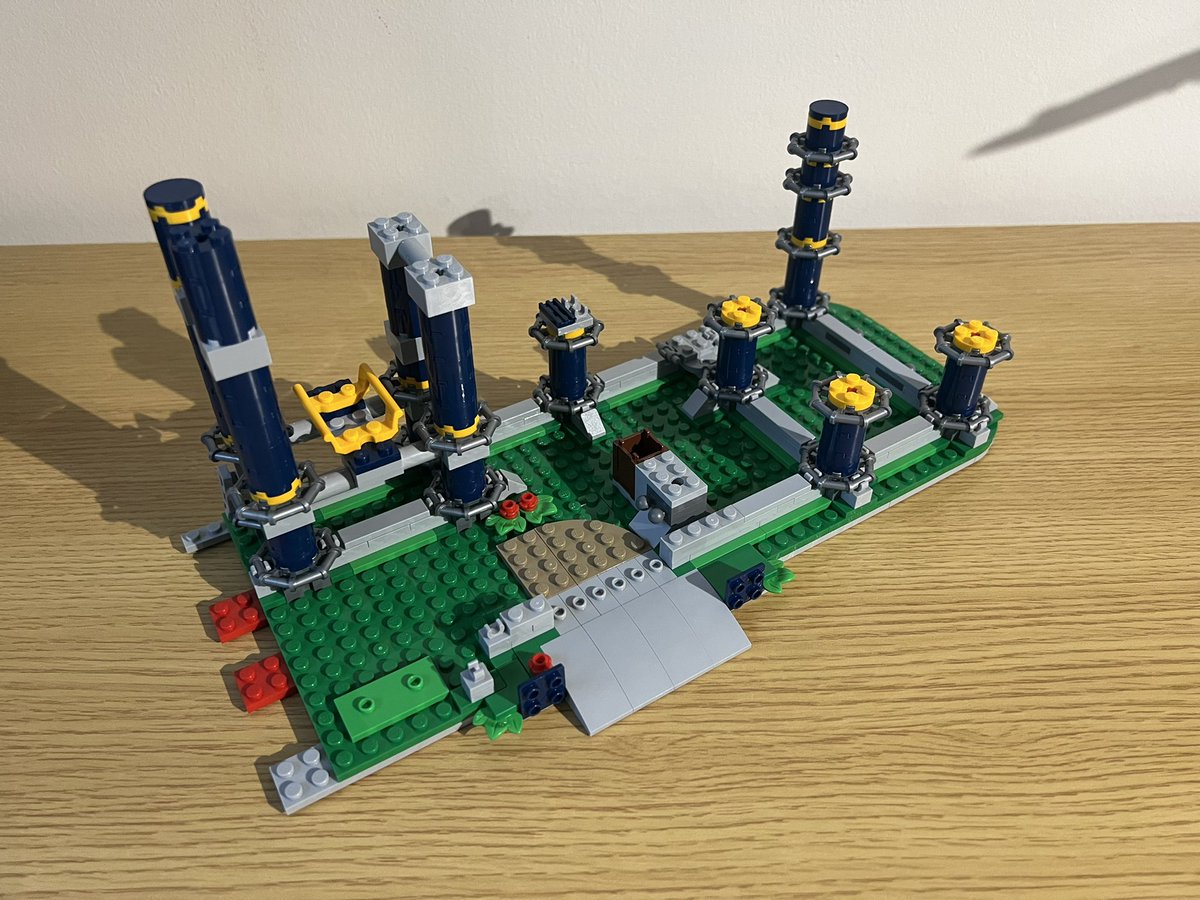
Escaping the confines of the base.
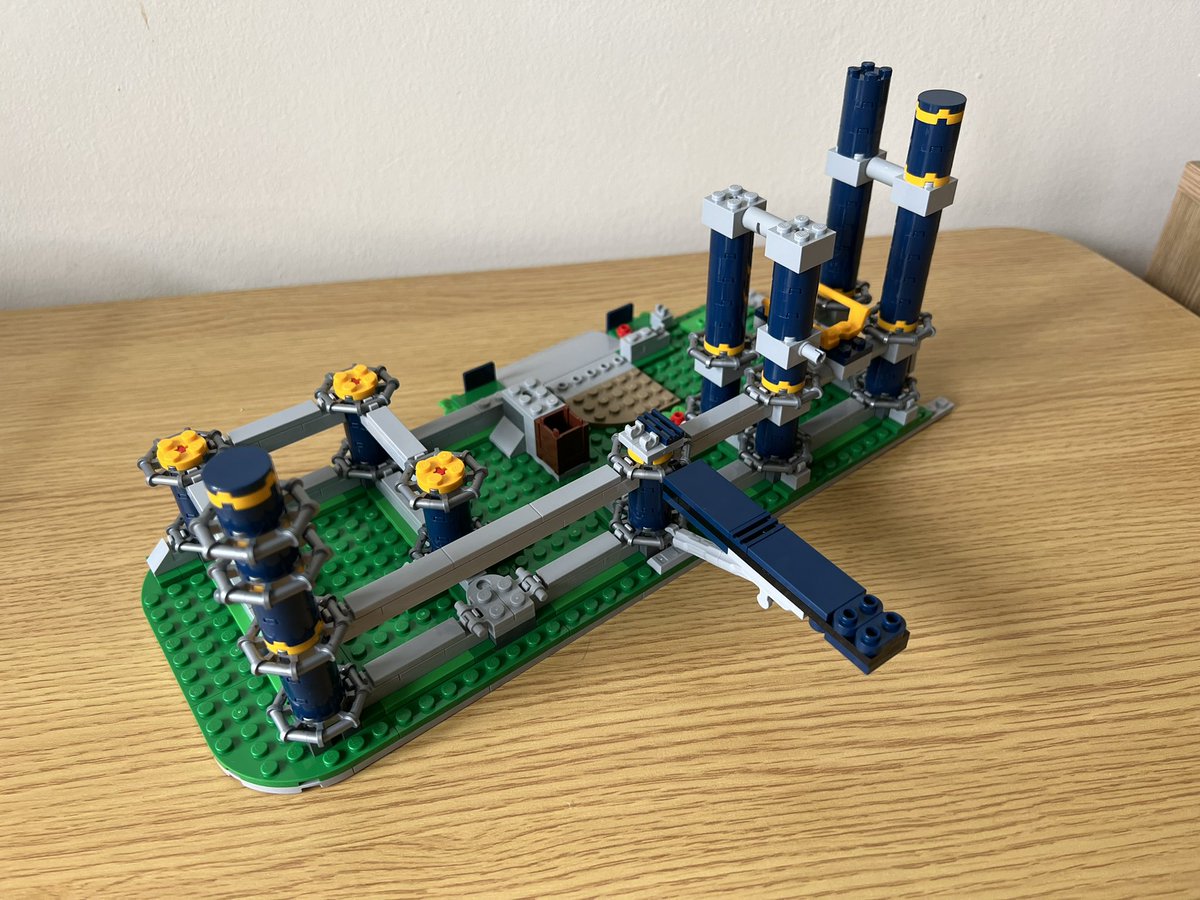
I feel this is quickly going to outgrow the space I have for building Lego.
I believe this section of track is the ending segment coming back into the station.
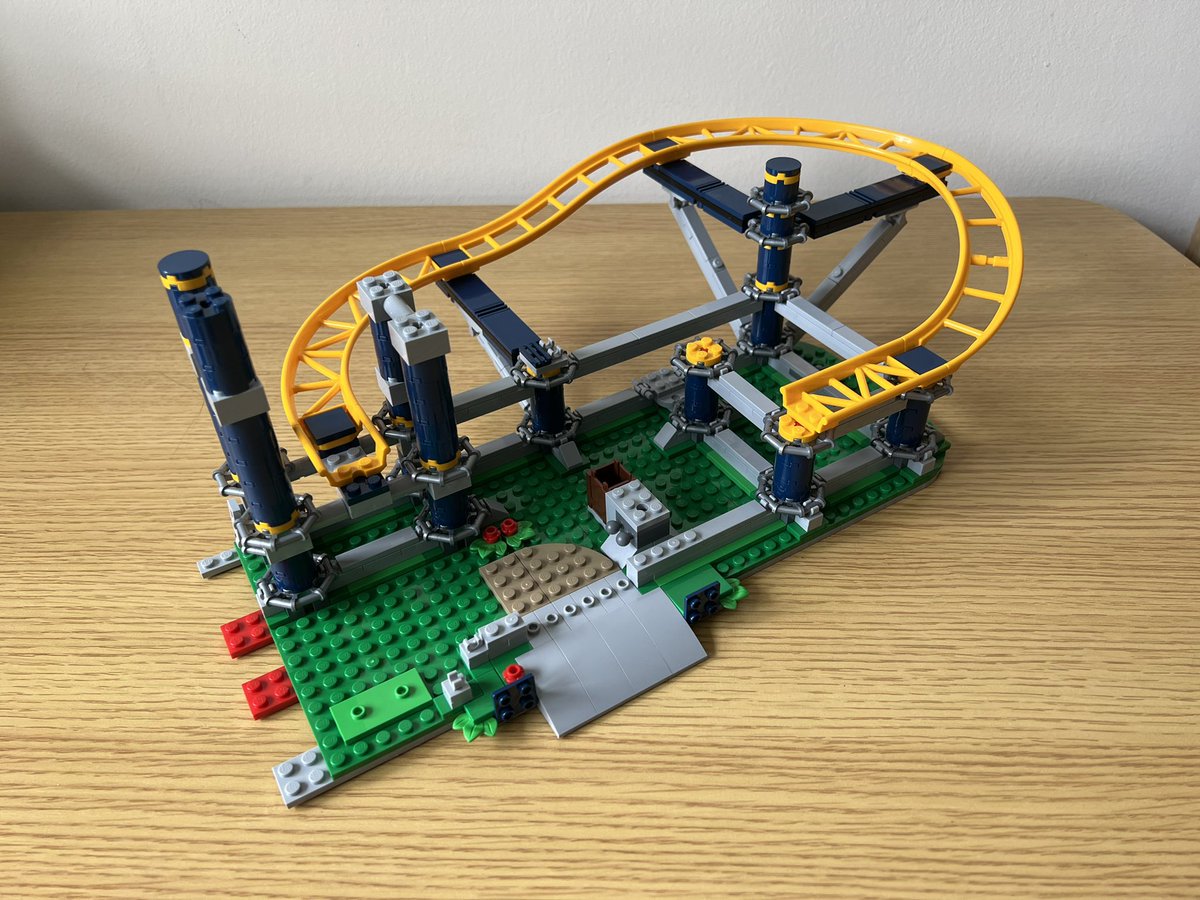
(This was the end of bag 3).
Bag four? More like bag floor.
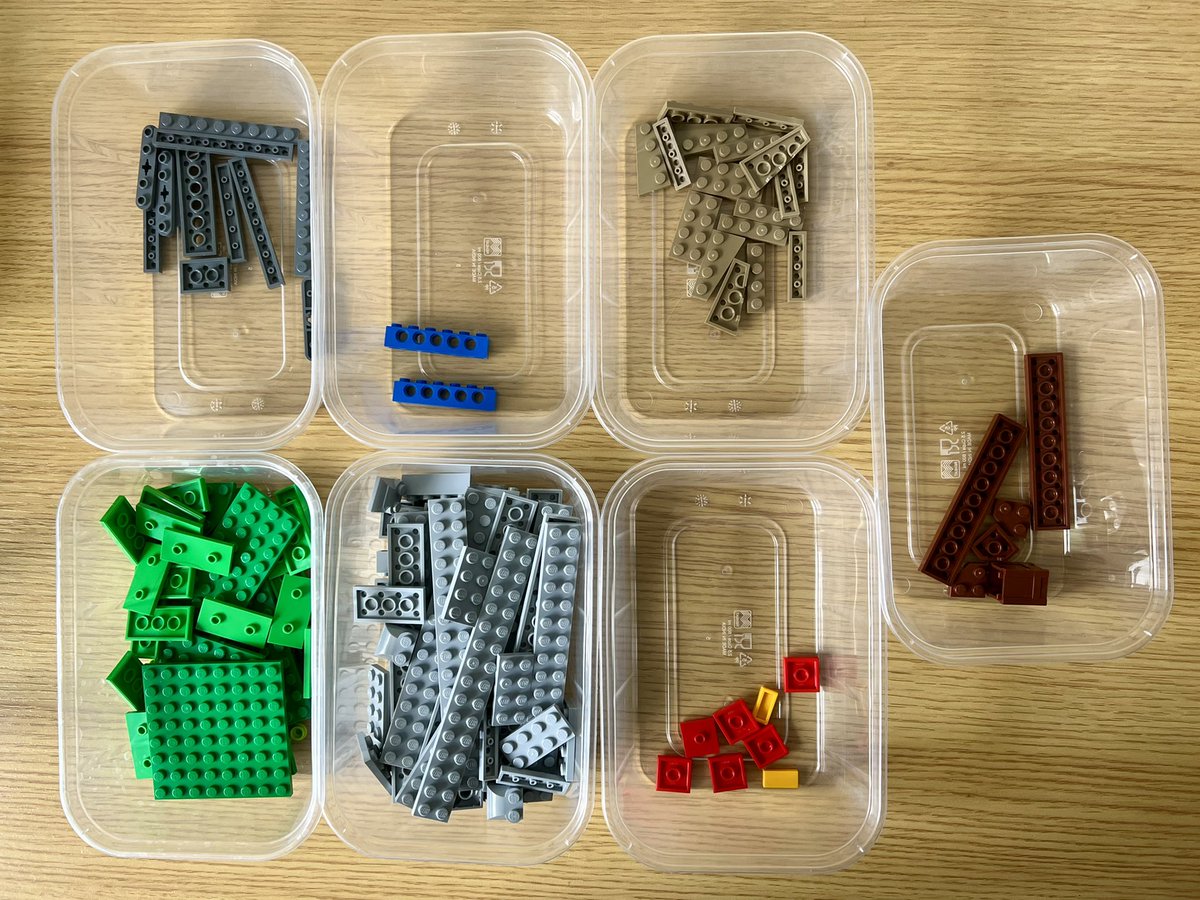
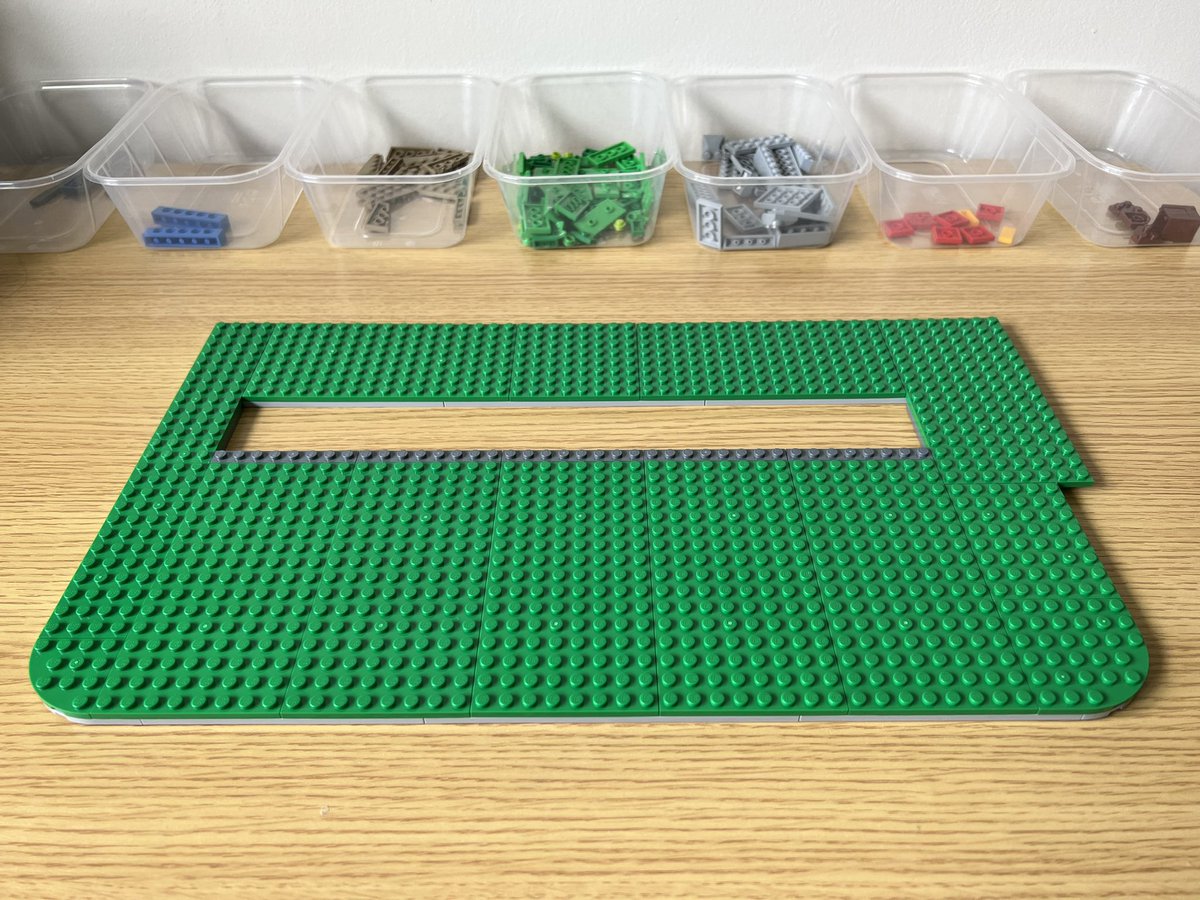
This is just one part of the floor from bag 4, so this set is going to be huge.
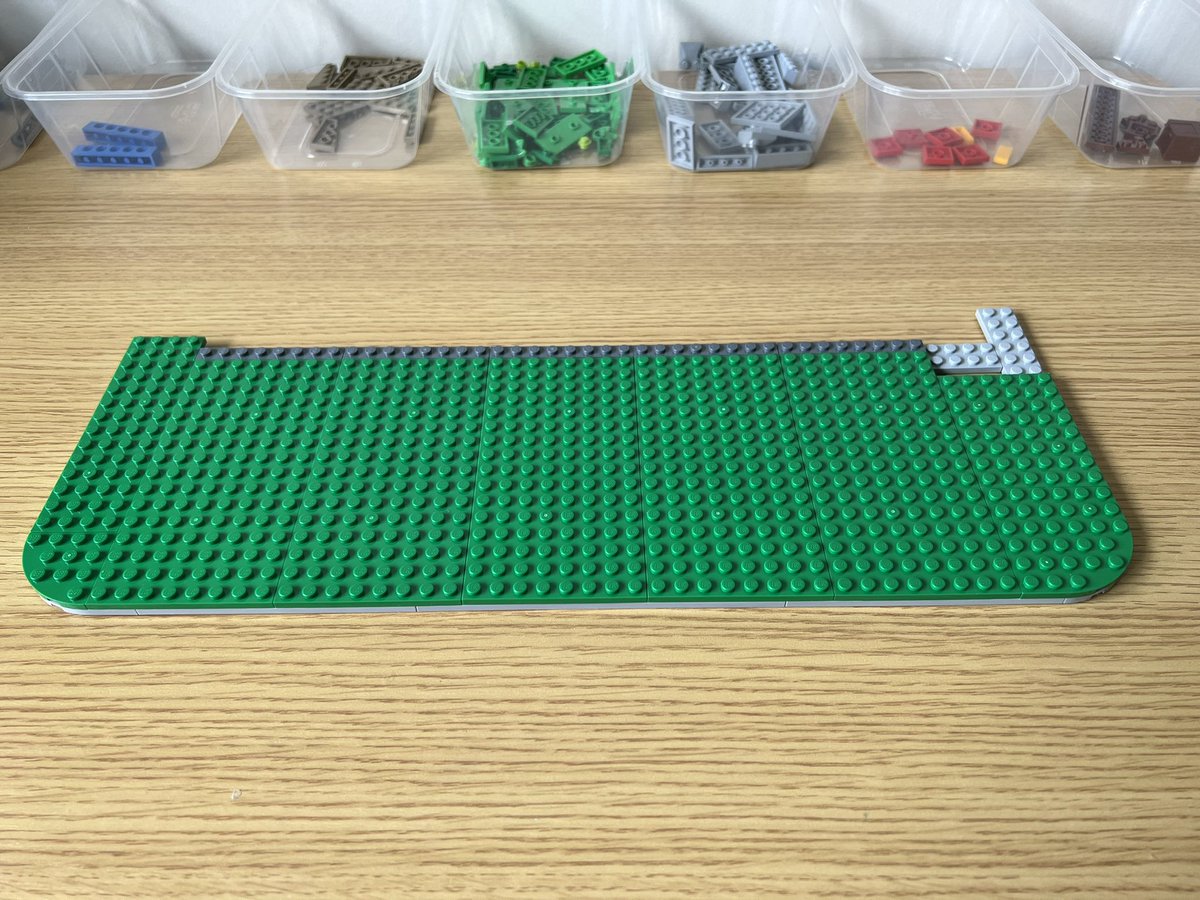
Holy guacamole this is big. There may still be more floor to build, and it has to connect up to the section from bags 2 and 3.
This looks like a path to me so this is most certainly the entrance to the queue.
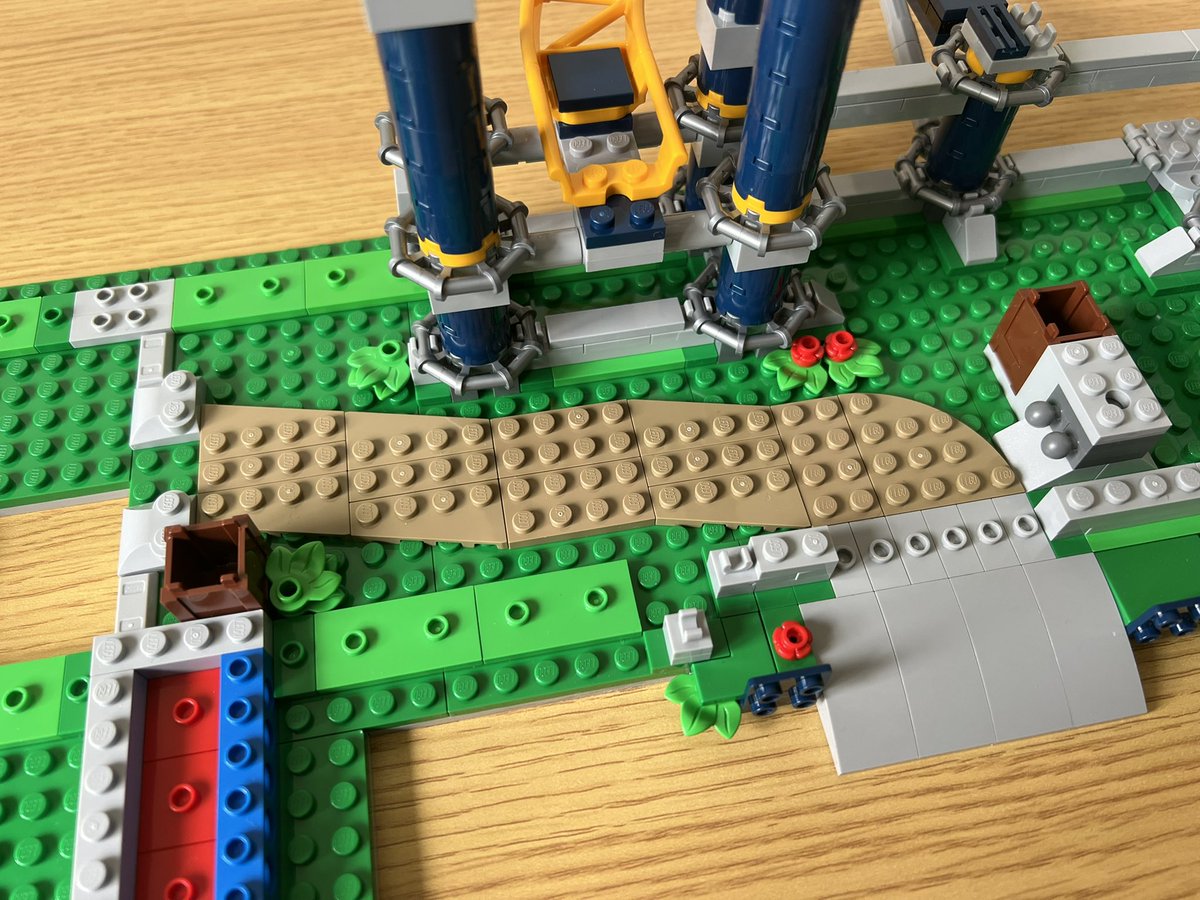
It’s a tiny thing but I love how they designed the subtle zigzag of the path using the triangular pieces.
At the end of bag 4 and it now takes up the entire width of my building space.
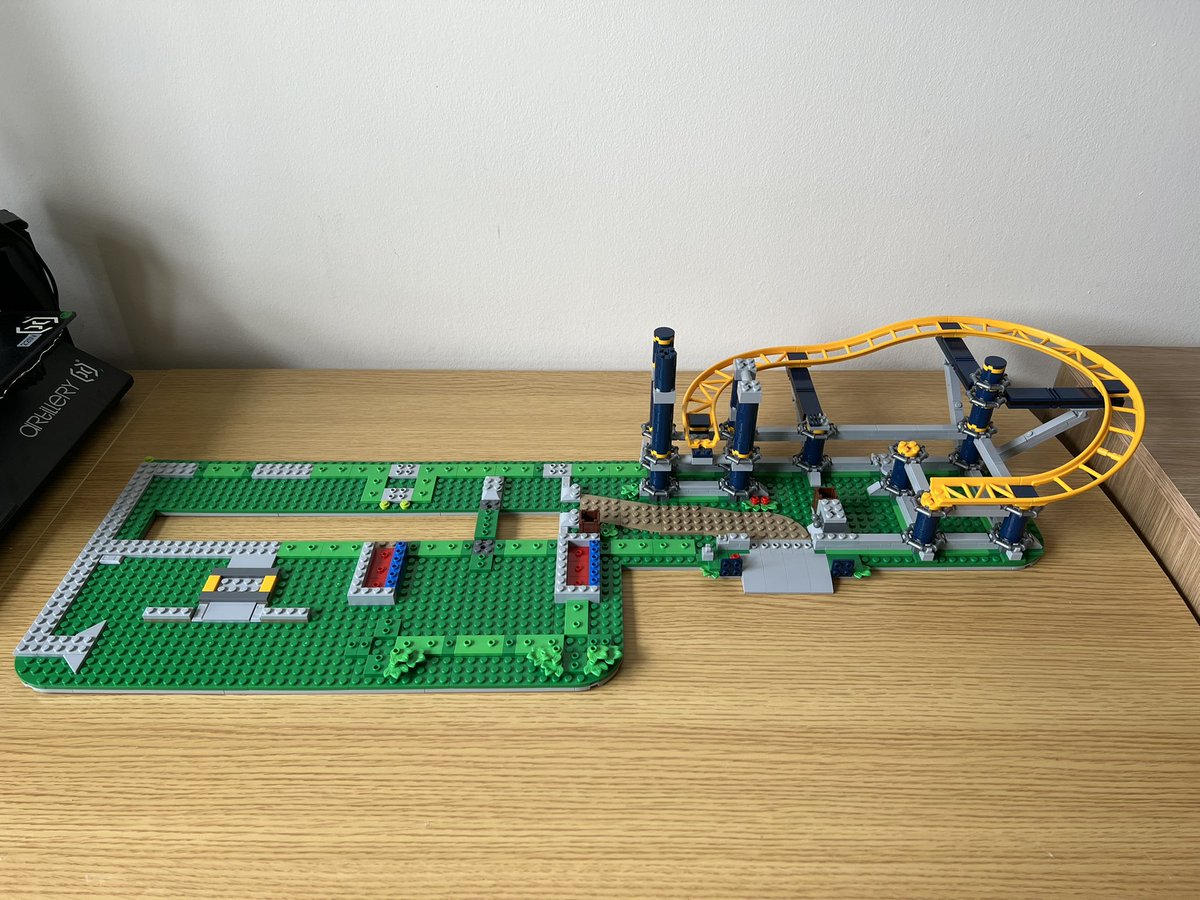
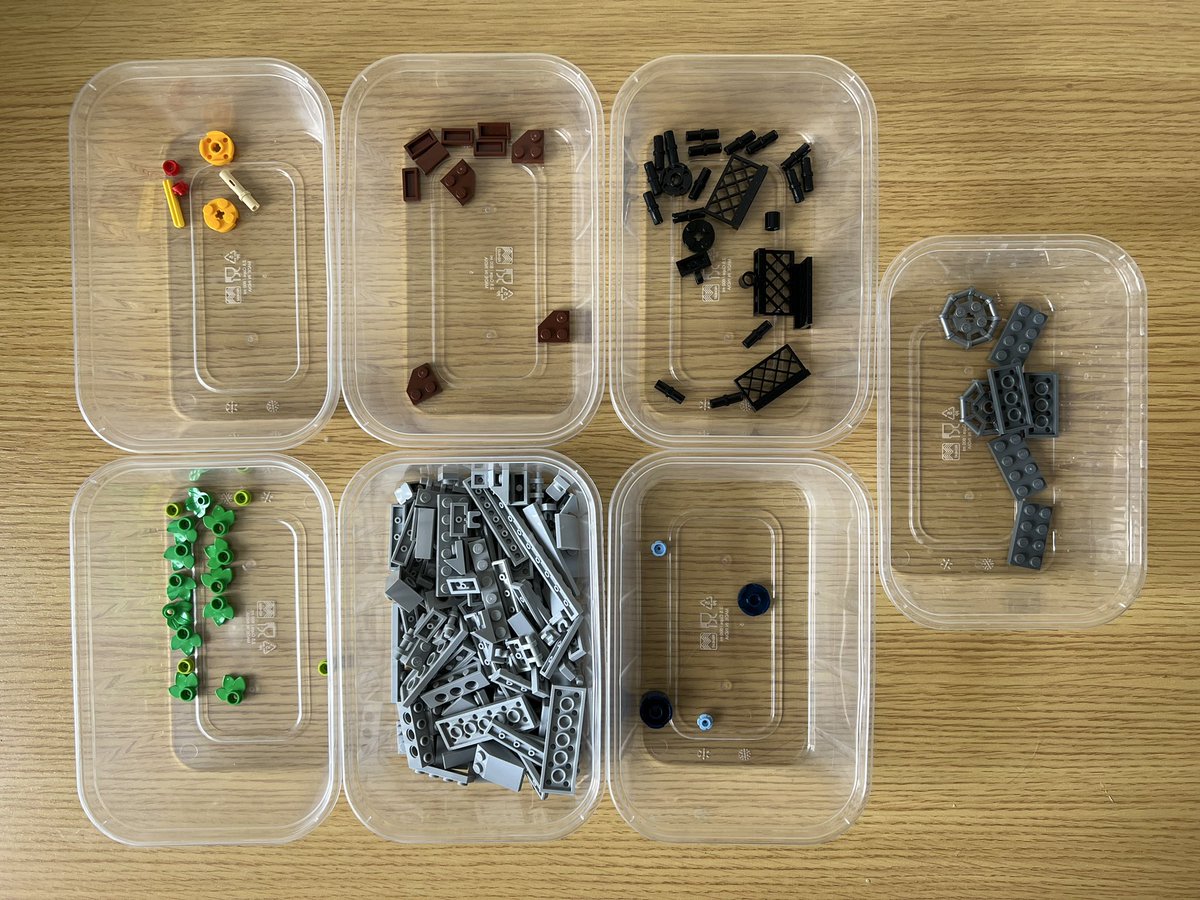
Bag 5: leaves, railings, and one lonely piece of support pillar.
Lego designers are on another level, example #32,837: this random hinge piece that was added in bag 3:
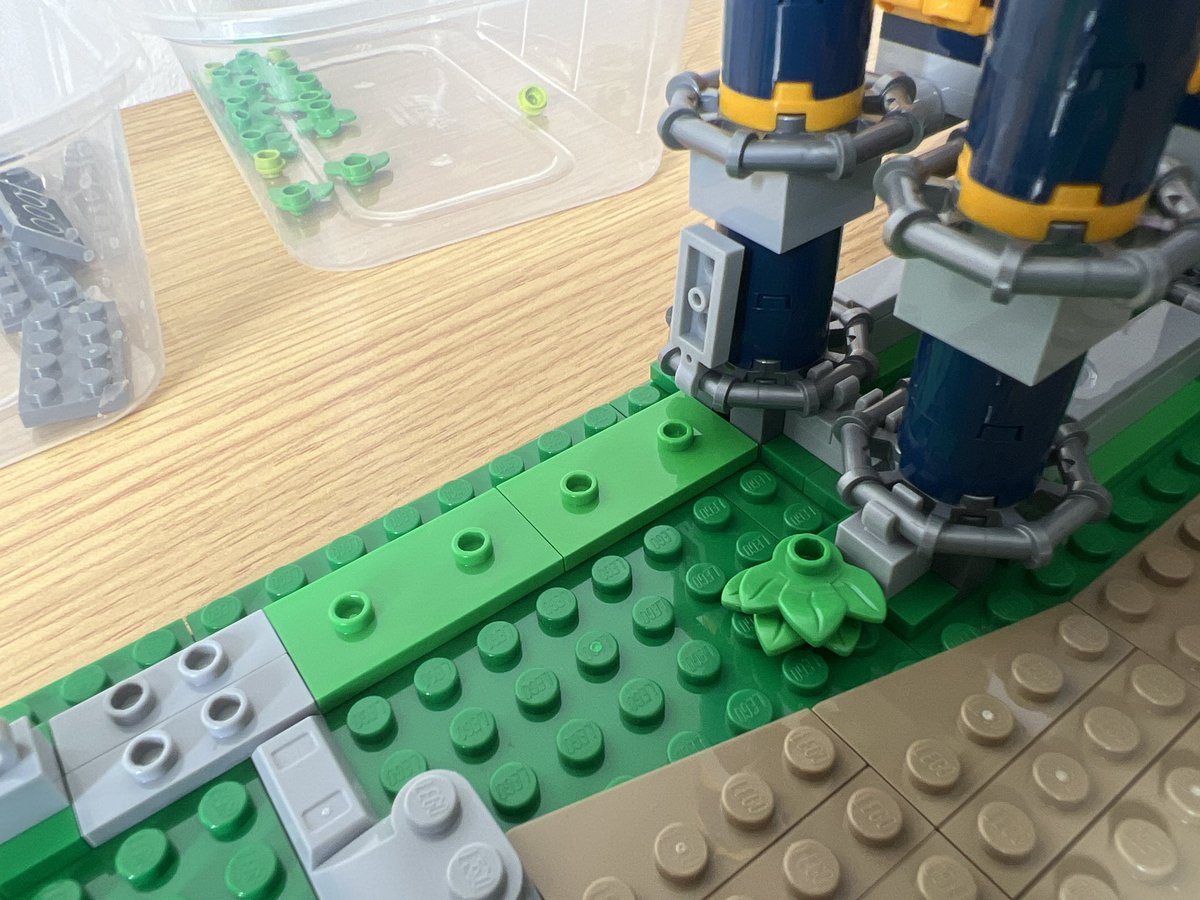
Turns out that two bags later you rotate it down to clip onto this railing you didn’t even know would be there (remember this pillar is on a separate base to this new section).
Teeny tiny support pillars.
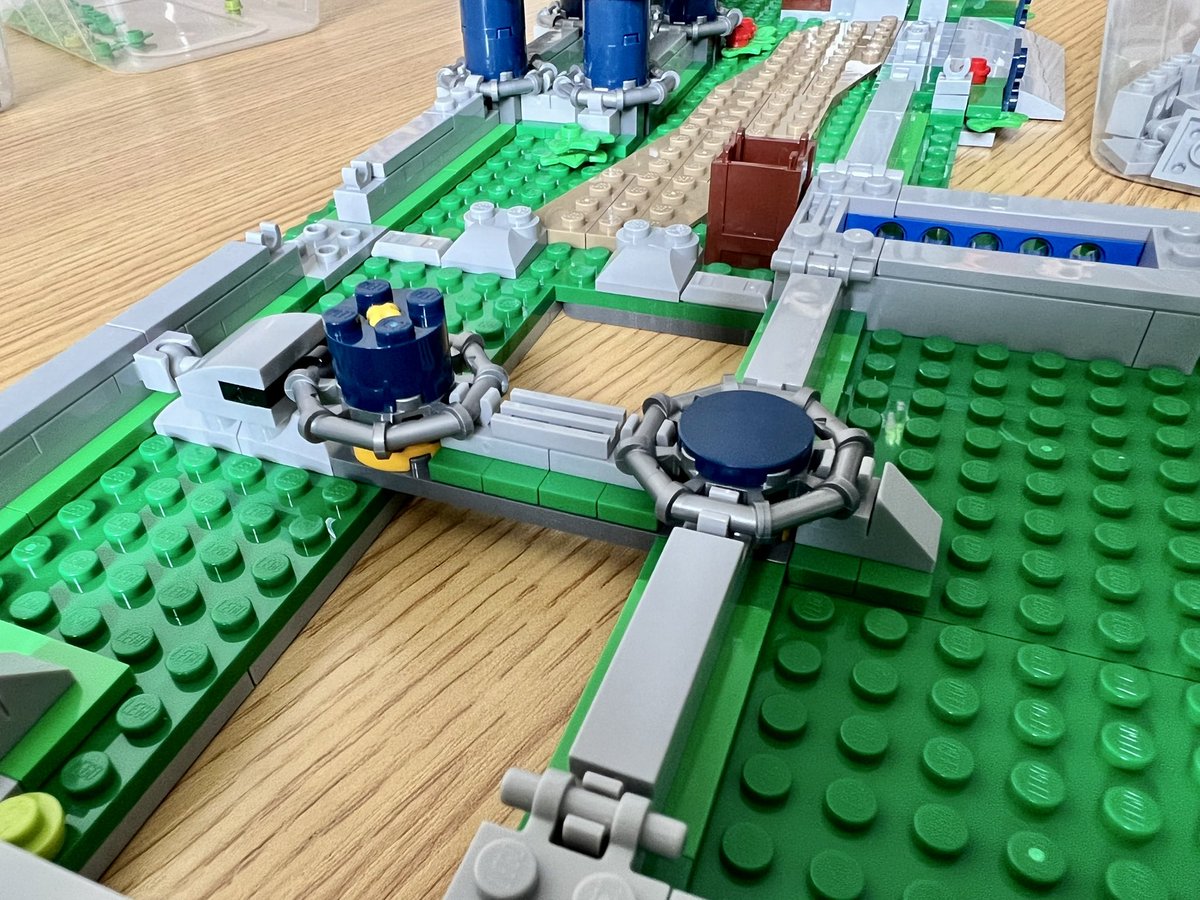
What are these Mysterious Contraptions? … I literally don’t know yet.
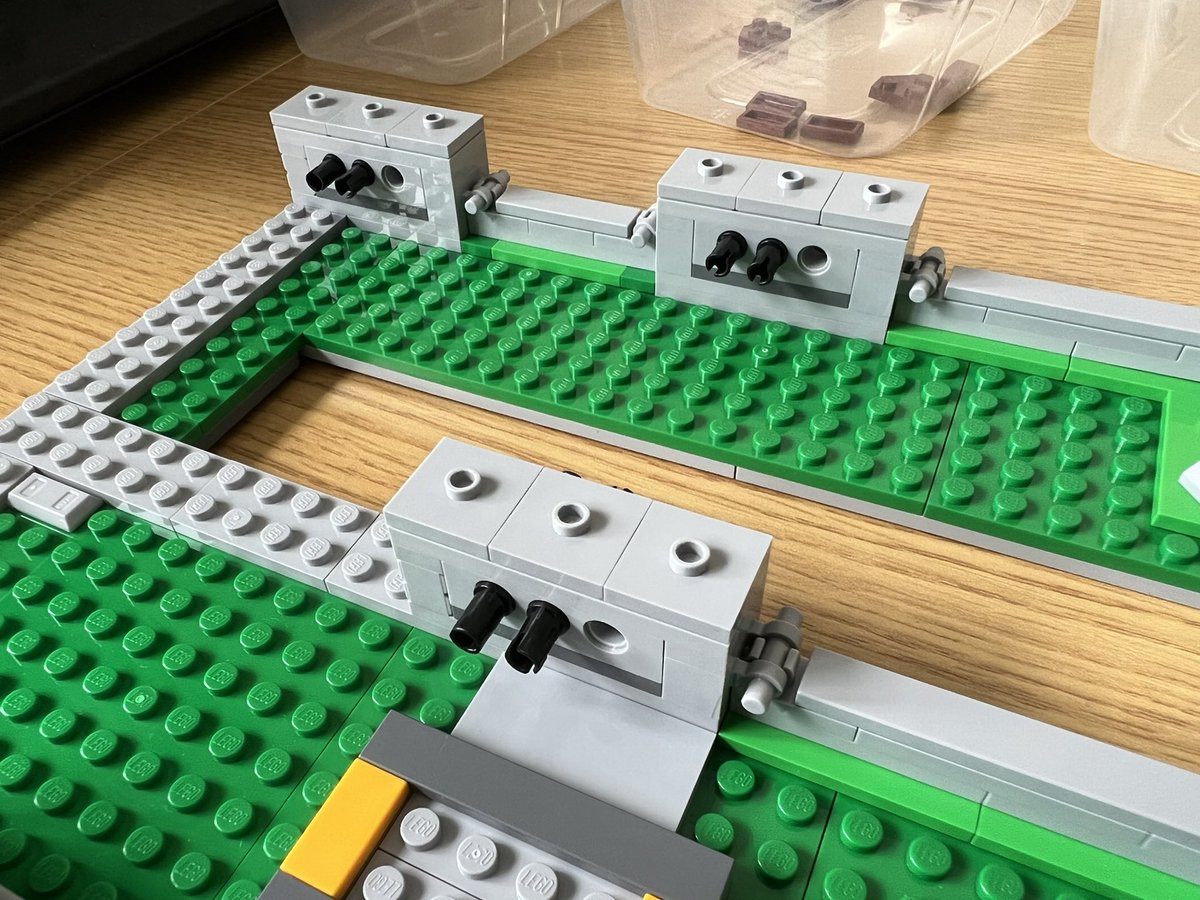
Bag 5 complete!
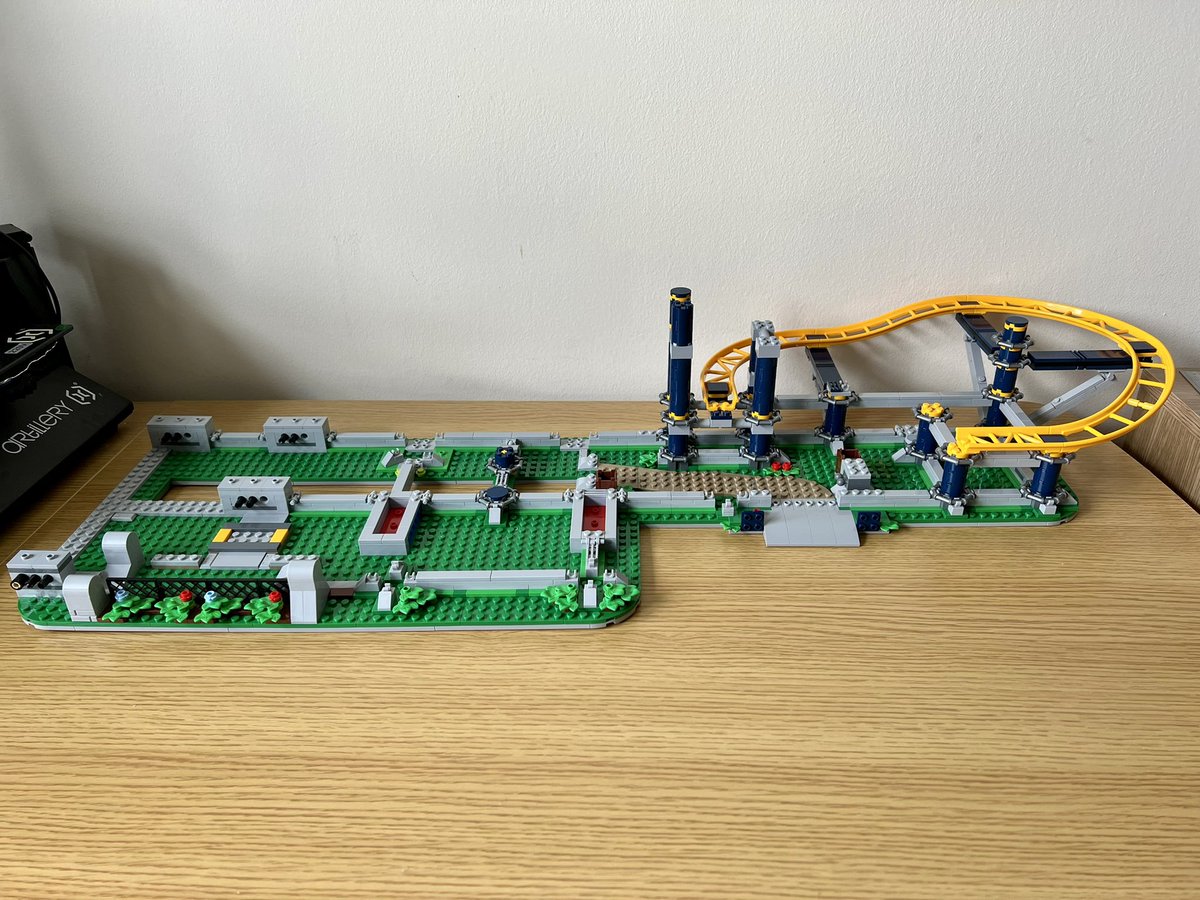
Bag 6: a little bit more track, and the entrance to the queue line (yes I can tell just from looking at the pieces, the light blue tiles give it away).
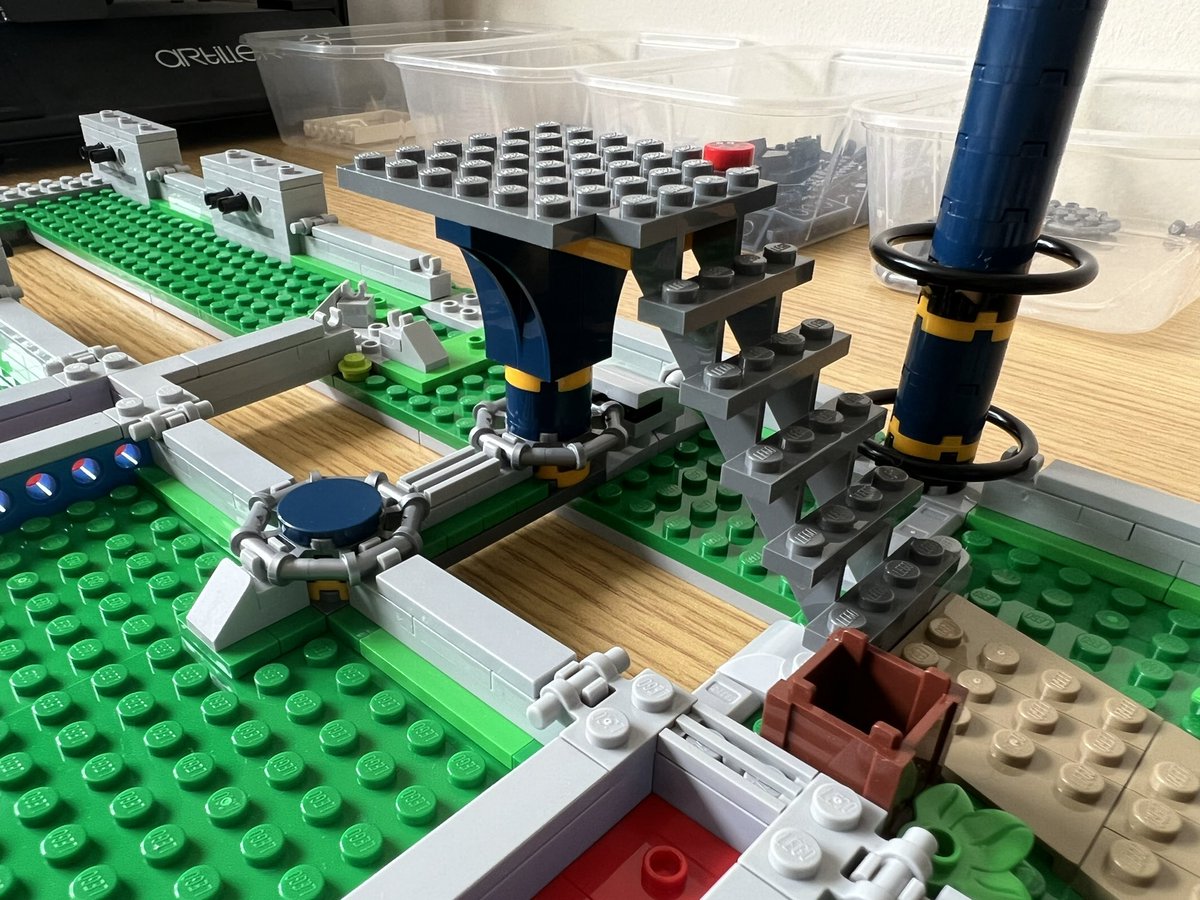
It wasn’t a tiny support pillar, it was the foundation for the stairs!
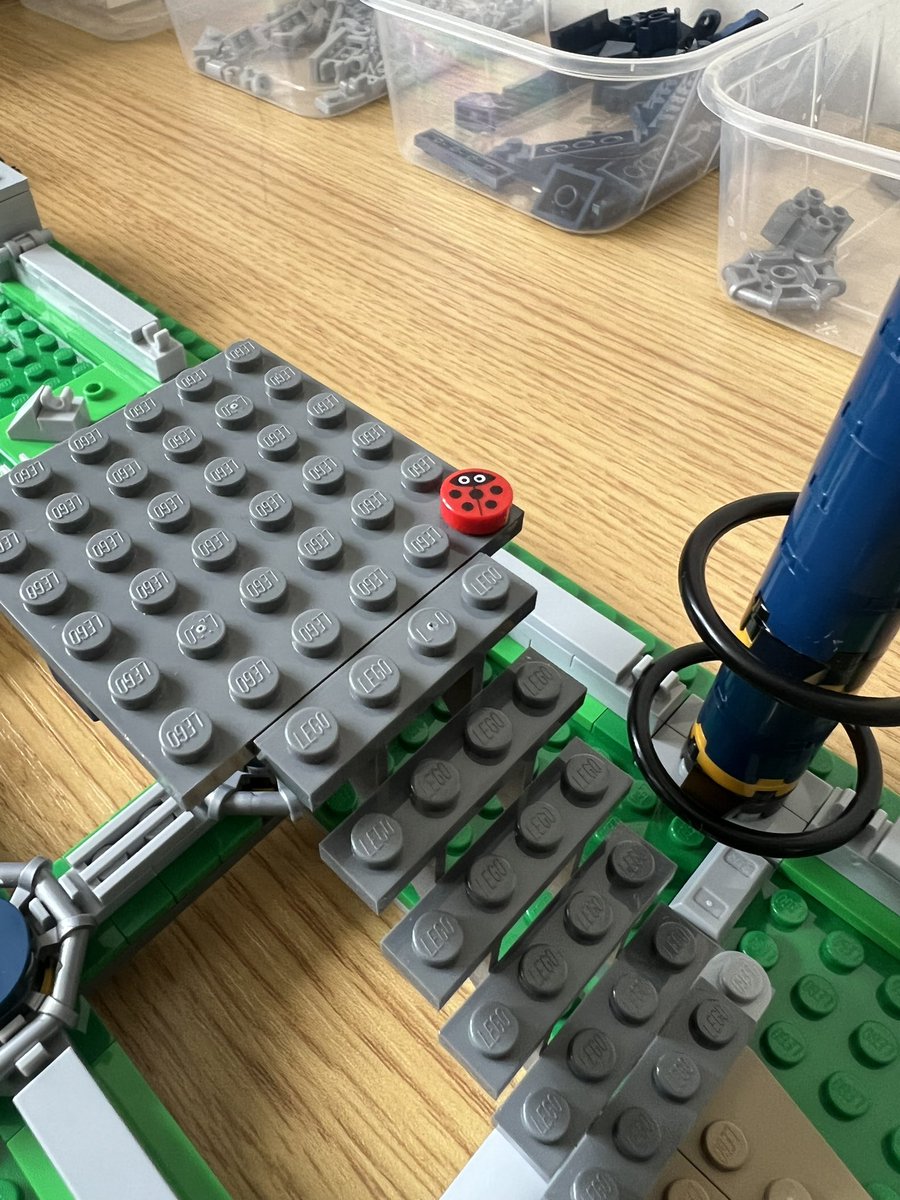
With a cute little ladybird at the top.
This is the bottom of one of the loops.
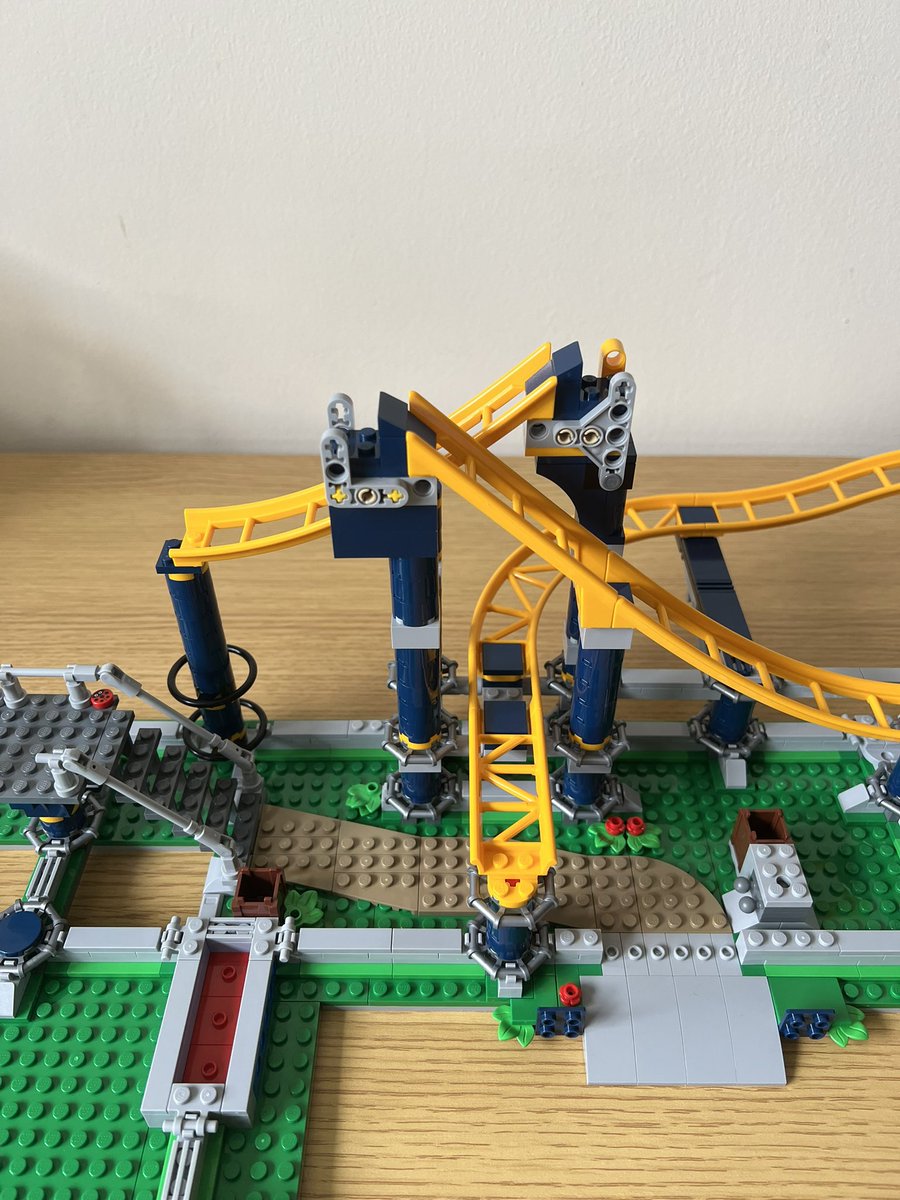
The entrance, which sadly bans the cute little squirrel from riding.
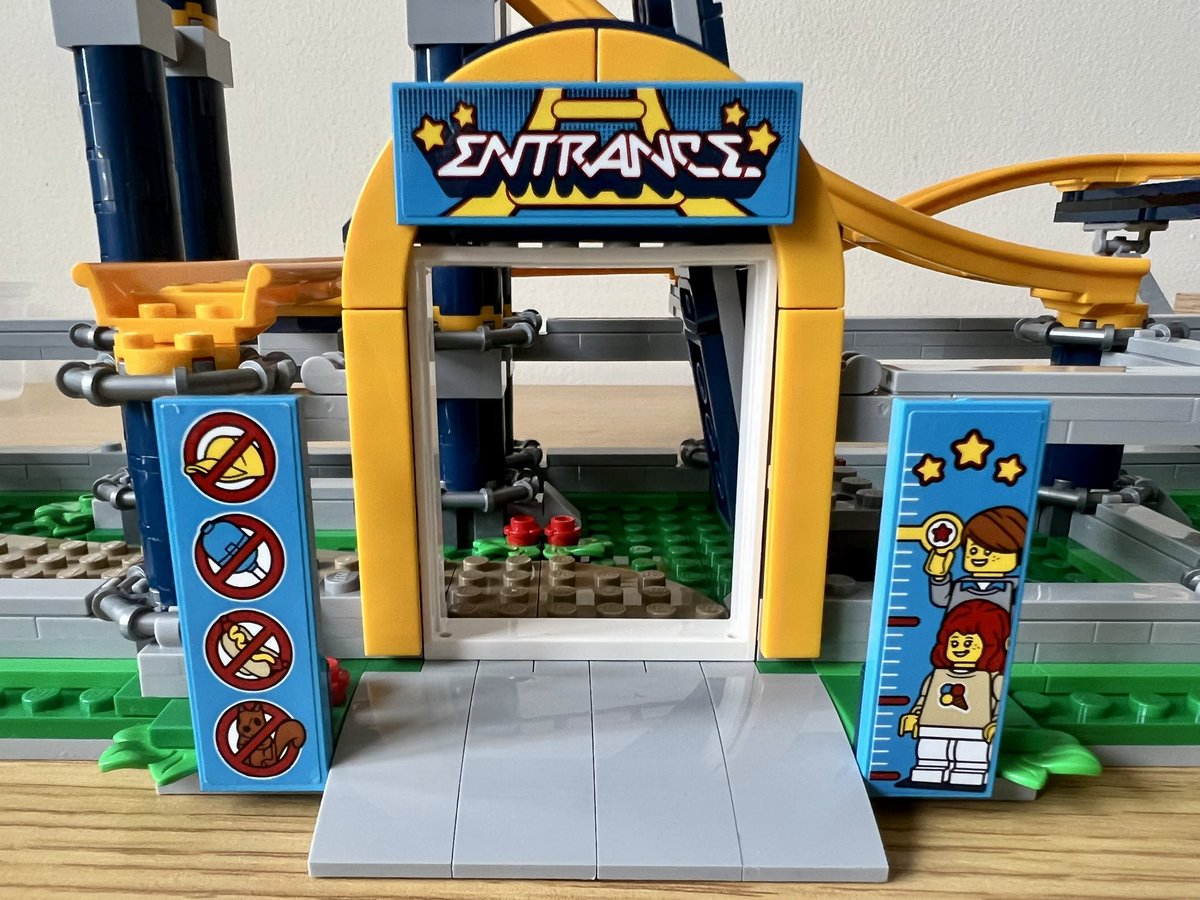
Bag 6 complete!
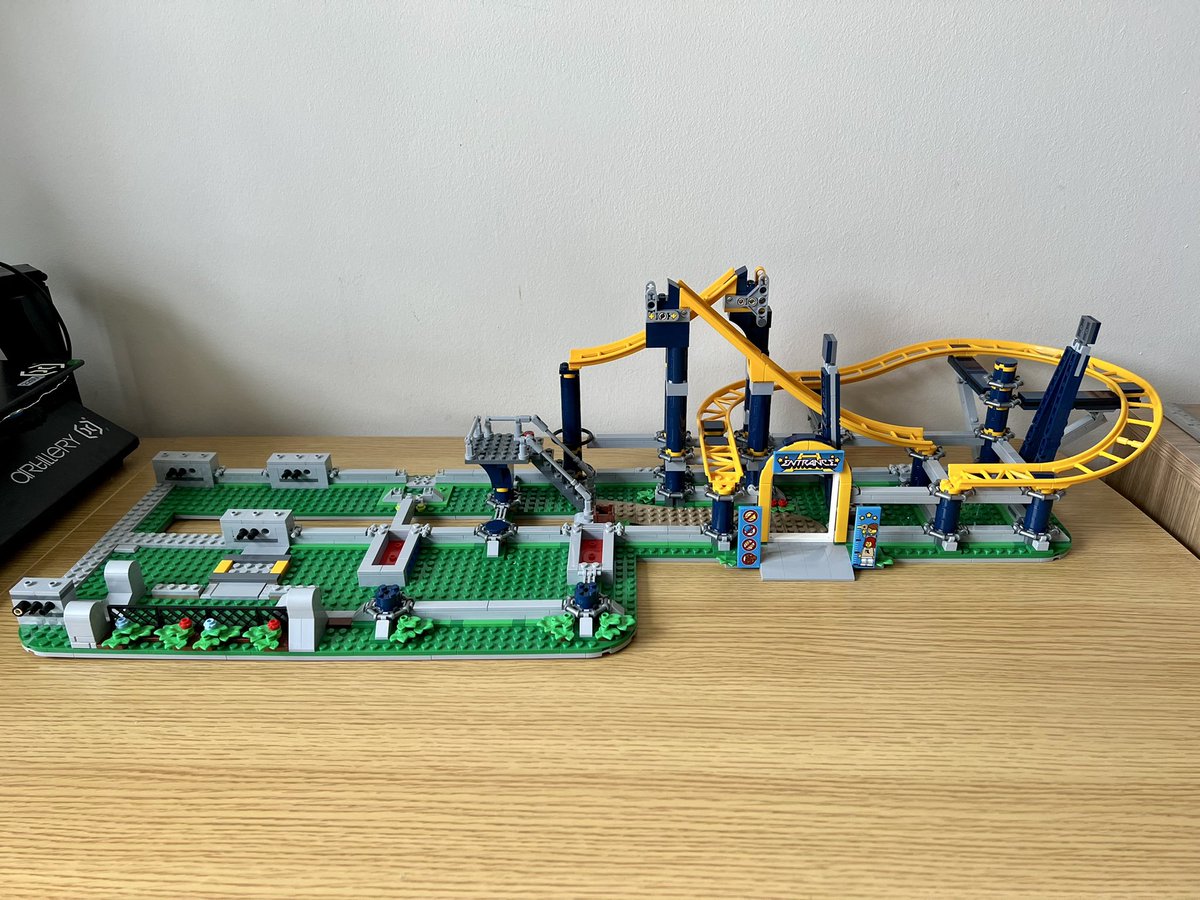
Look at all these track pieces in bag 7.
Someone has carelessly dropped their balloon and now it’s trapped under the tracks.
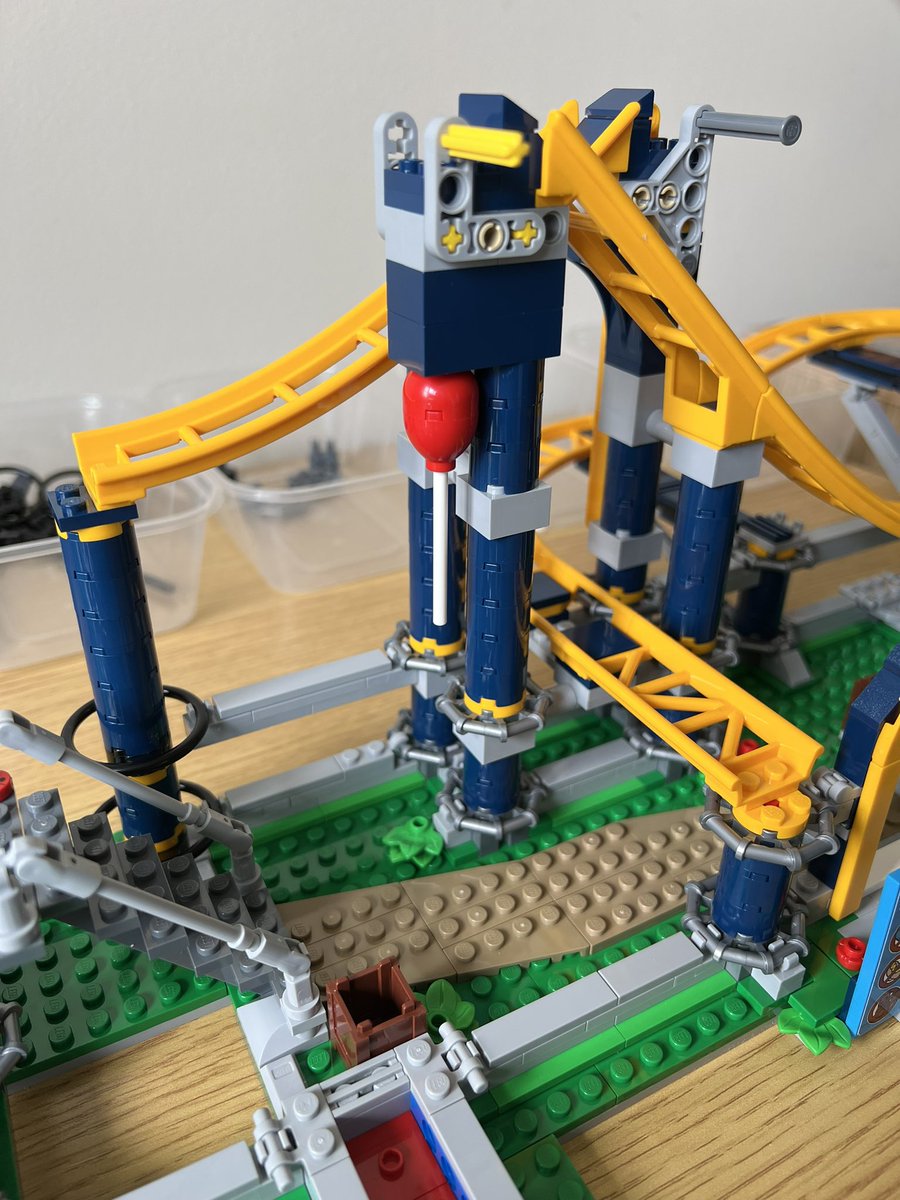
Lots of technic shenanigans to get the vertical loop curves in place. I don’t even know how they designed this.
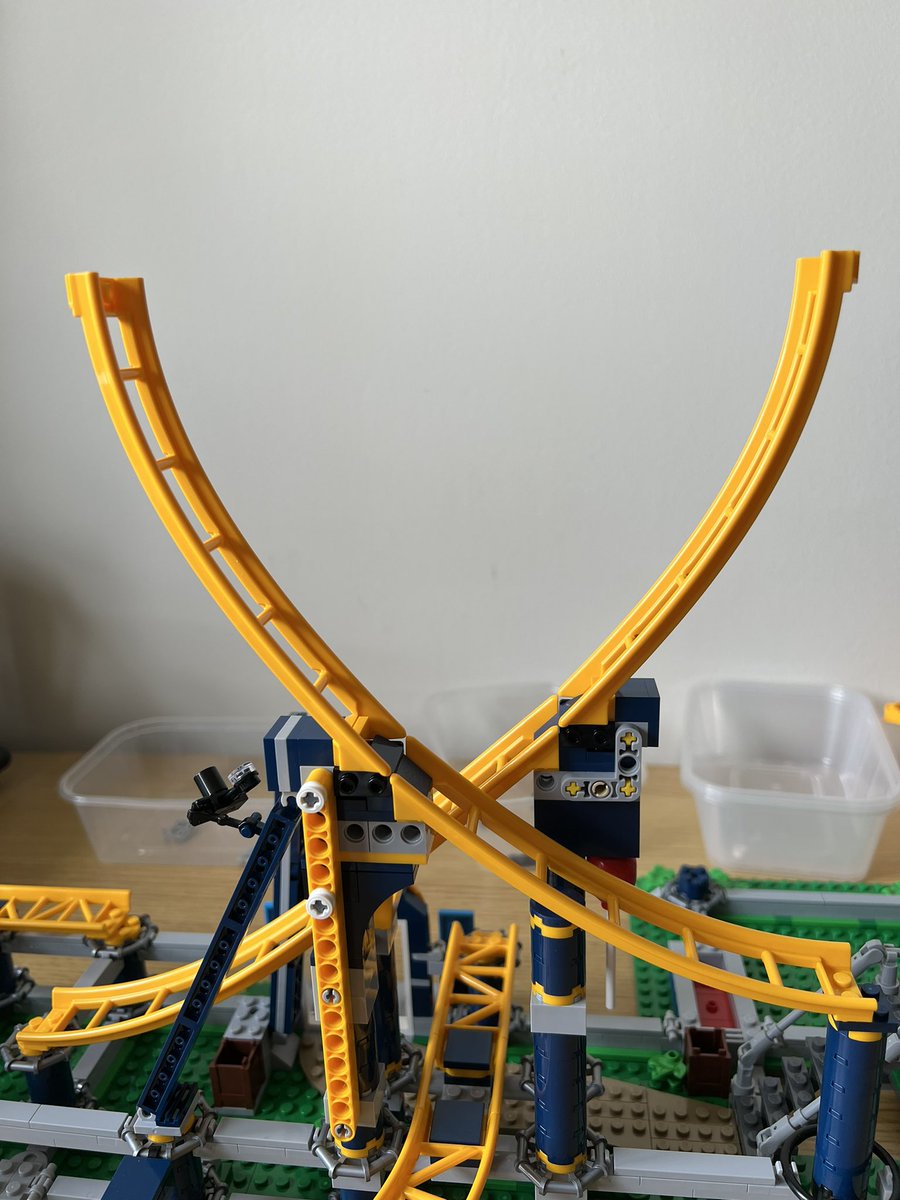
Loop number two straight in, a less complex design because it’s a smaller loop.
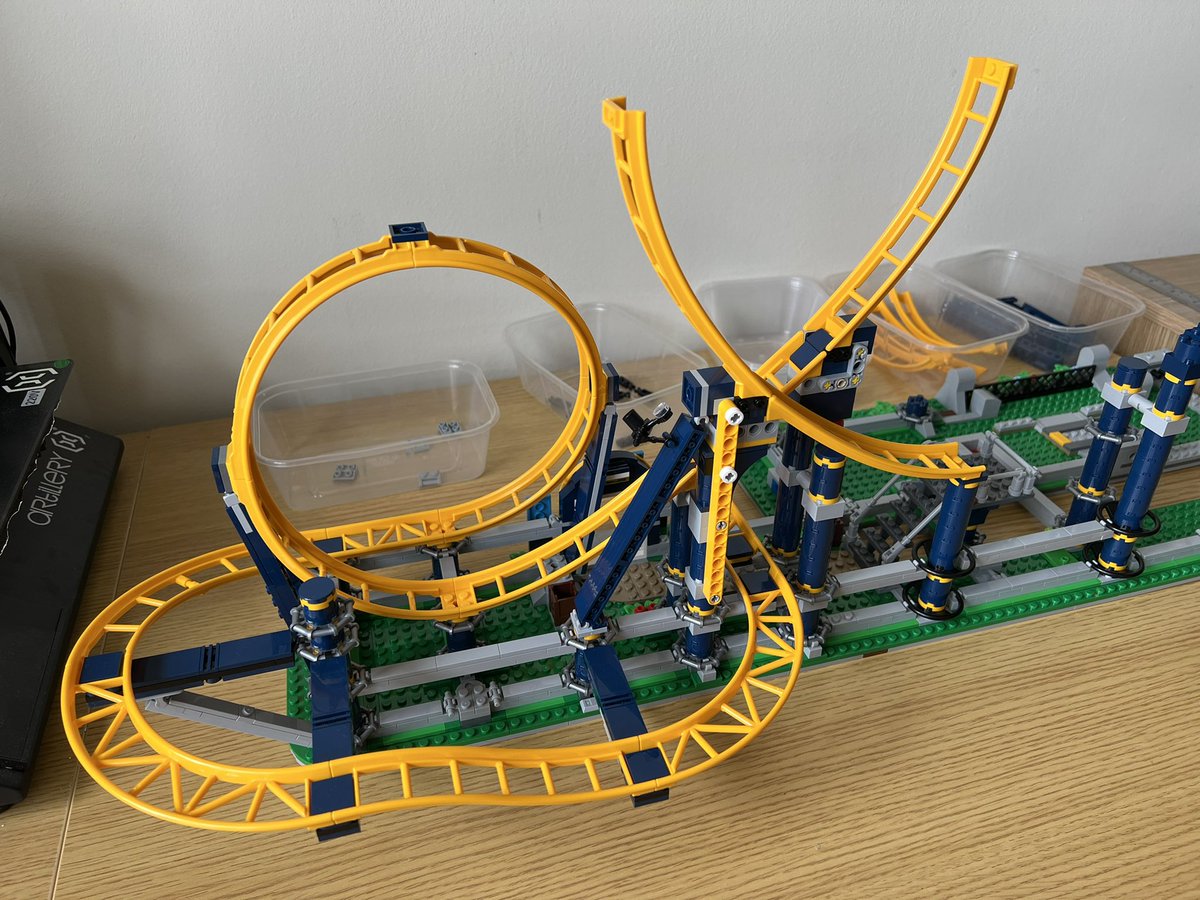
Not quite enough track to get round the loop yet.
And the second loop completes bag 7.
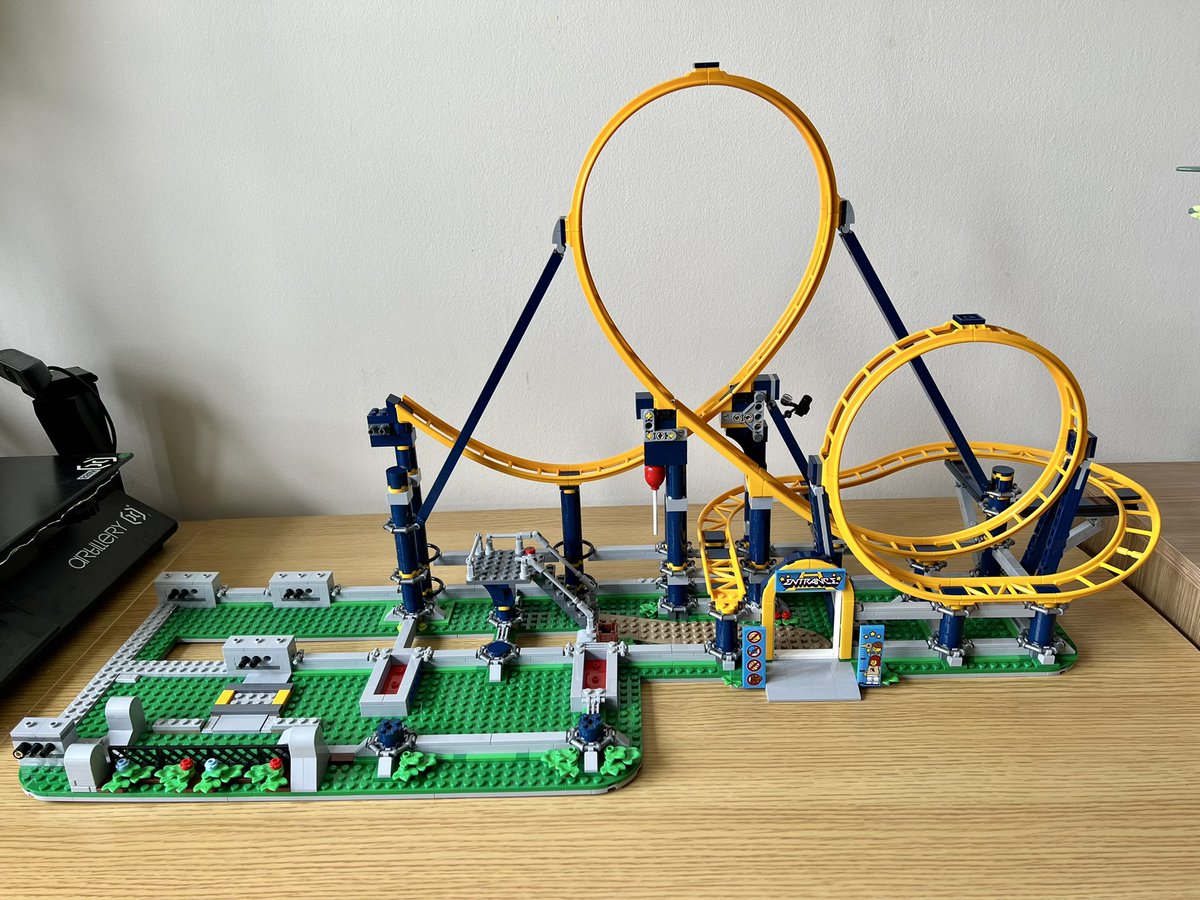
The train can now make it through the smaller loop.
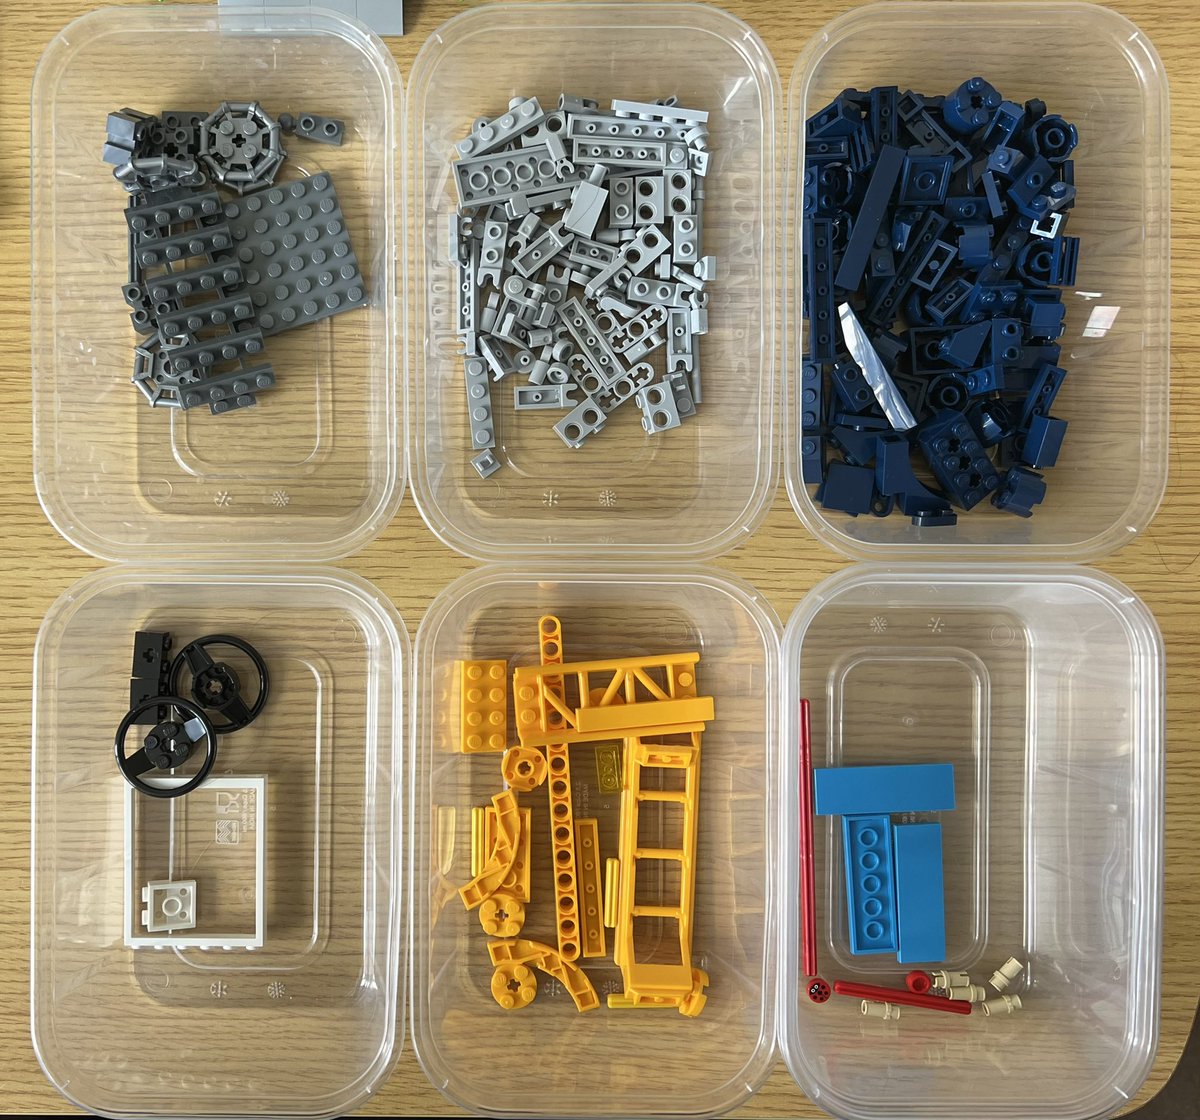
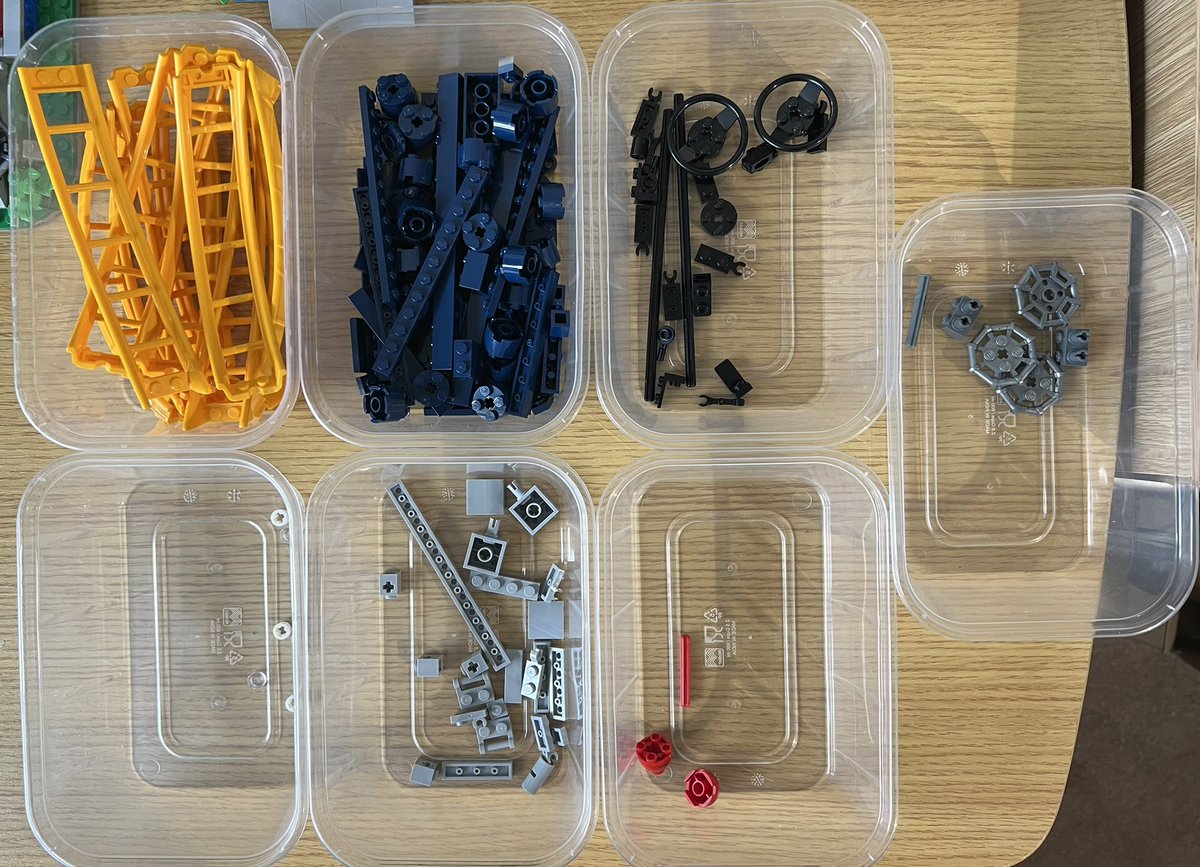
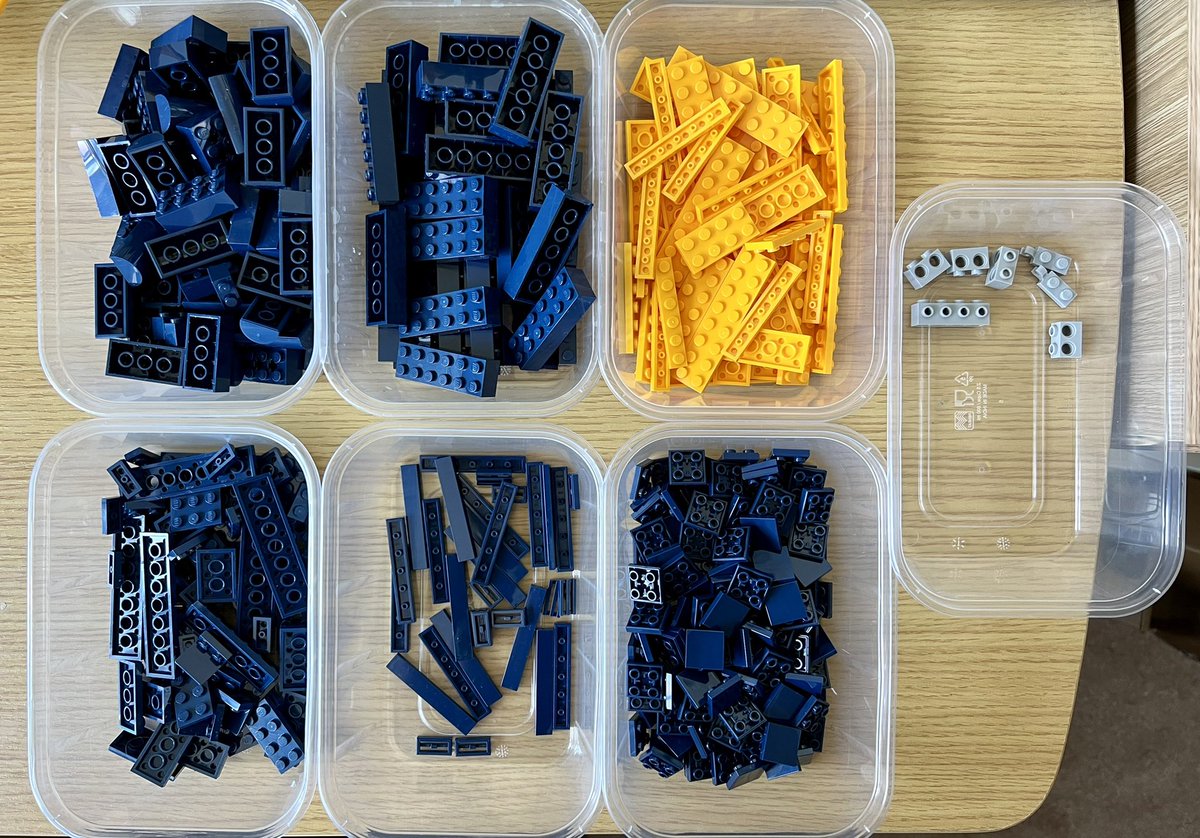
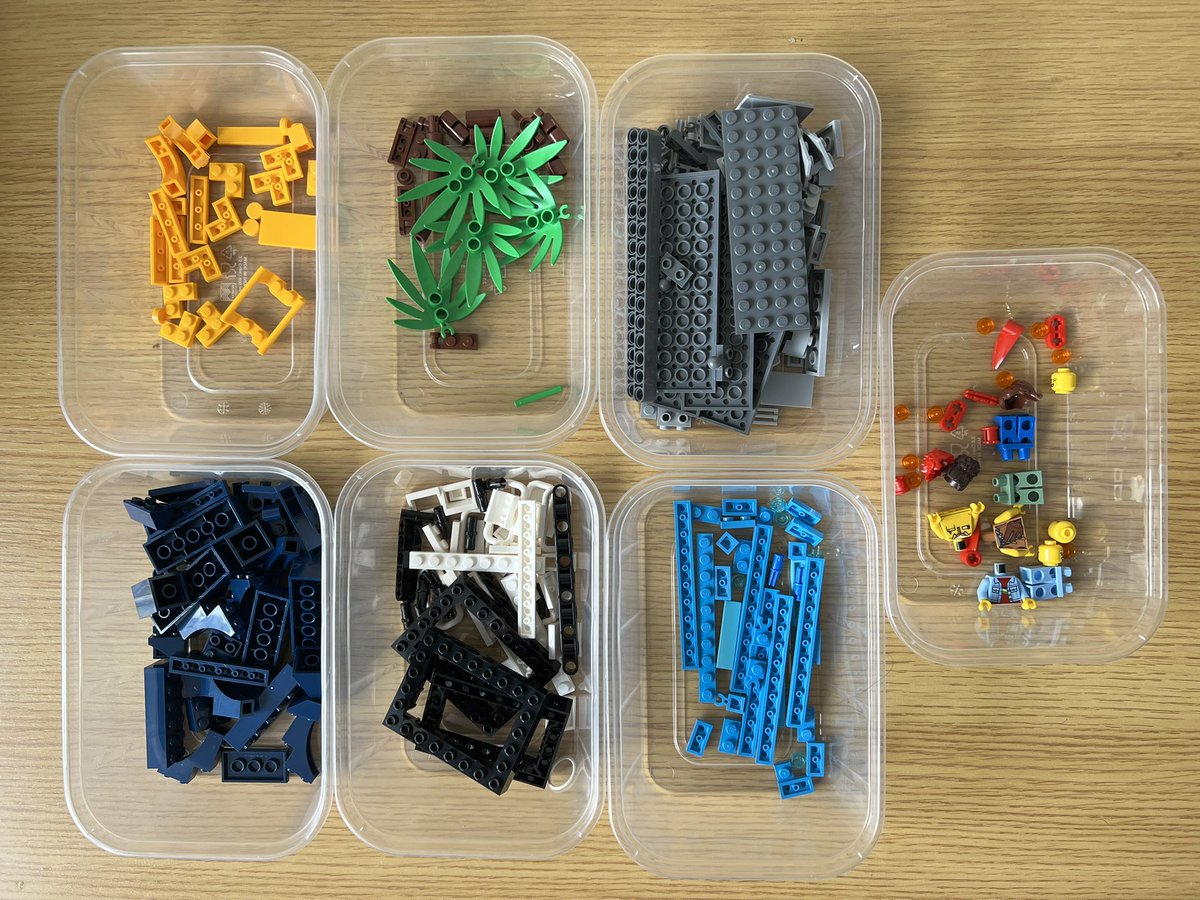
Bag 8 is a weird one: there are so many blue pieces I had to subdivide by type as well as colour.
From bag 8 onwards most of the rest is built in little isolated parts that are attached to the coaster when they’re done, rather than building on the set as a whole. So before it gets too unwieldy I’ve taken the opportunity to move what I have so far to its intended location.
I literally had to rearrange half the furniture in this room to get the coaster to fit anywhere.
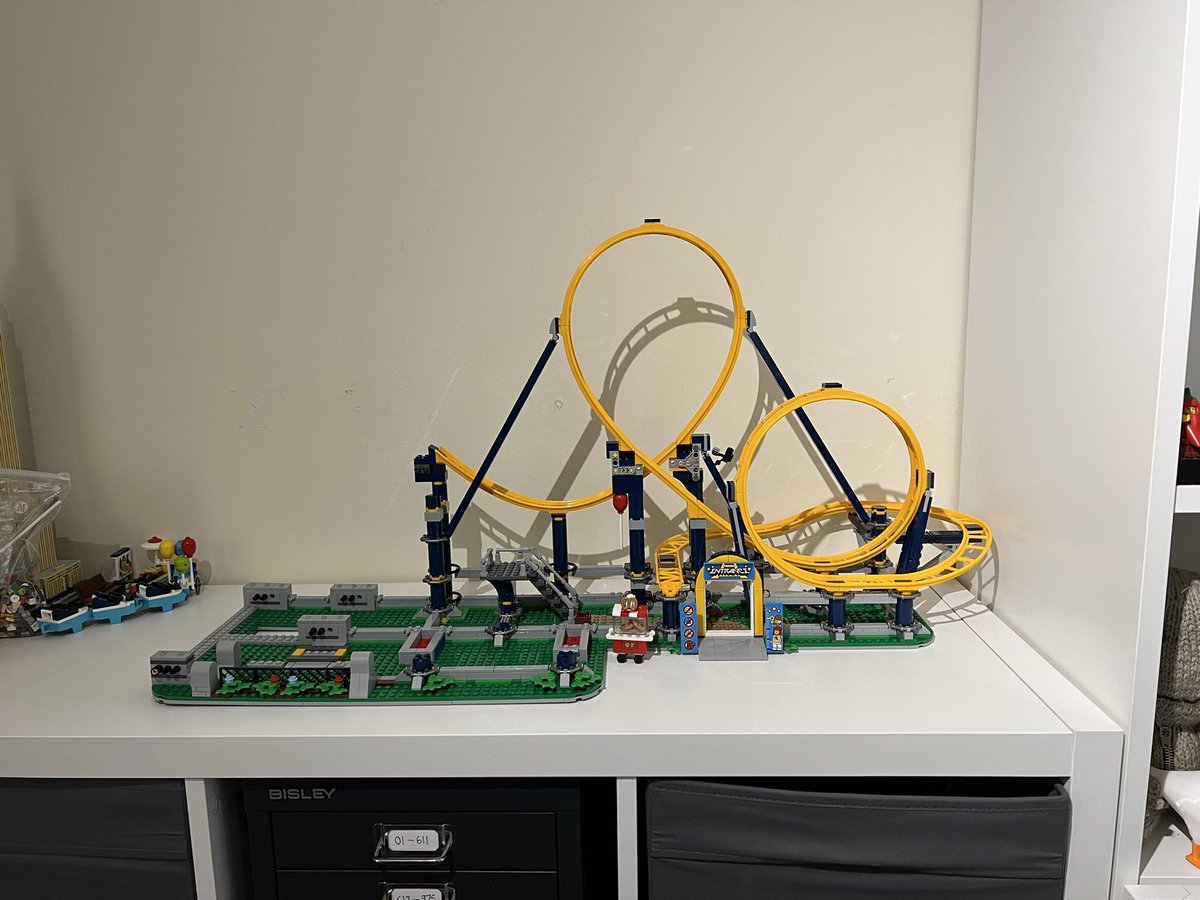
This section is comically long.
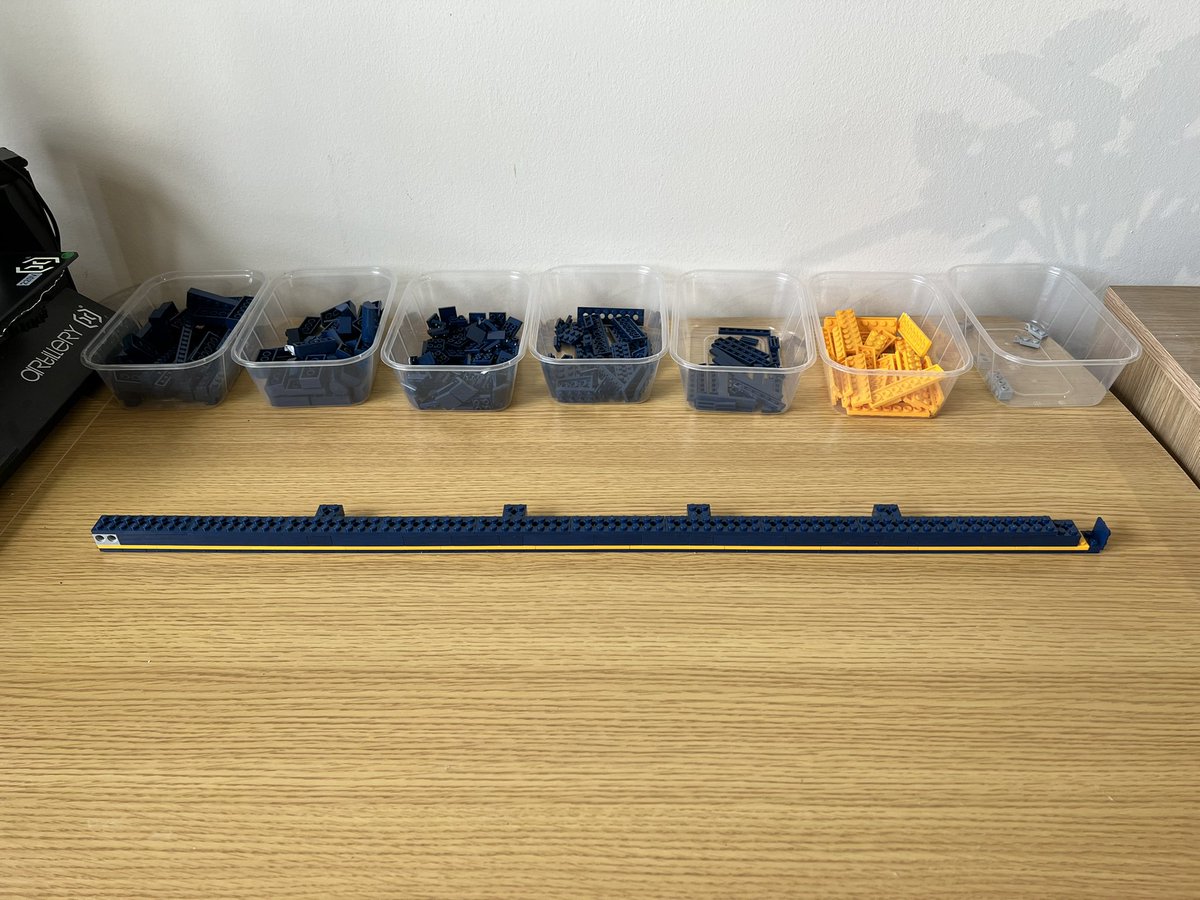
Bag 8 complete: it’s a… ladder?
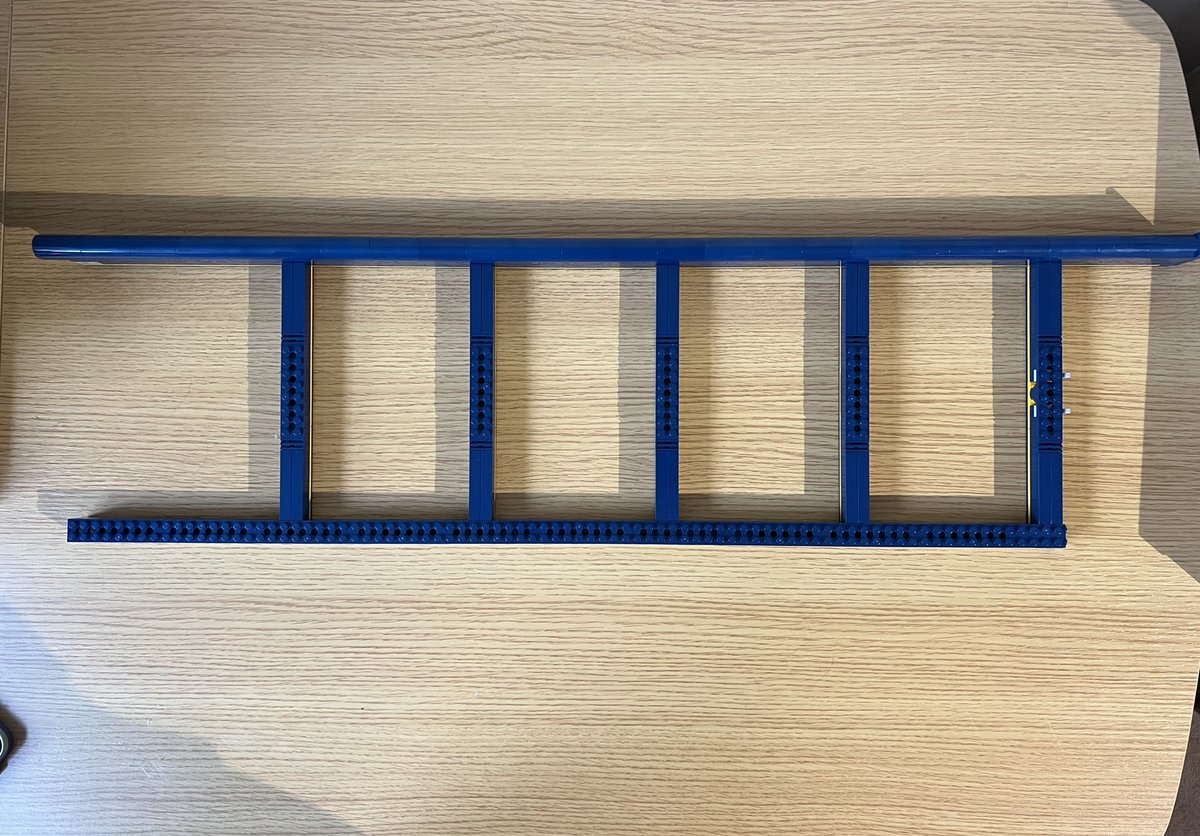
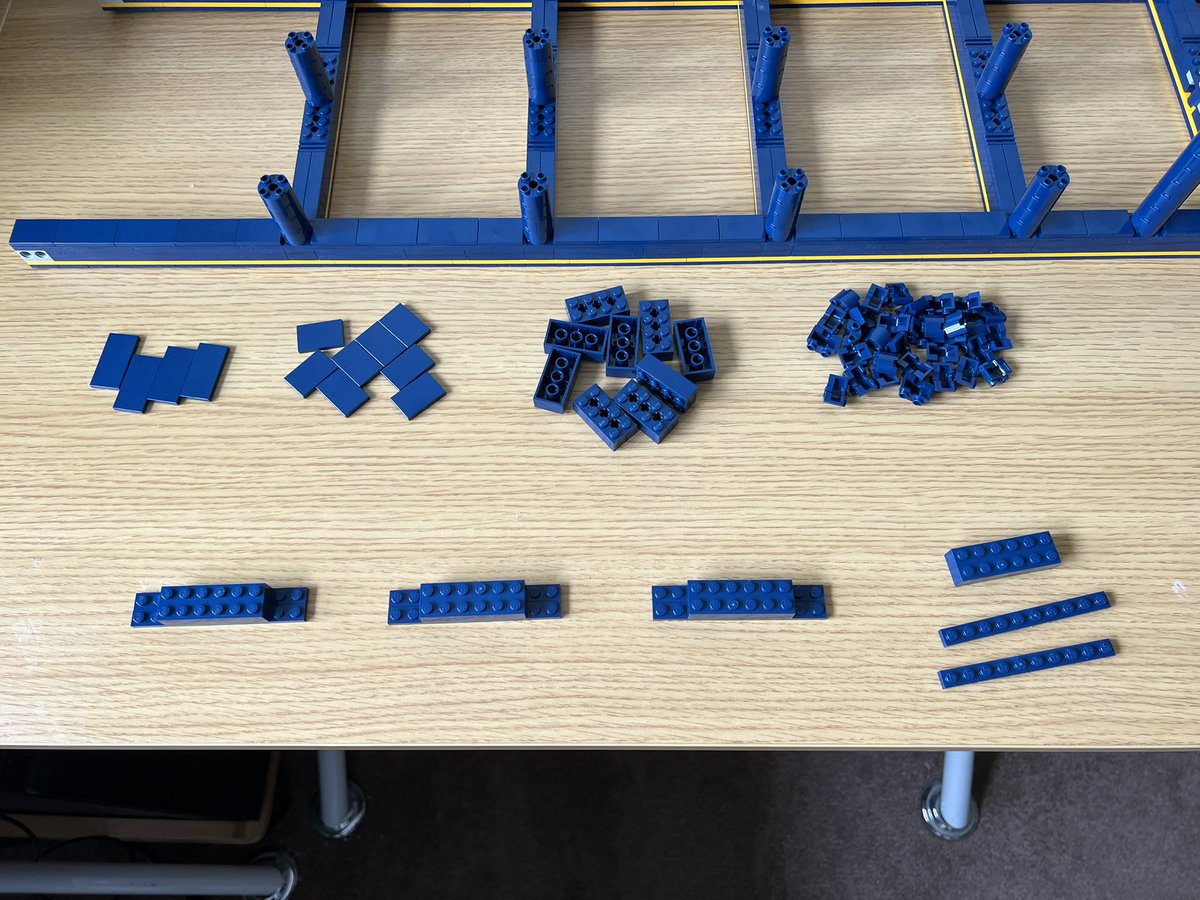
Bag 9 has this very dissatisfying mixed colour pot because there are two types of blue pieces that need their own pot.
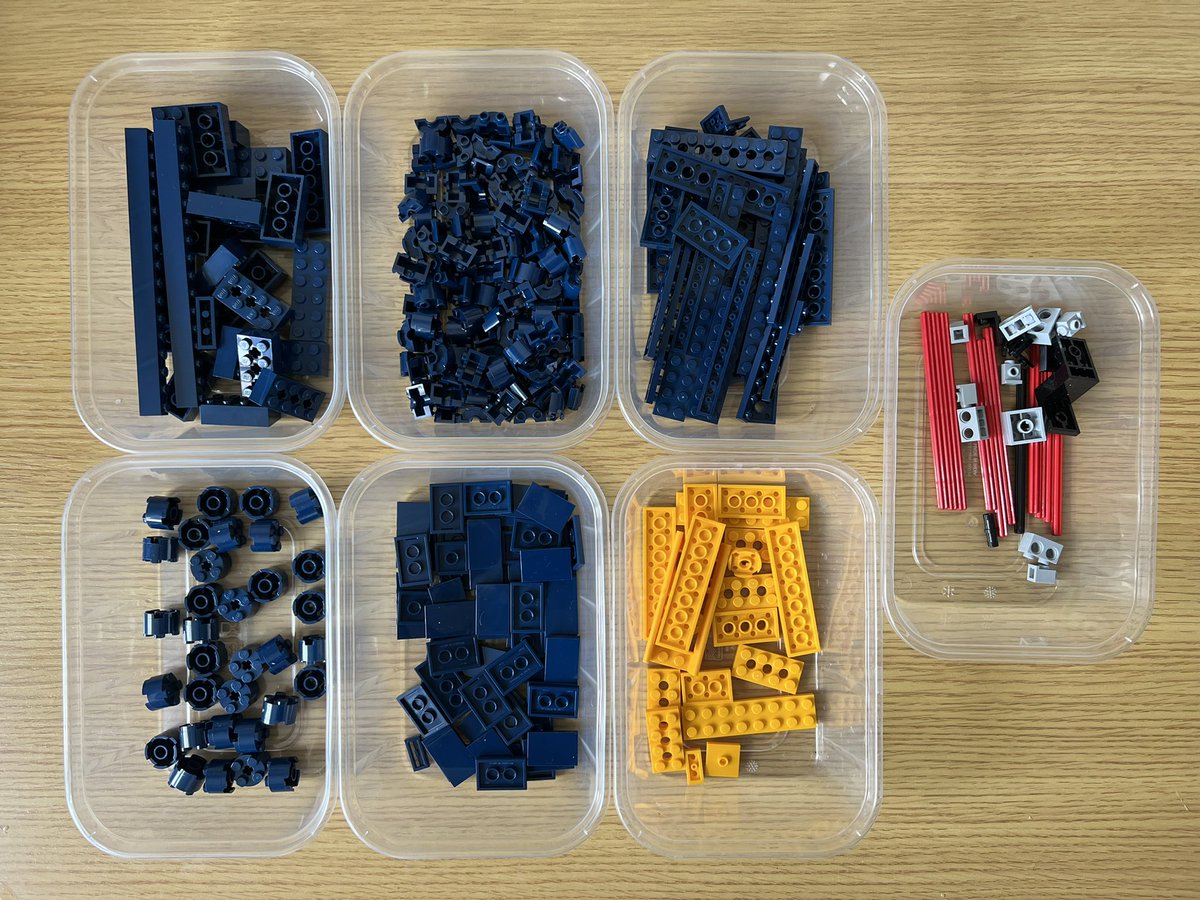
The moment you realise you’re in for a repetitive time…
To be honest, it was nowhere near the most tedious step of Lego instructions I’ve ever done.
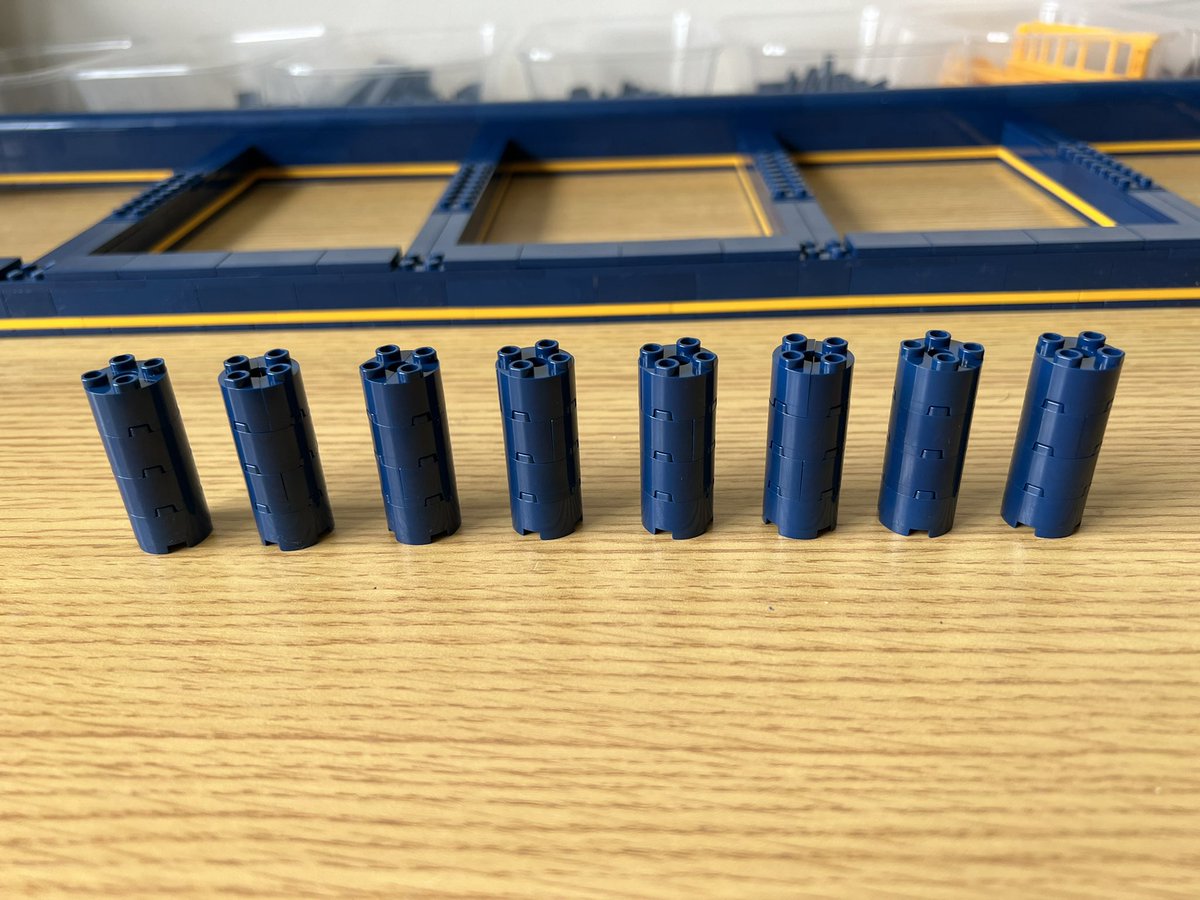
When you have to build loads of the same thing so you make a little production line.
Now it’s a ladder for climbing 4-dimensional objects.
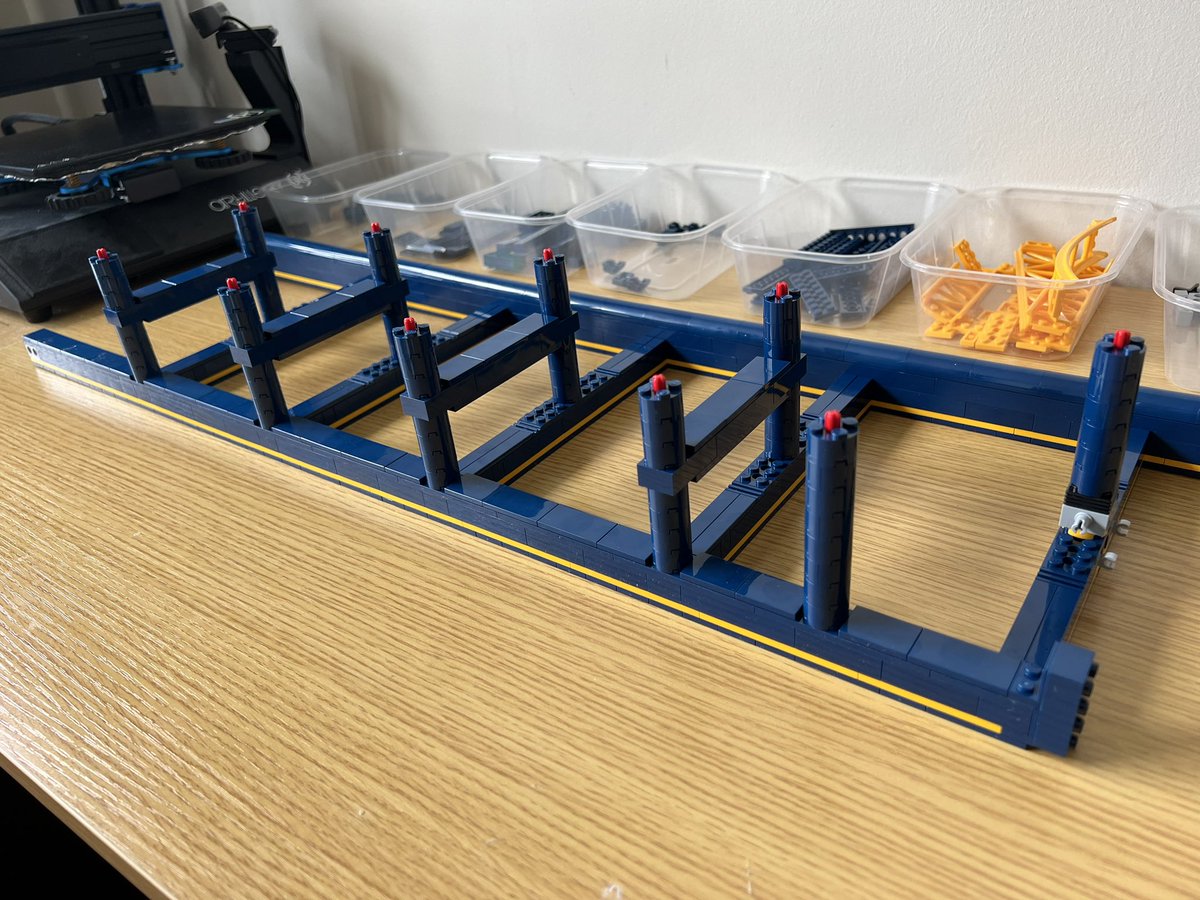
Bag 9 complete: there’s track on my ladder!
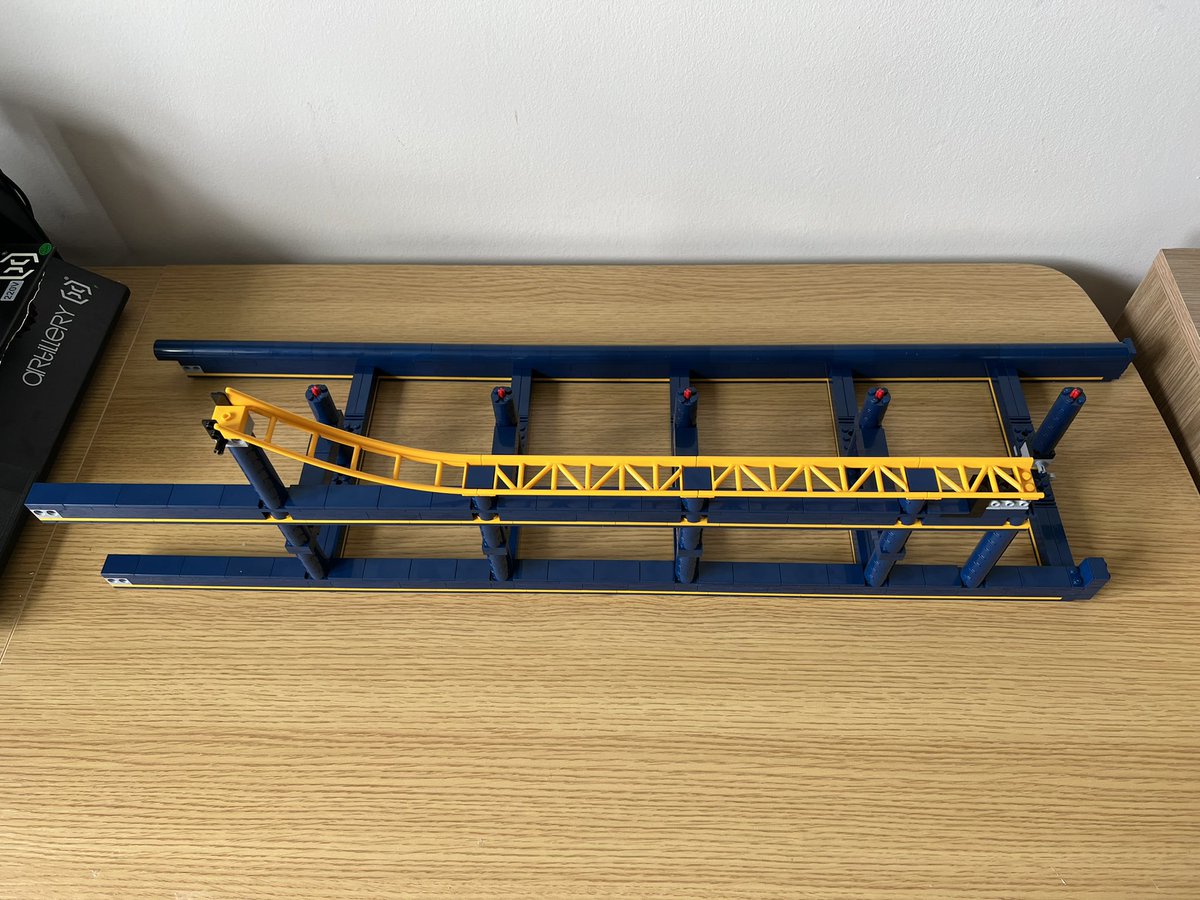
Bag 10: there’s definitely been a theme for the last few bags.
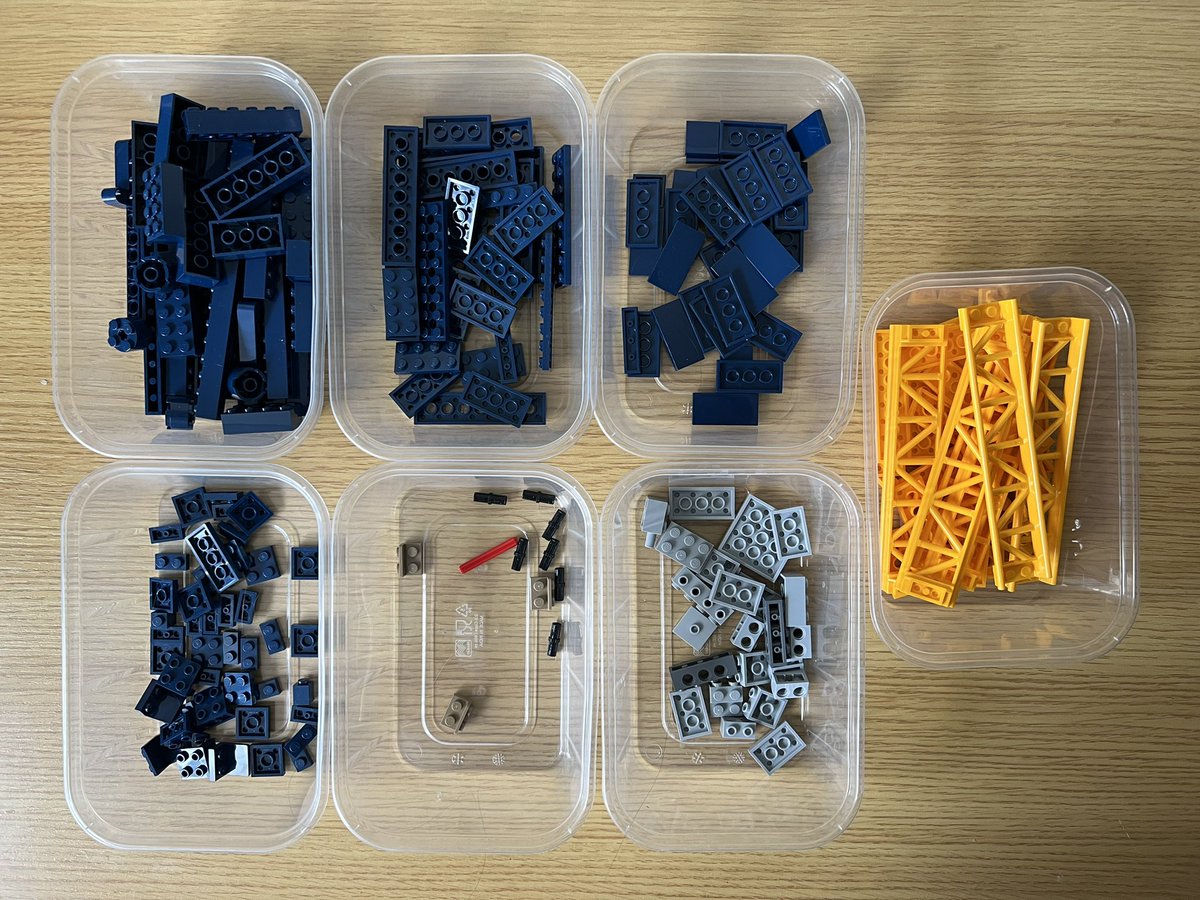
It’s officially too big for my desk.
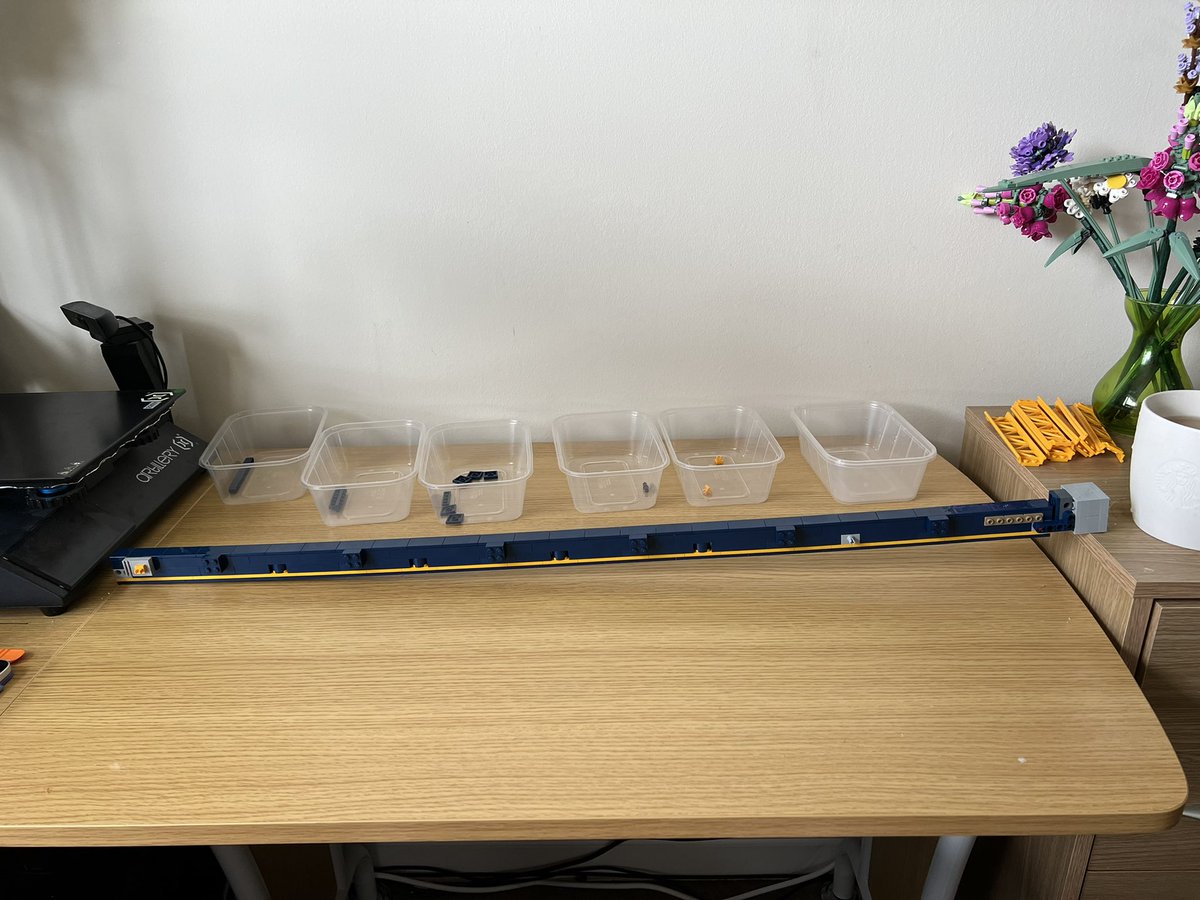
Bag 10 complete: someone please buy me a bigger desk.
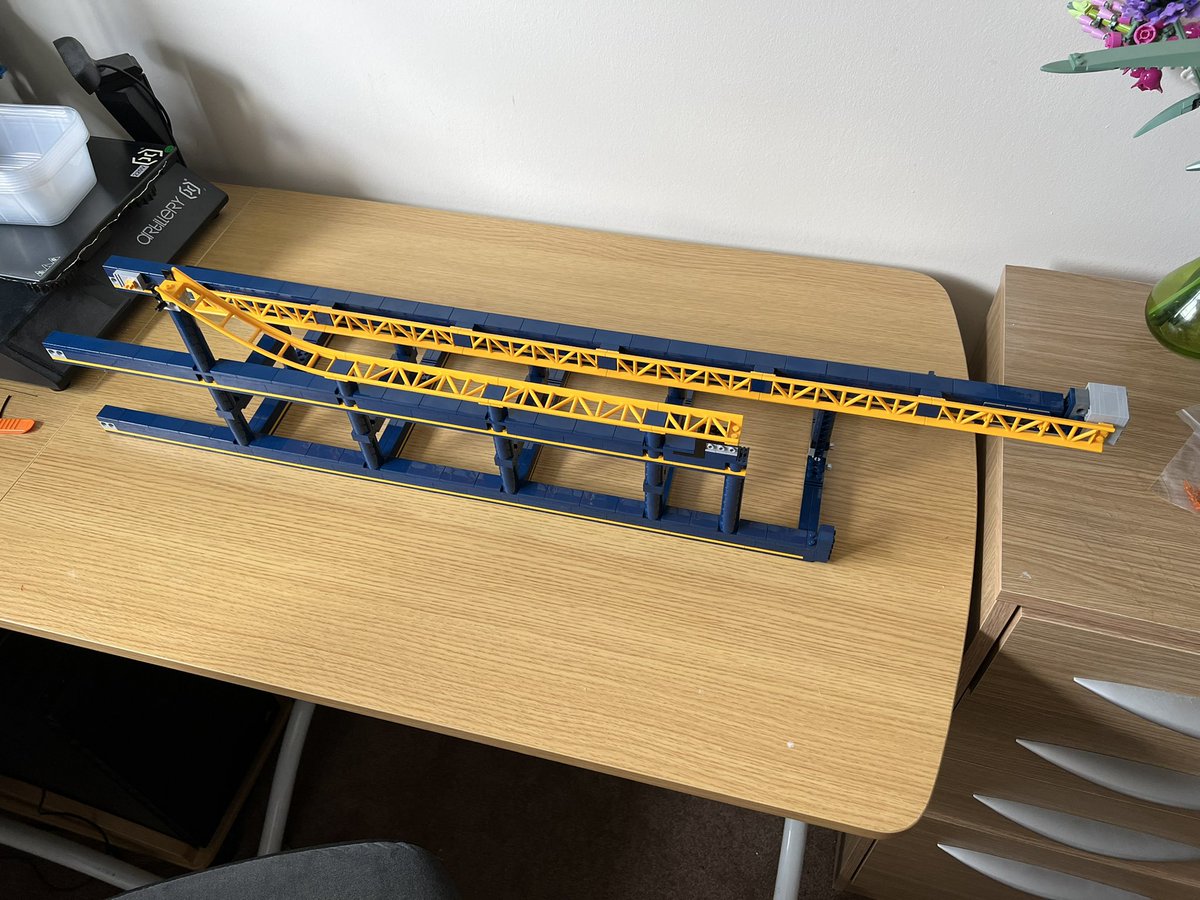
Bag 11 is looking a bit short on pieces if you ask me…
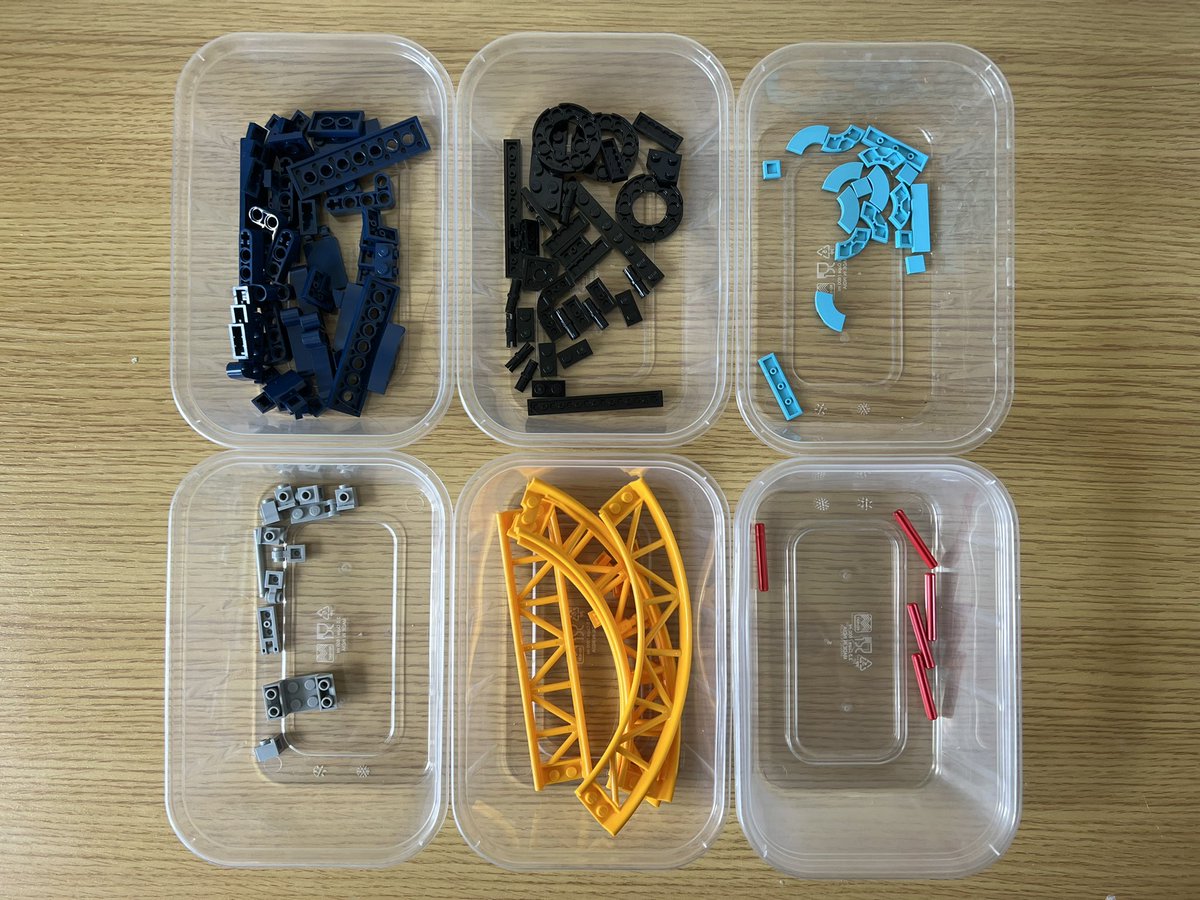
Yet more incredible lego engineering with this 90 degree curve that’s made from two flat curves perpendicular to the rest of the track and still forms cohesive rails.
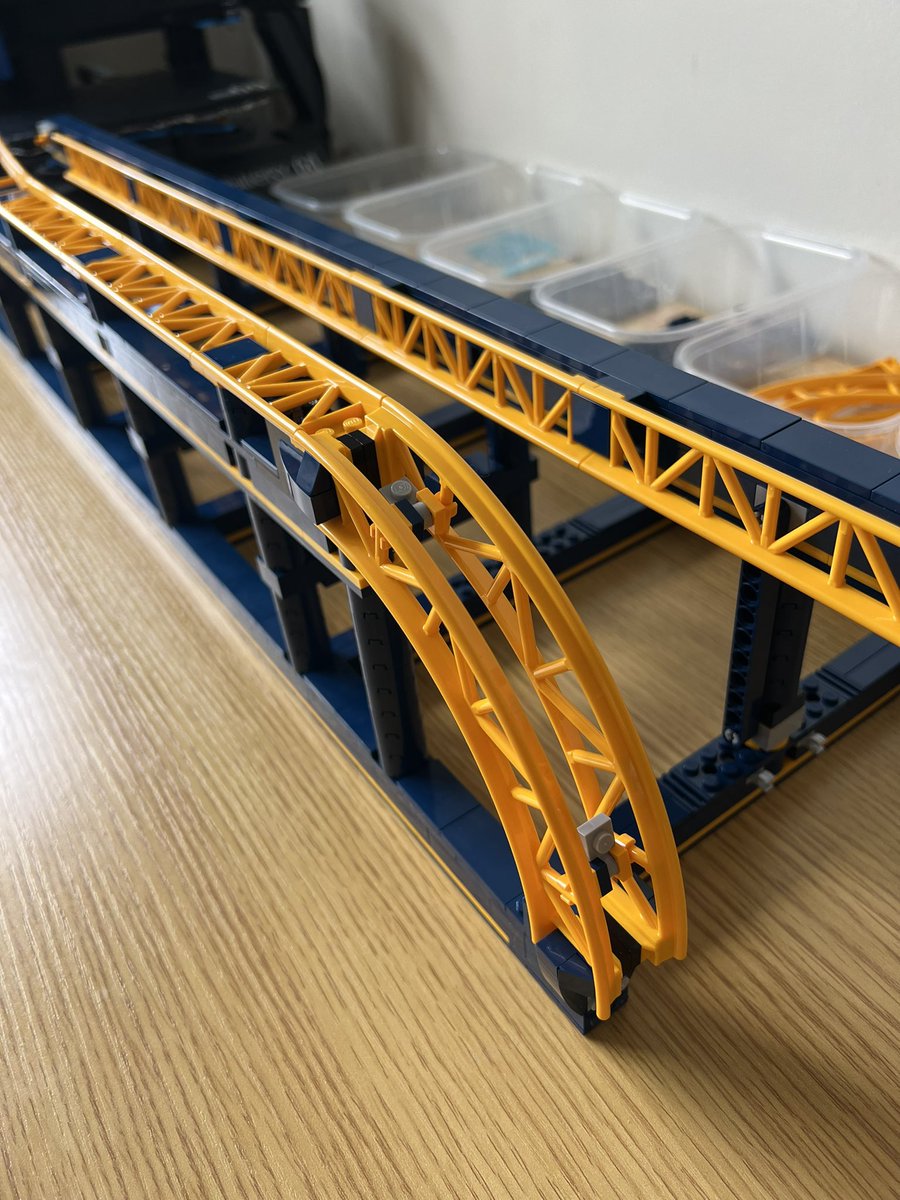
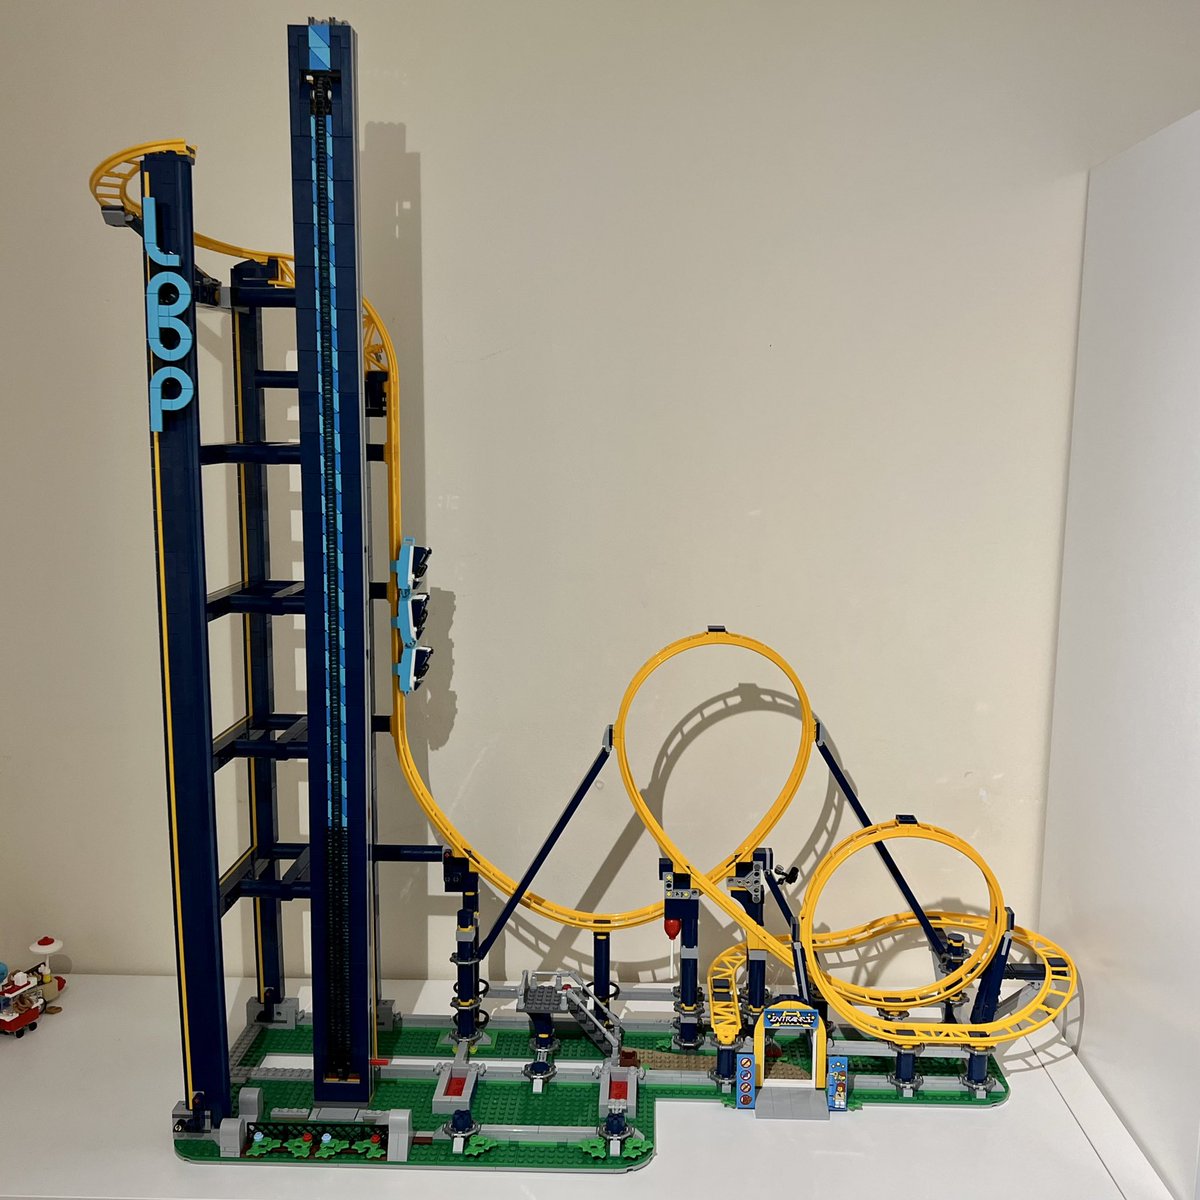
Loop (or LBP I suppose if you want to imagine a Sackboy-themed roller coaster).
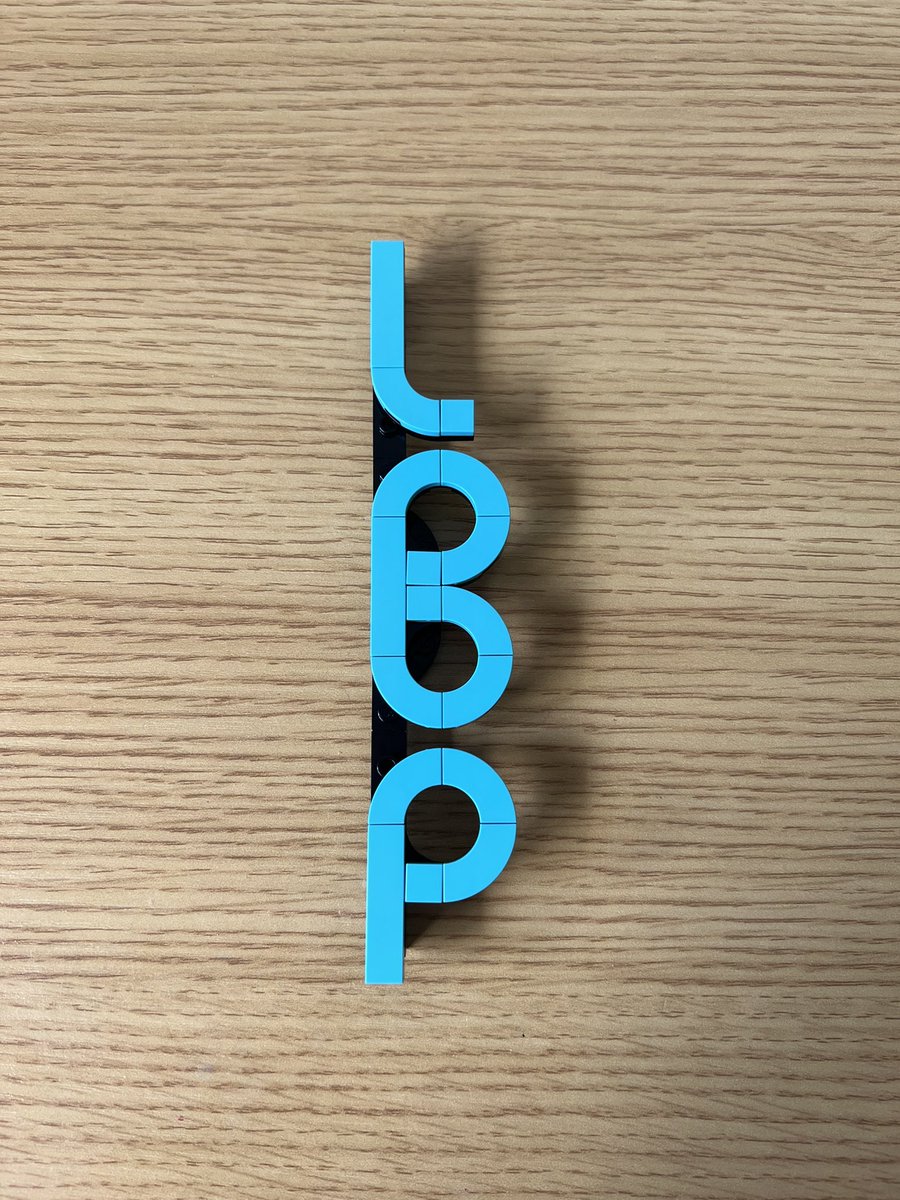
Bag 11 complete: the tower is installed! I had to stand on my office chair to get the top parts attached.
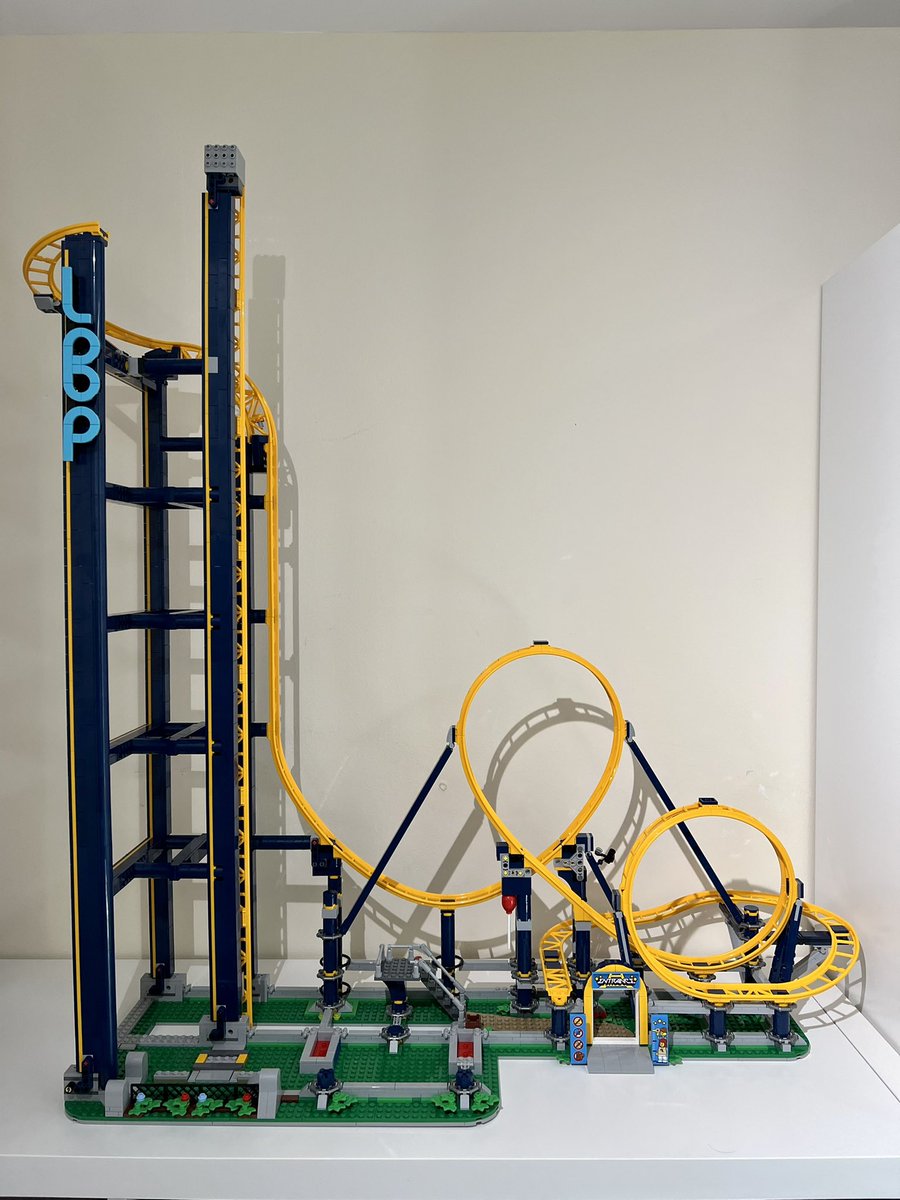
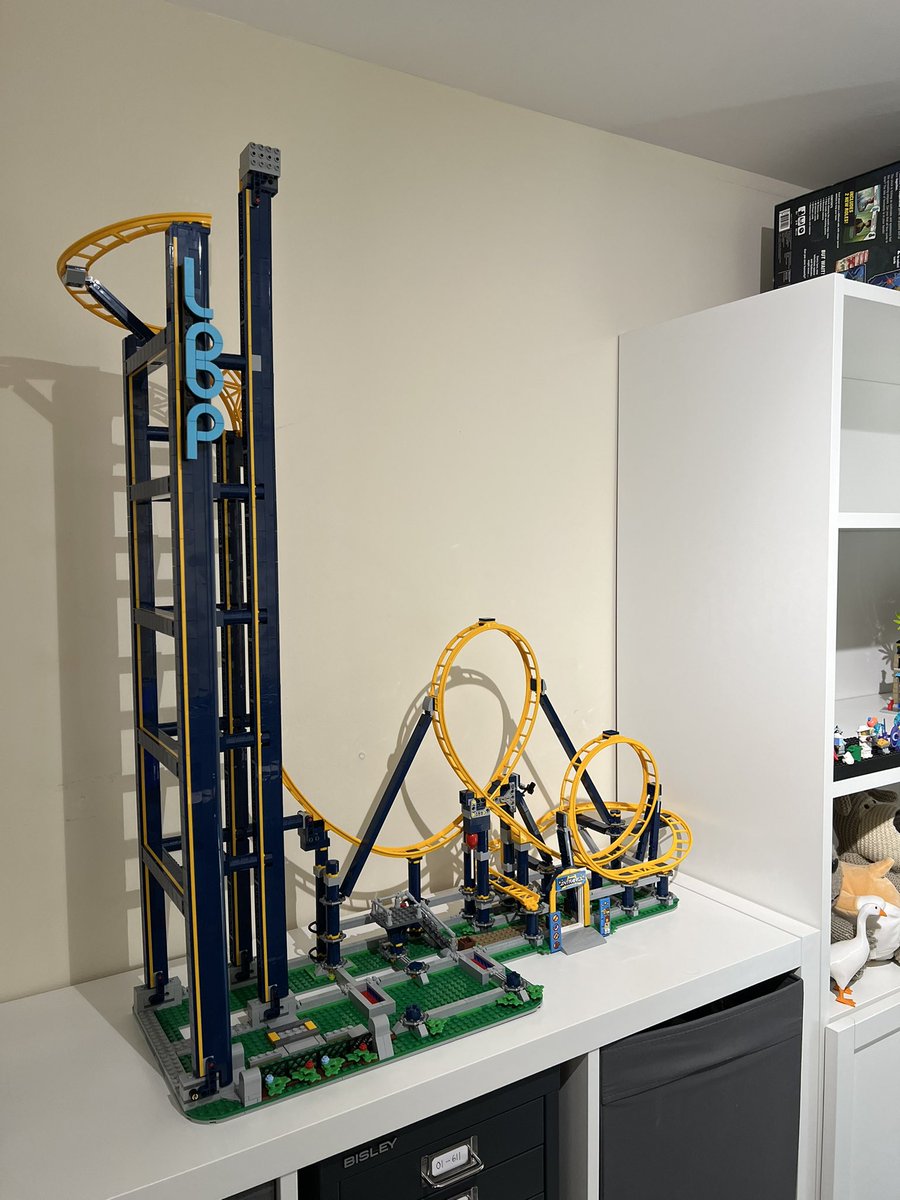
Double loop action!
Bag 12: wow that’s a LOT of chain pieces.
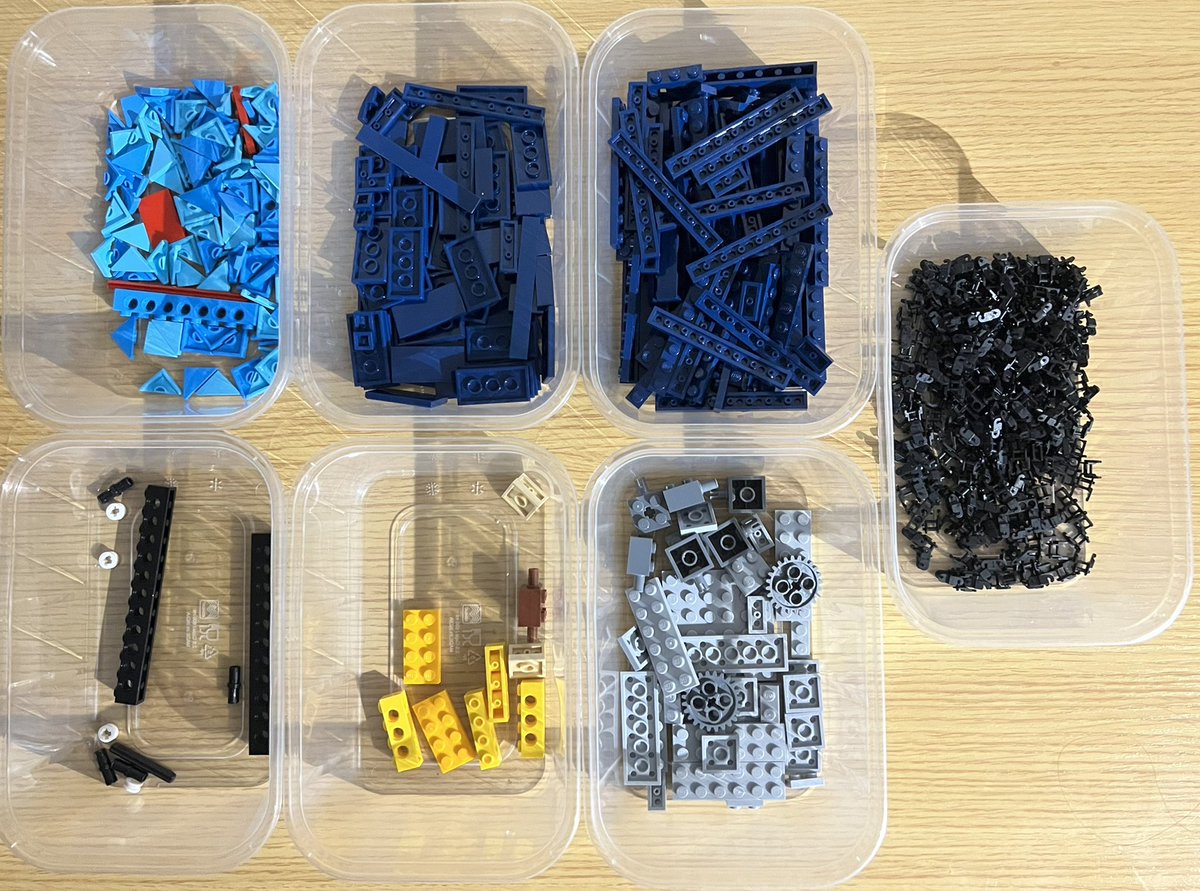
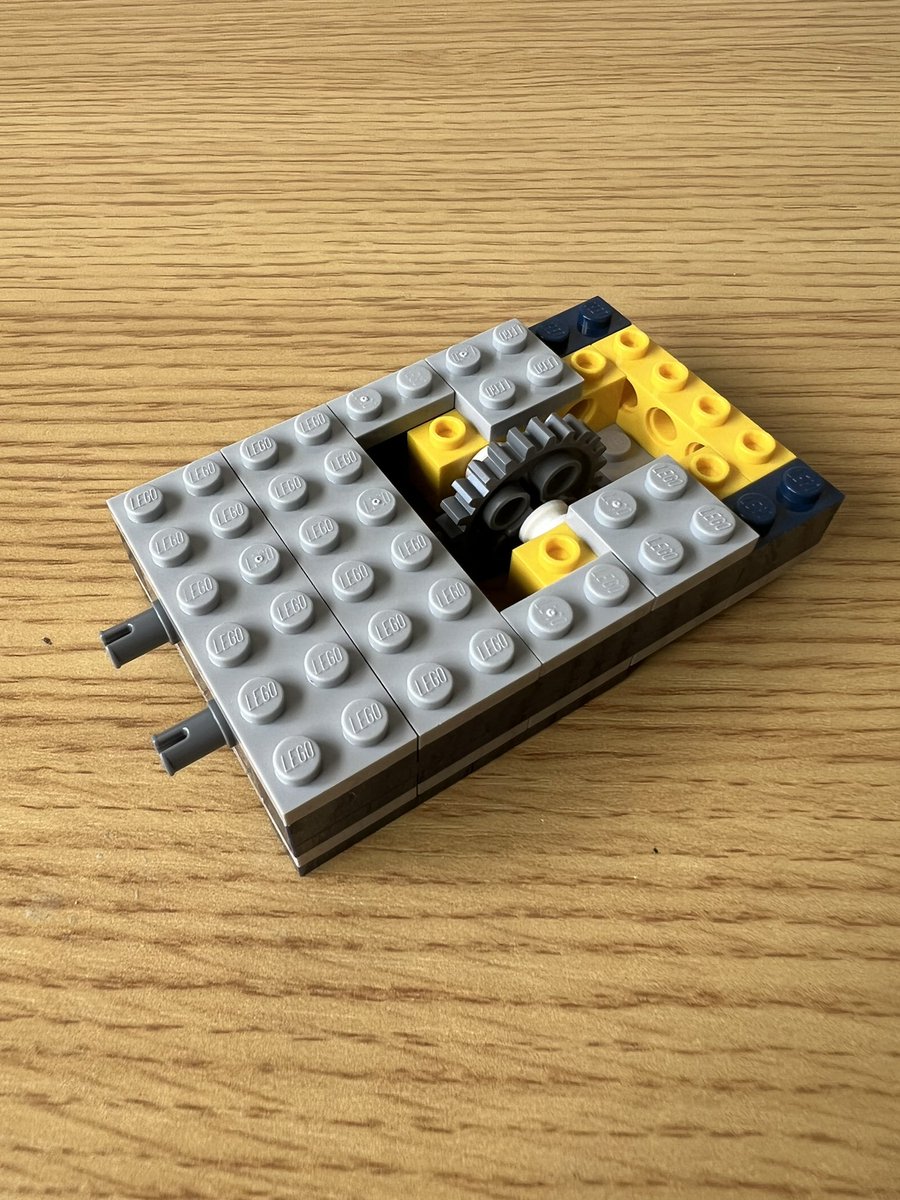
Time to start mechanising!
That’s a lot of tiling to do.
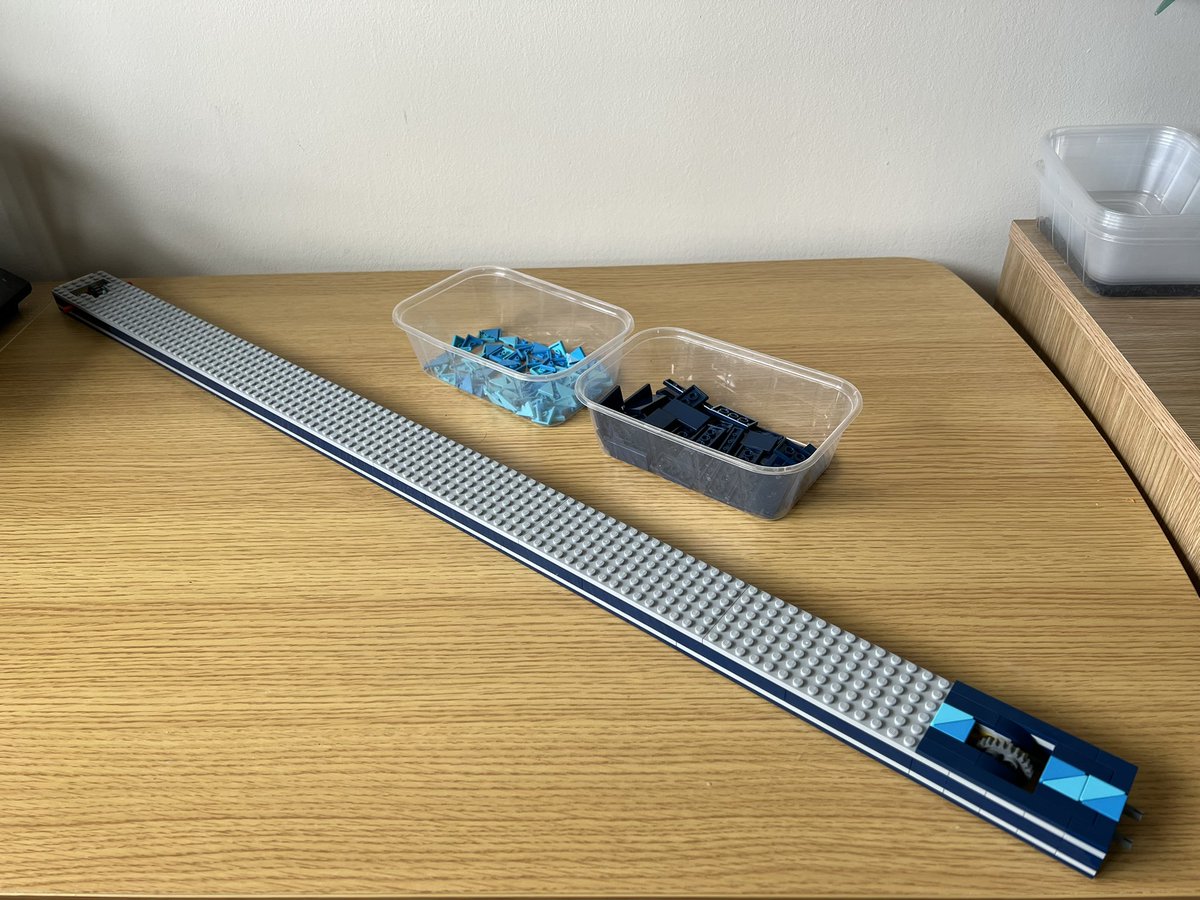
It was indeed a lot of tiling.
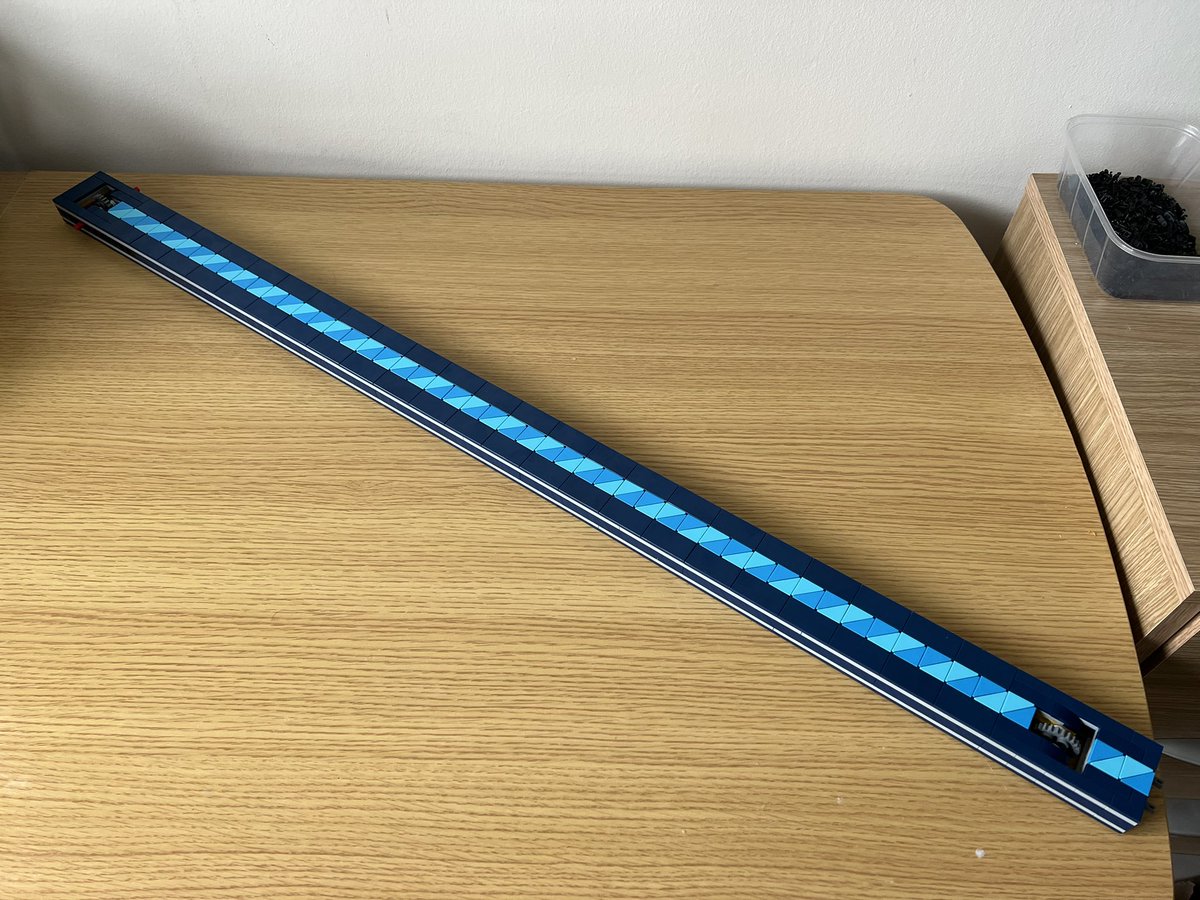
Send help…
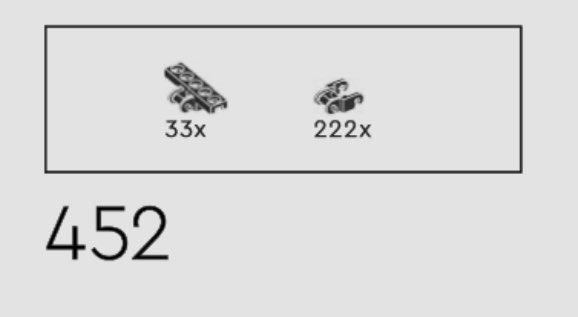
Bag 12 complete: we have the beginnings of a lift!
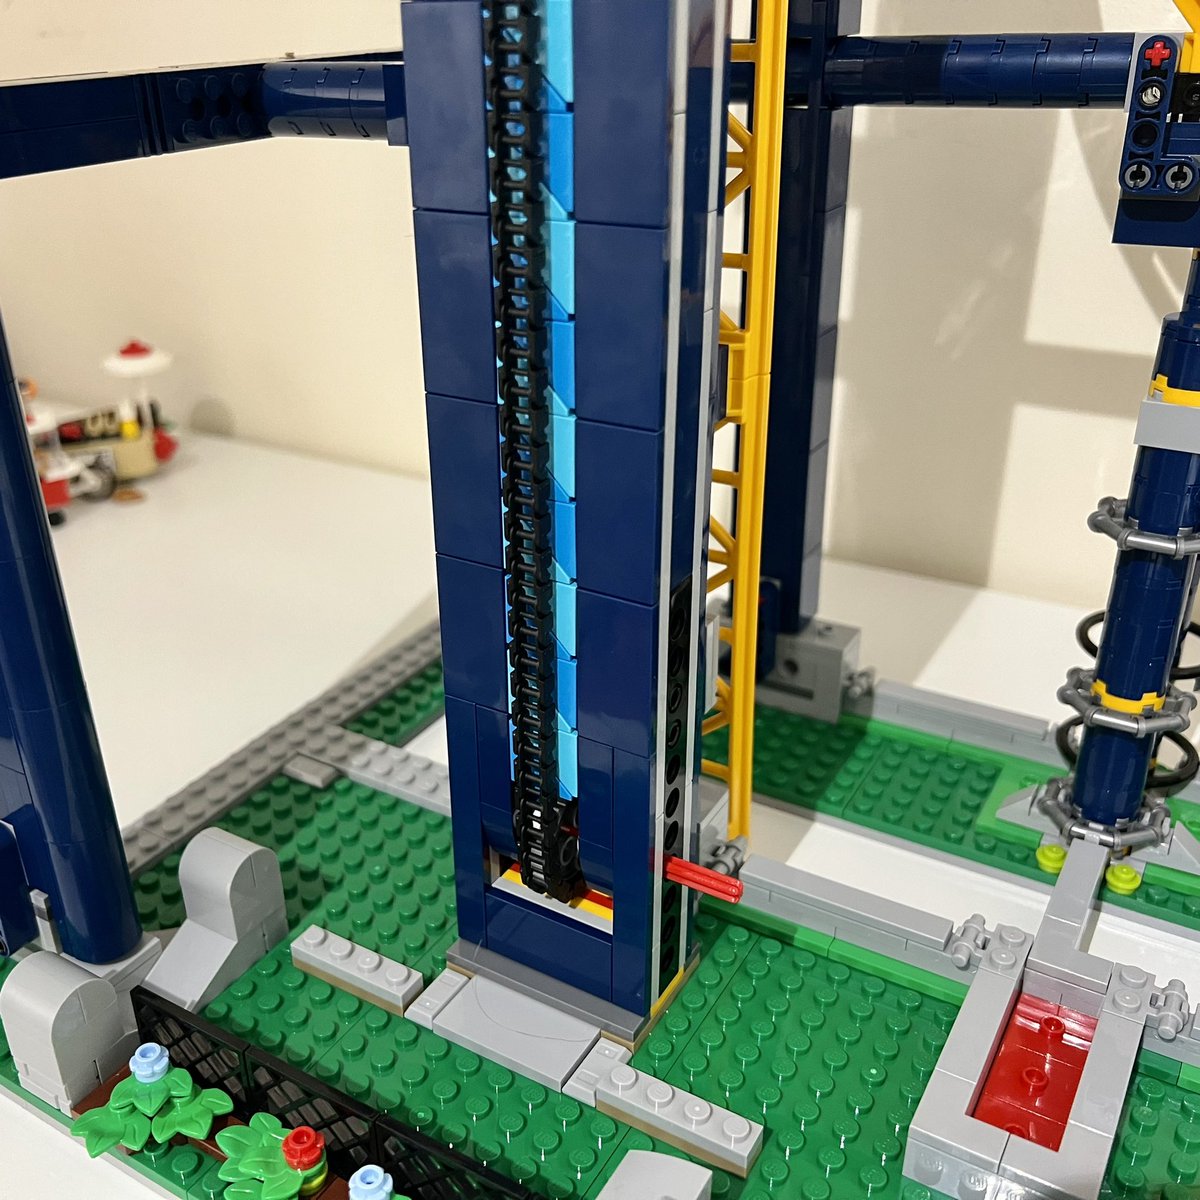
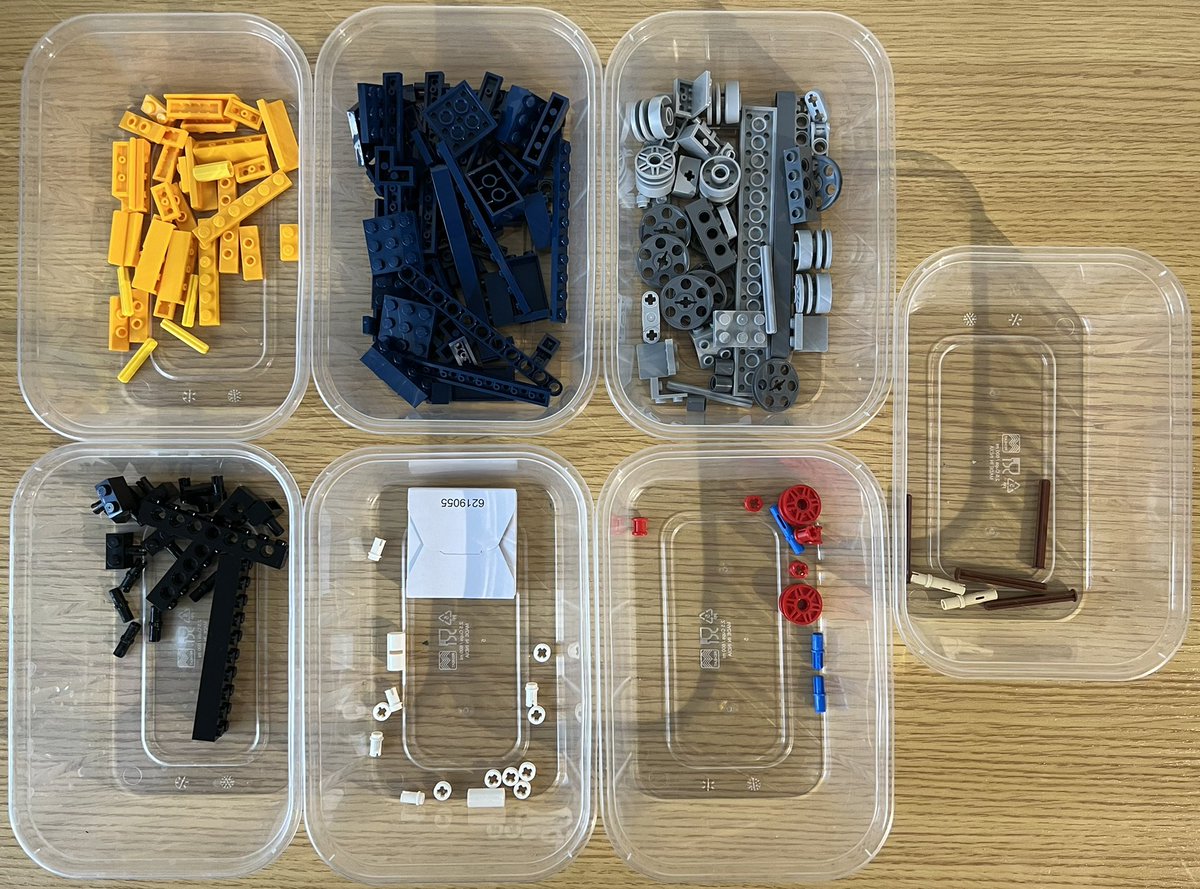
Bag 13 has lots of wheels and a Mystery Box.
This is somehow going to be a lift carriage and I do not know how.
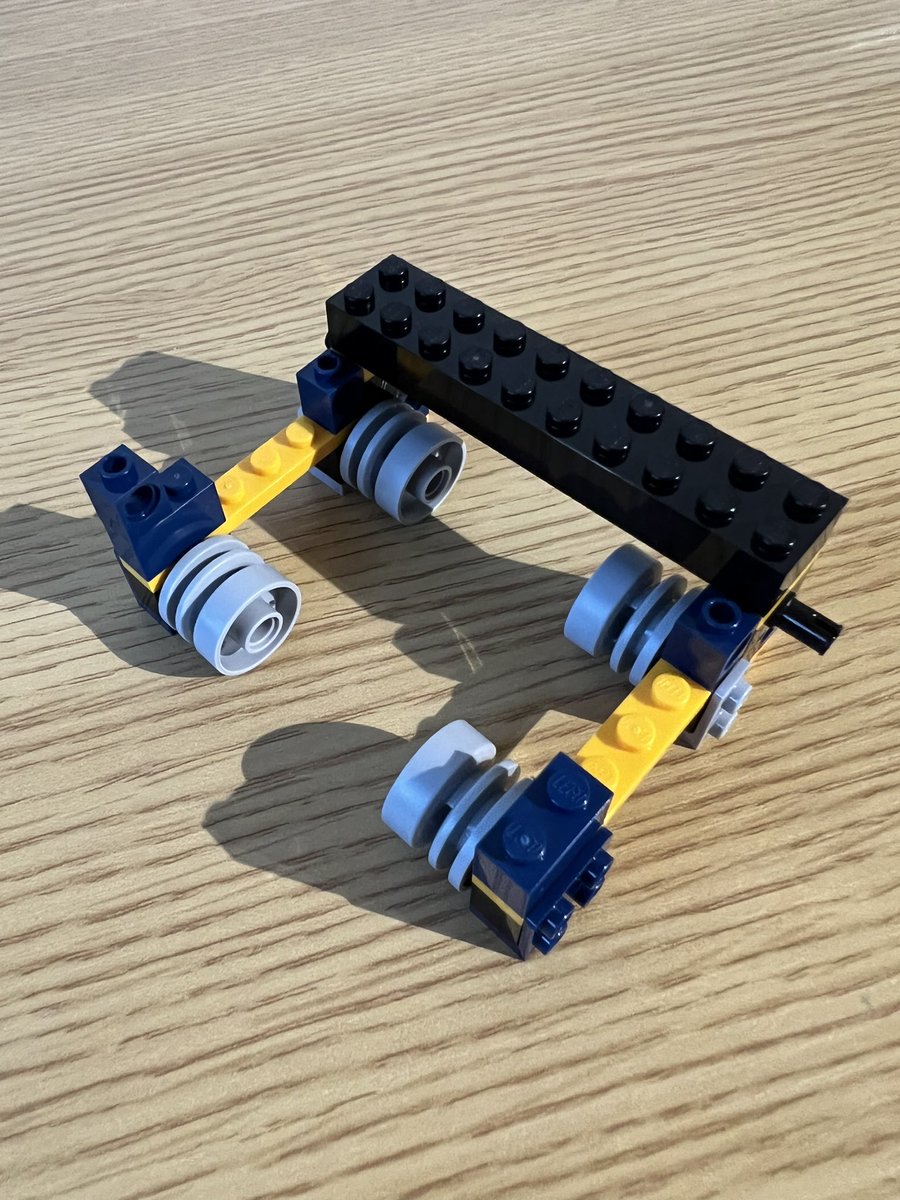
It wouldn’t be a lift carriage without some more wheels.
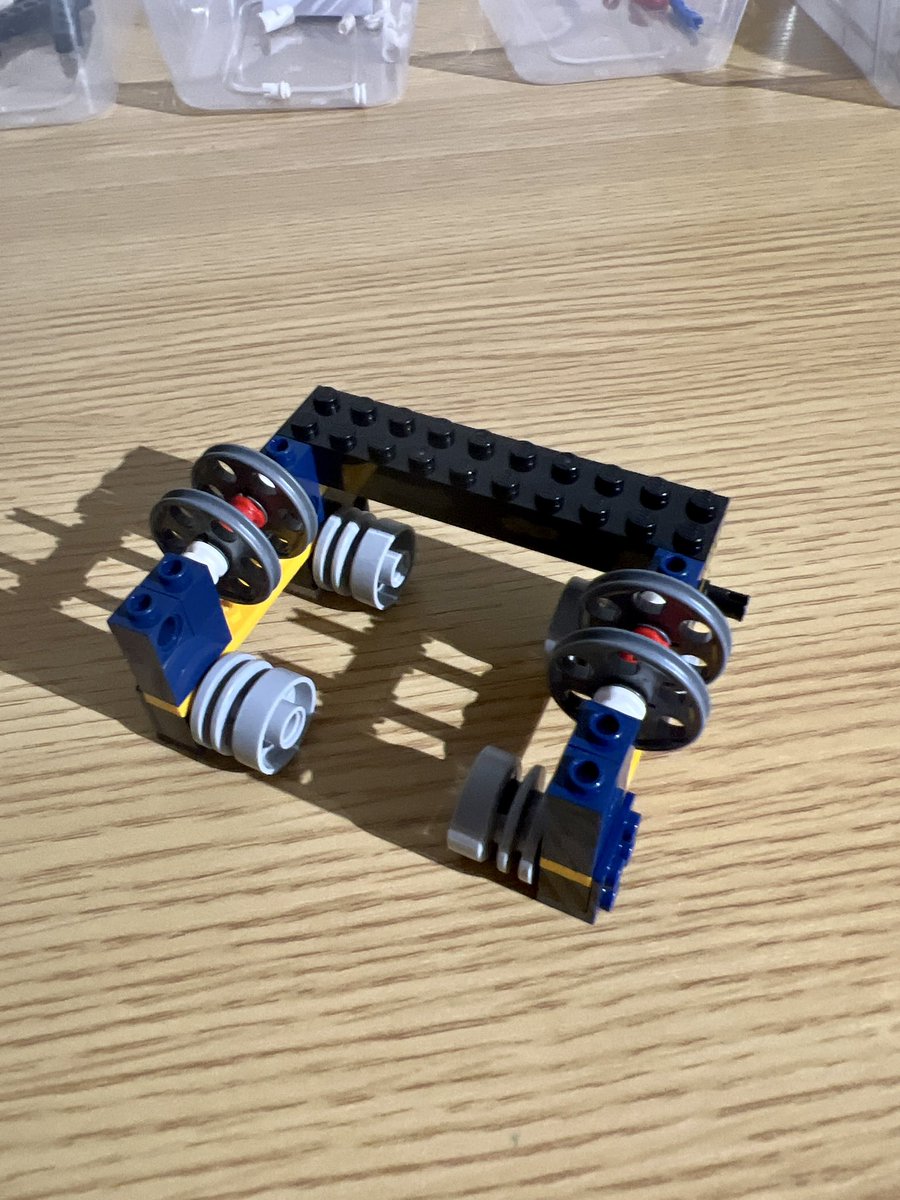
Okay more wheels I guess.
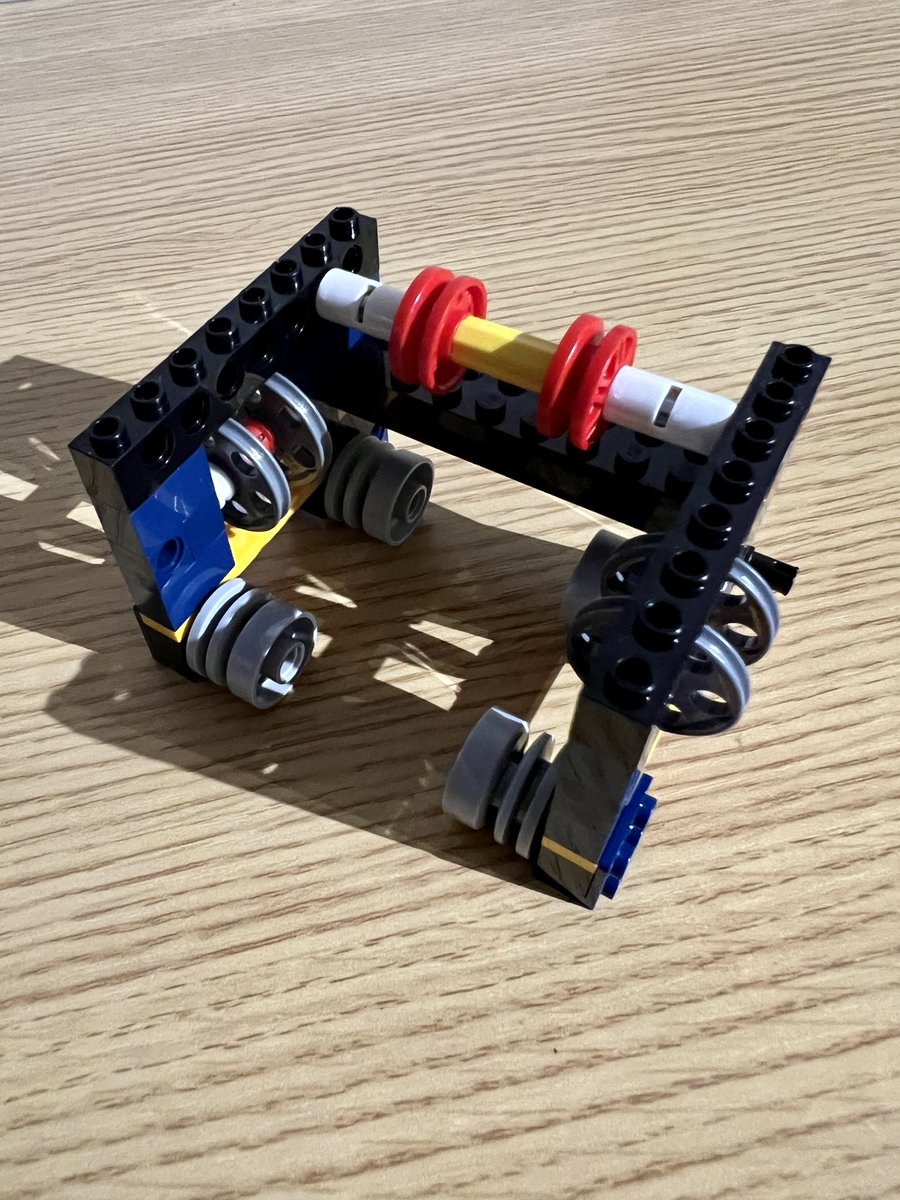
You can’t be serious, it doesn’t need more wheels.
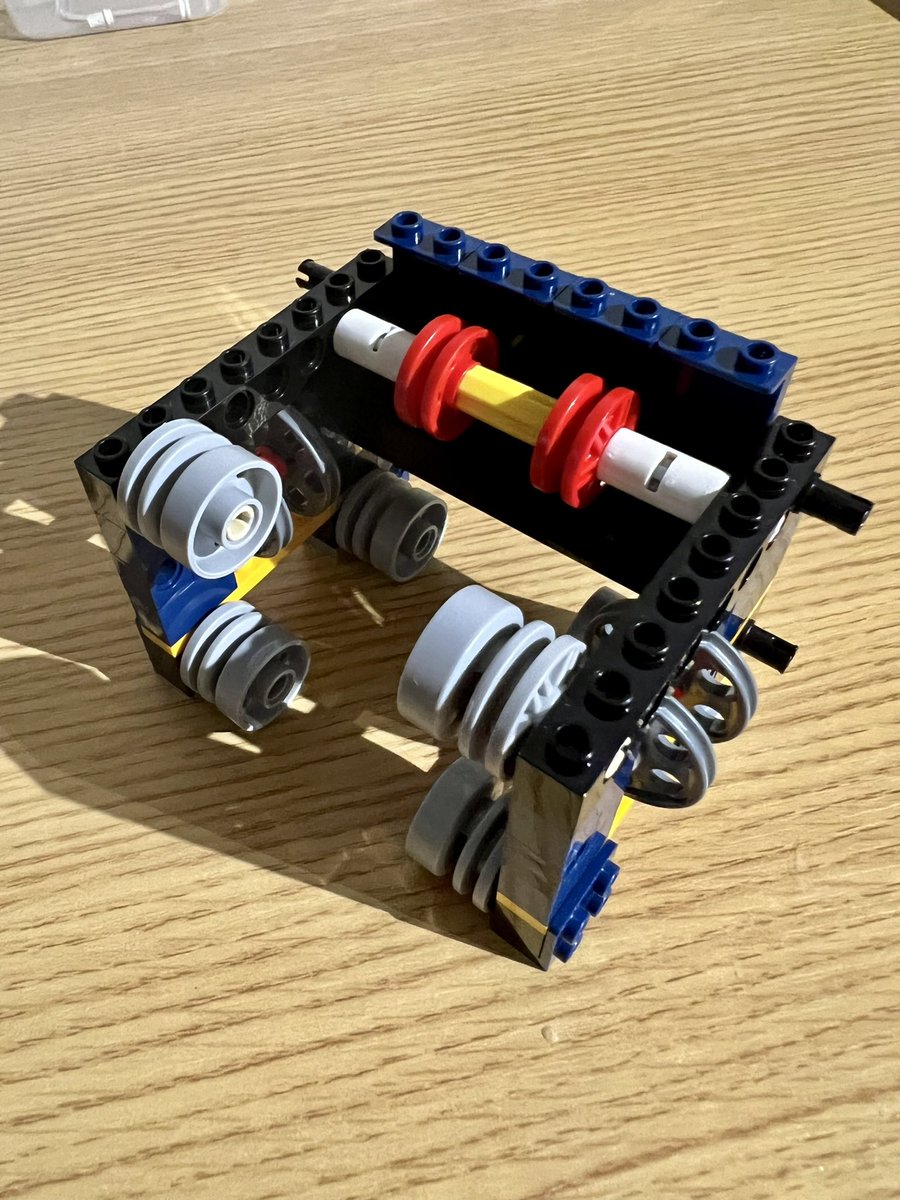
Phew, that’s all the wheels, time for some string.
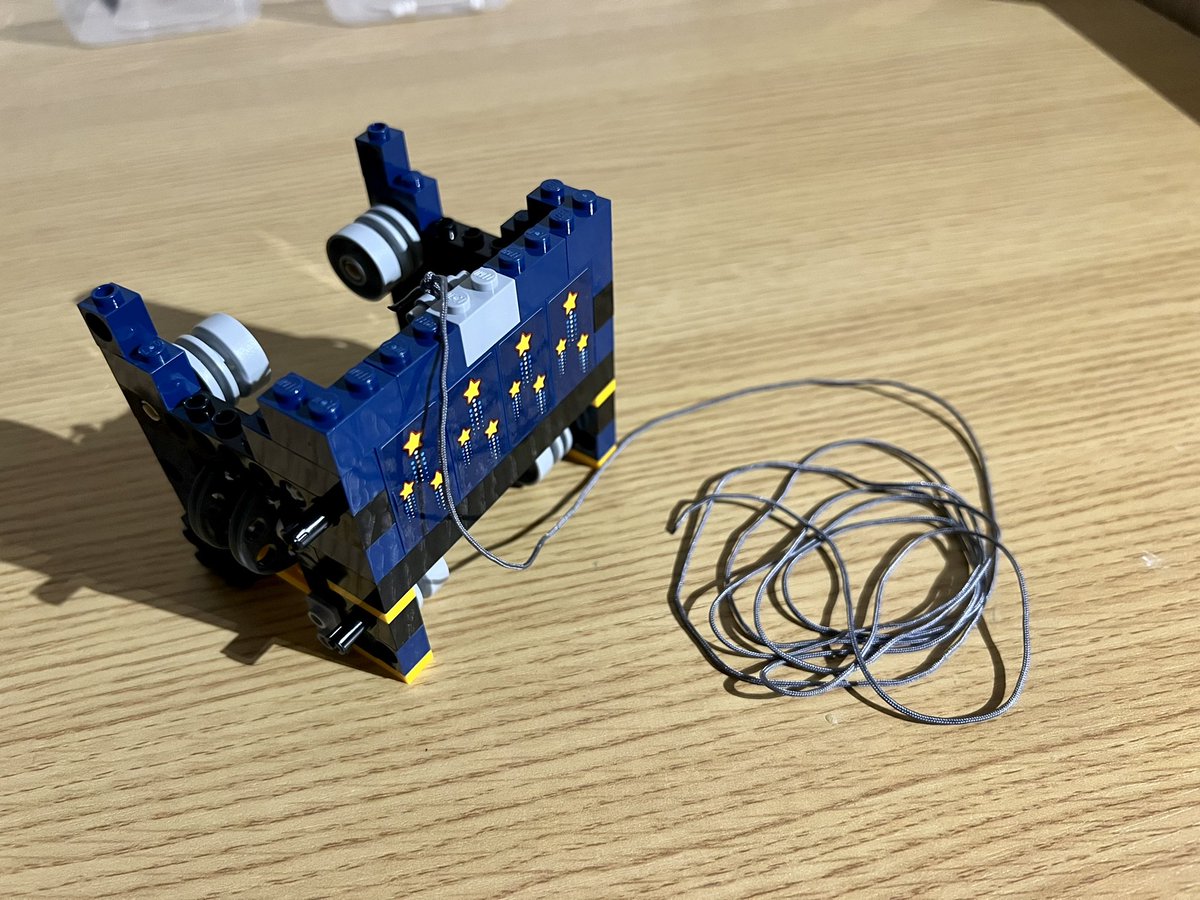
TRICKED YOU, MORE WHEELS!
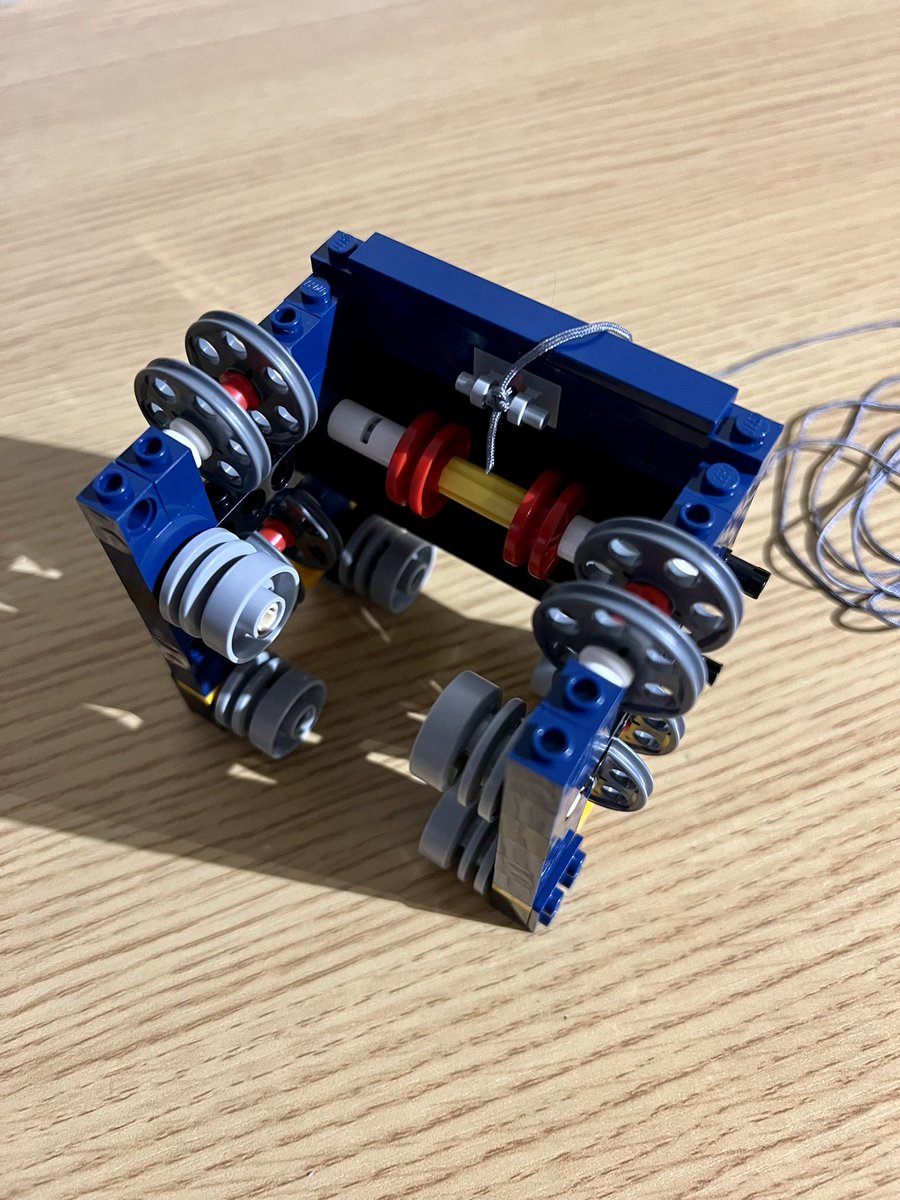
And finished off with some railings.
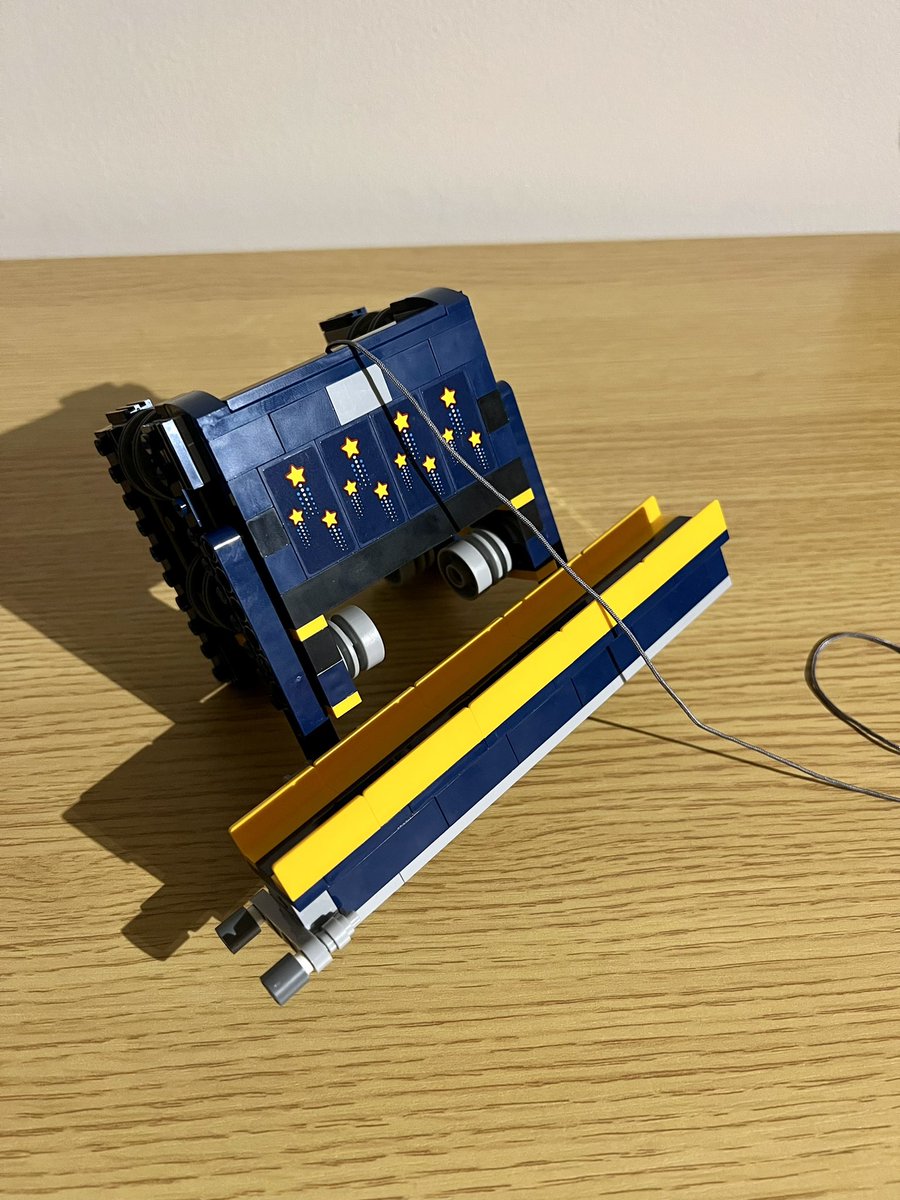
Bag 13 complete: a carriage to be lifted up using the chain from bag 12.
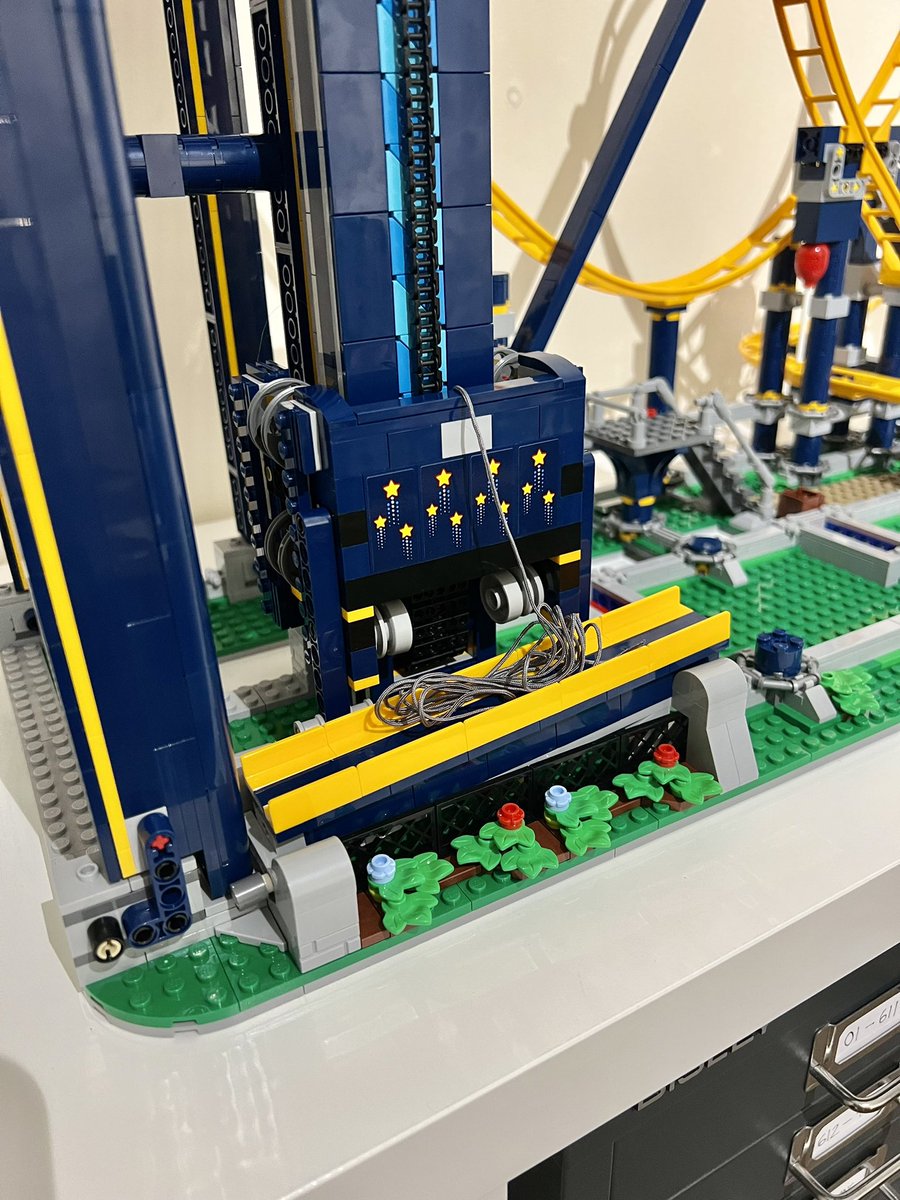
I don’t believe it, bag 14 has EVEN MORE WHEELS.
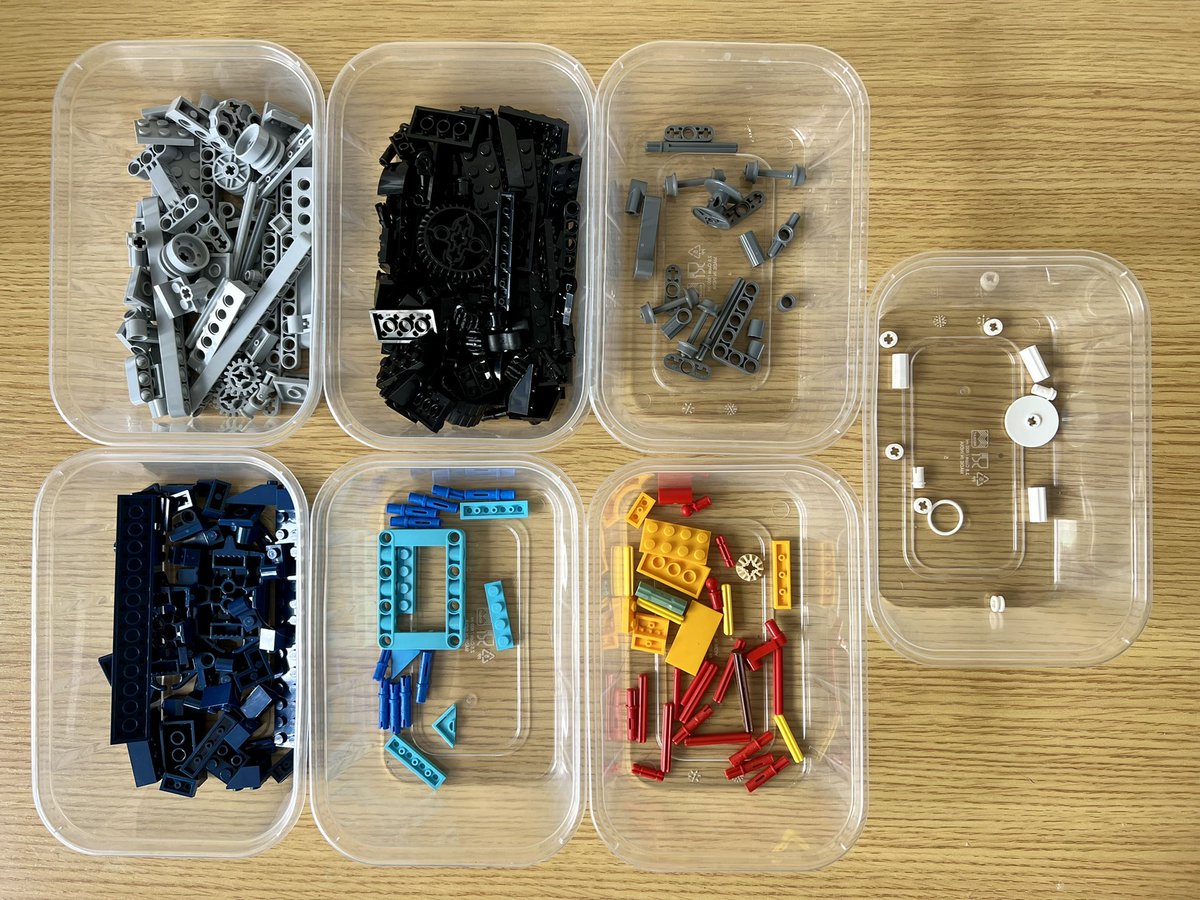
Ah yes of course it’s a… uh…
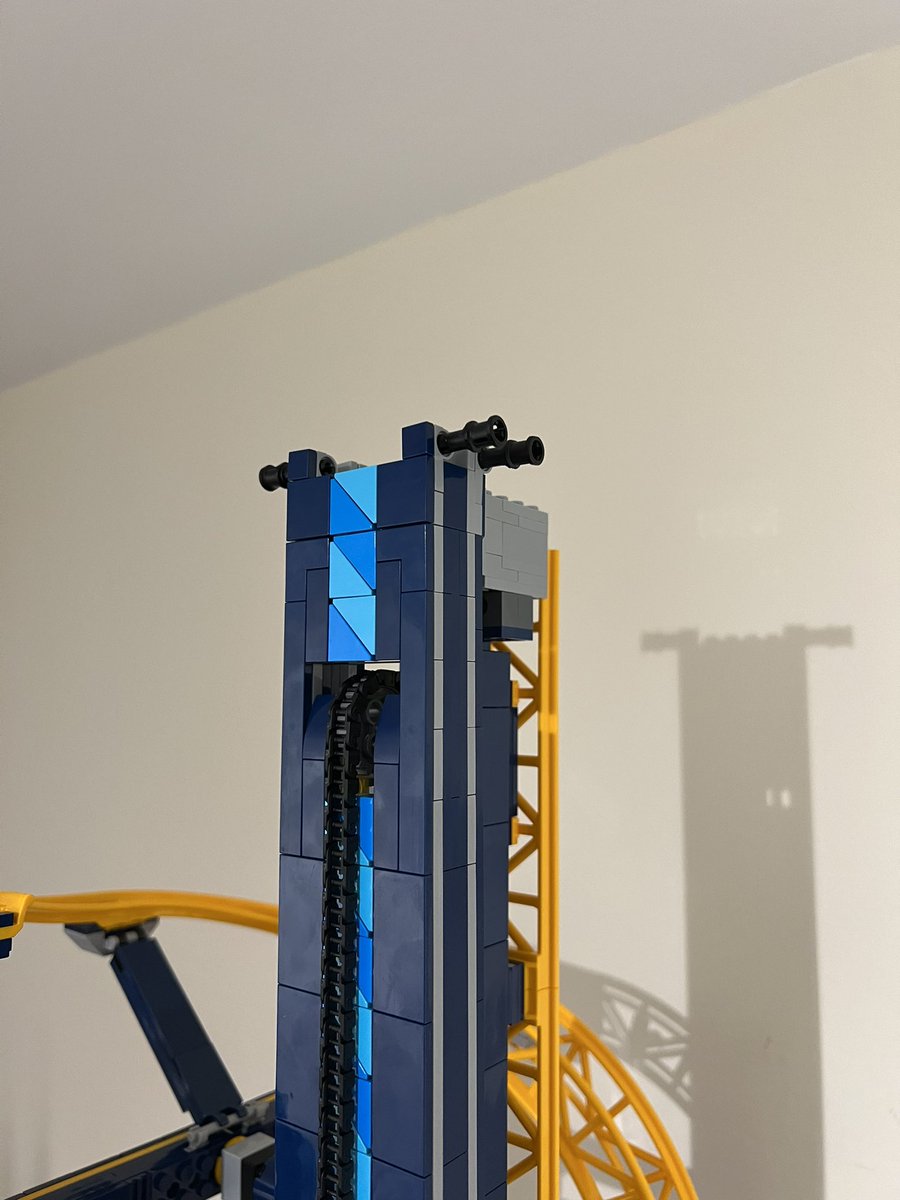
It goes at the top of the tower to stop the lift coming off.
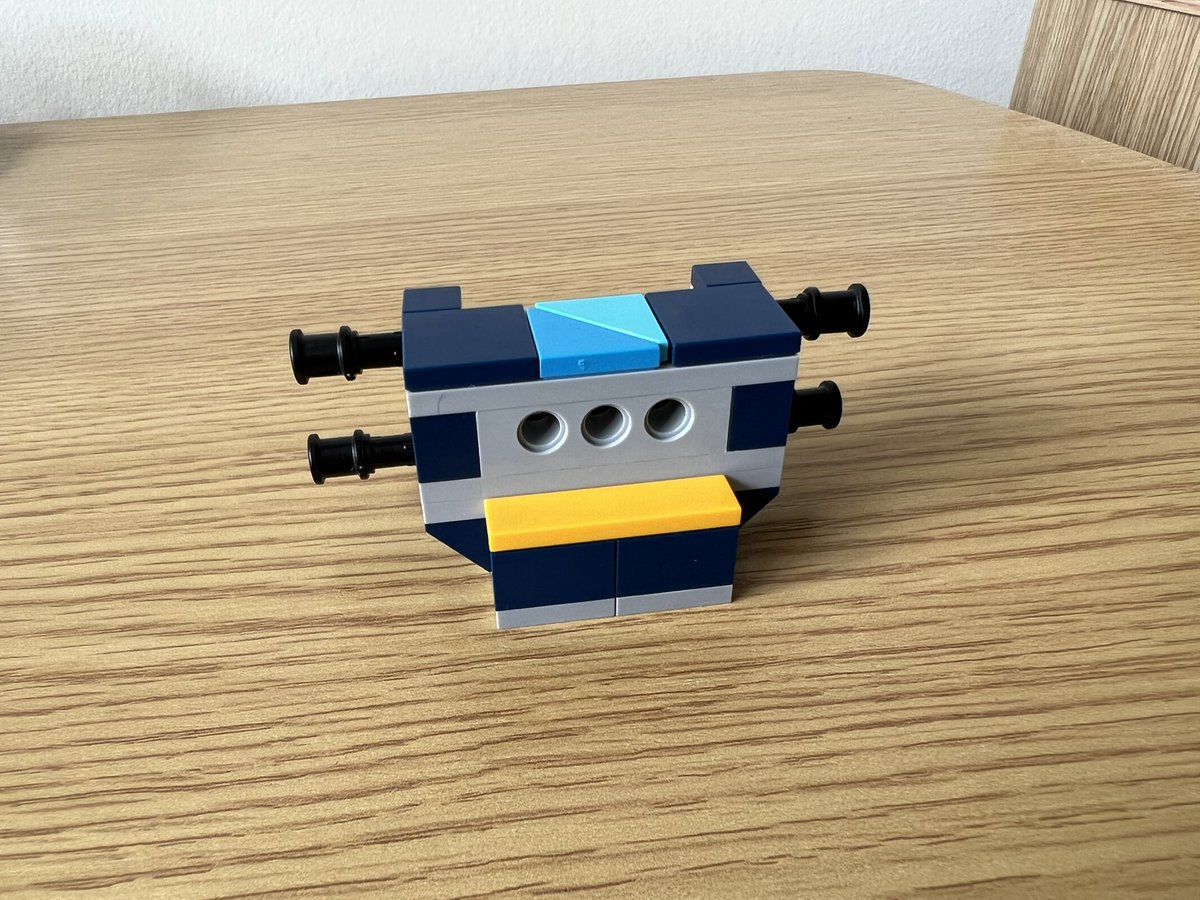
Minimalist tron bike?
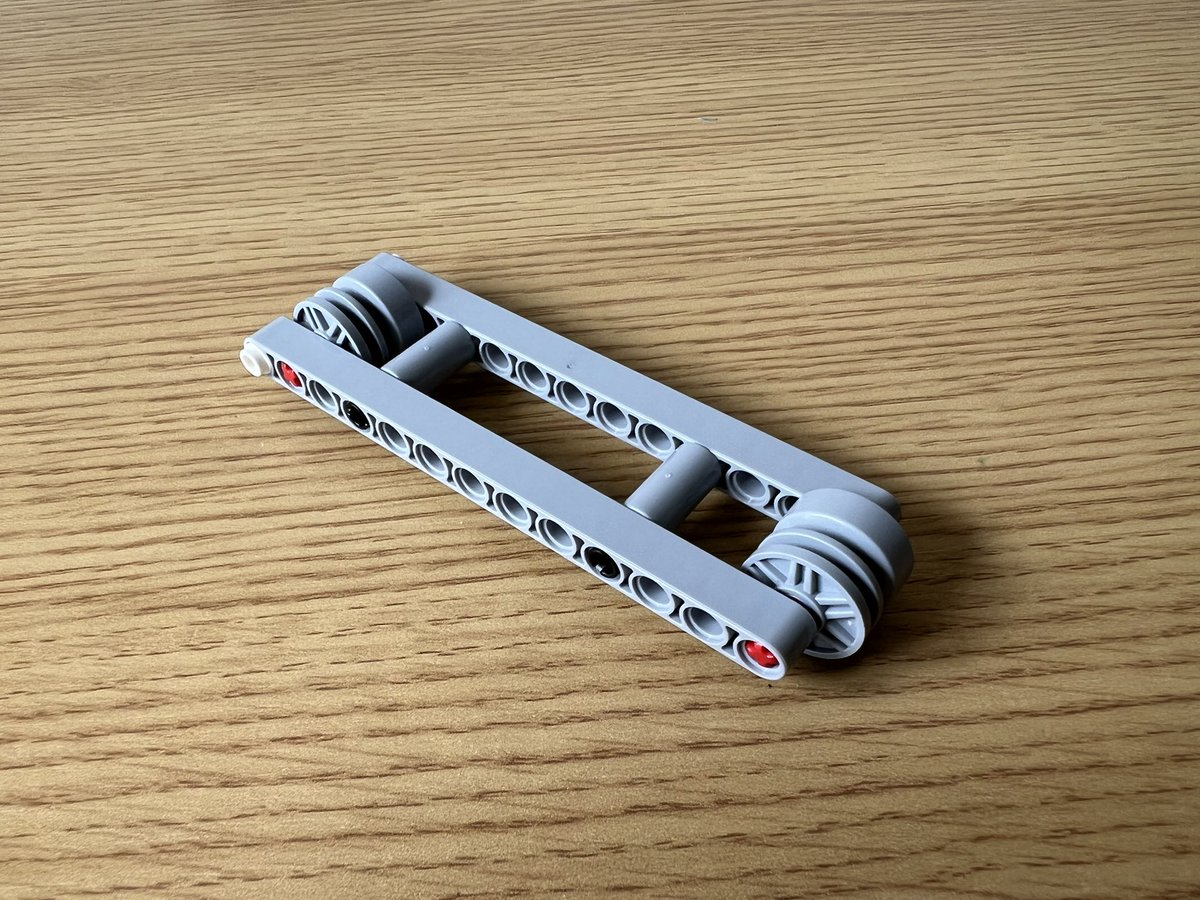
The counterweight for the lift is technically made of another roller coaster train.
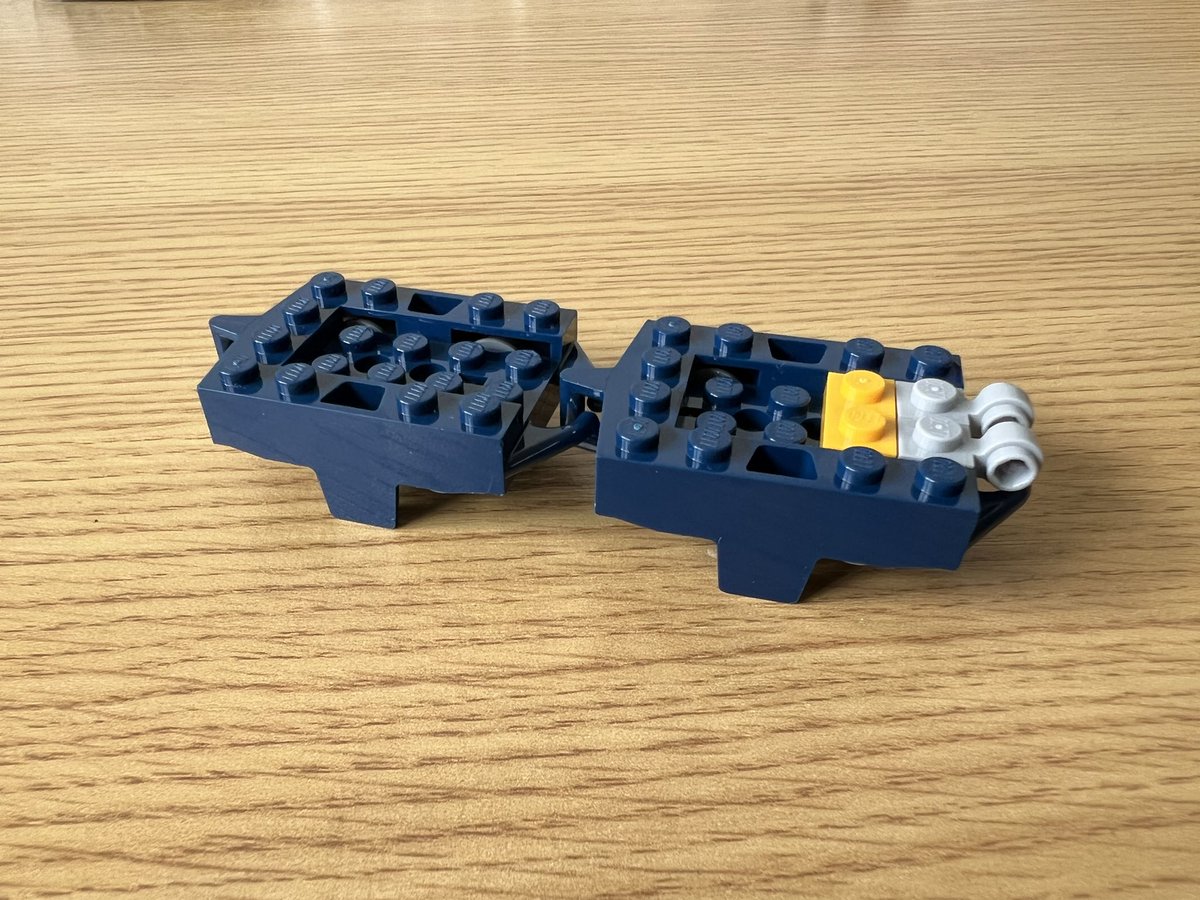
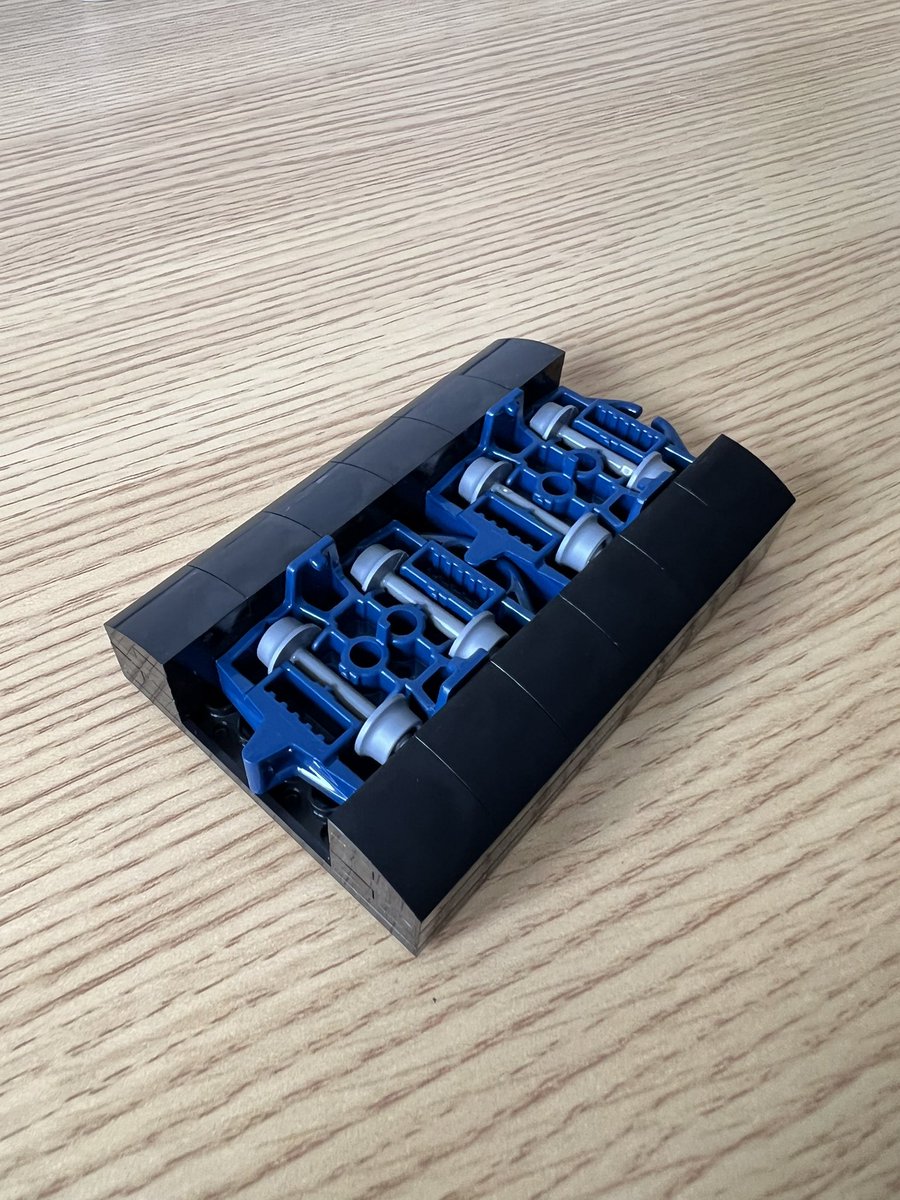
Cute little ratchet mechanism for the pulley.
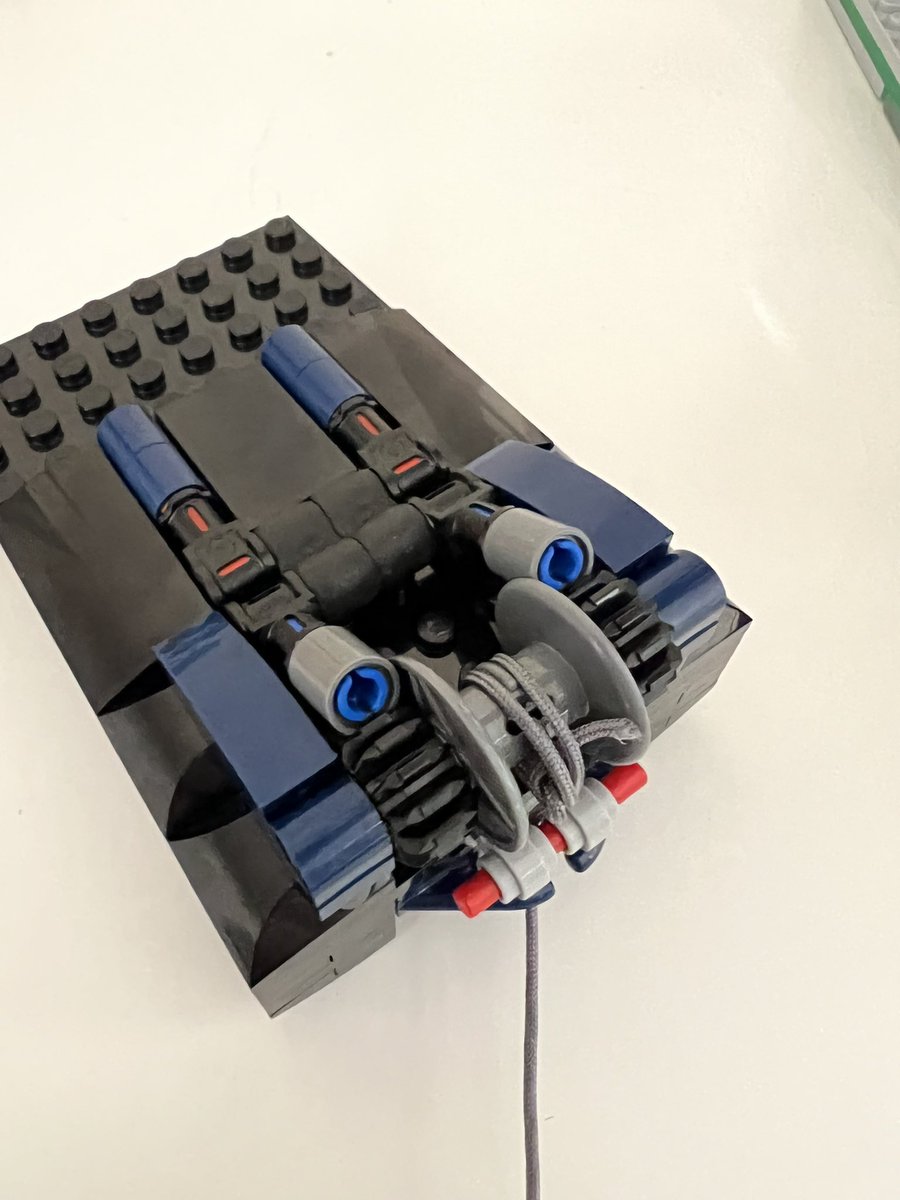
Counterweight installed on the back of the tower.
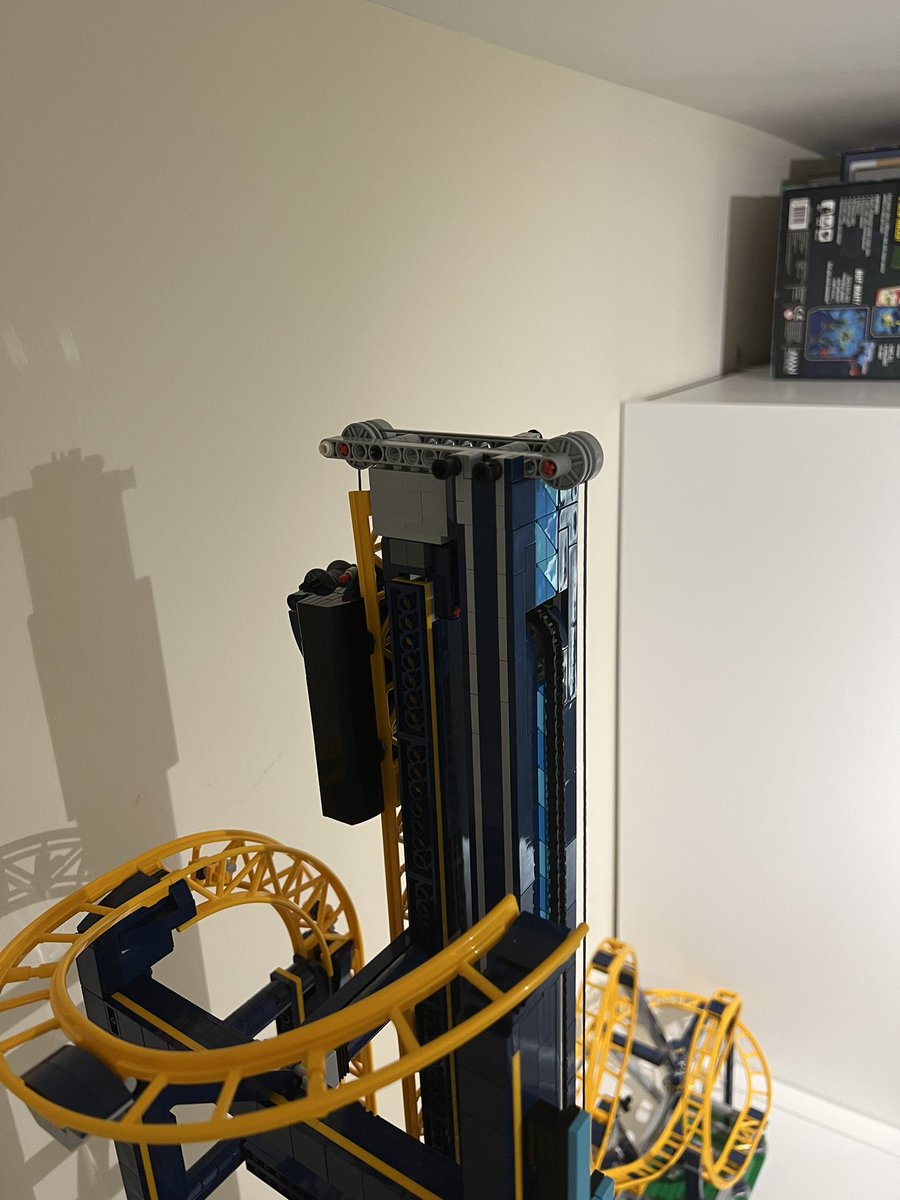
The mechanism is getting more complicated…
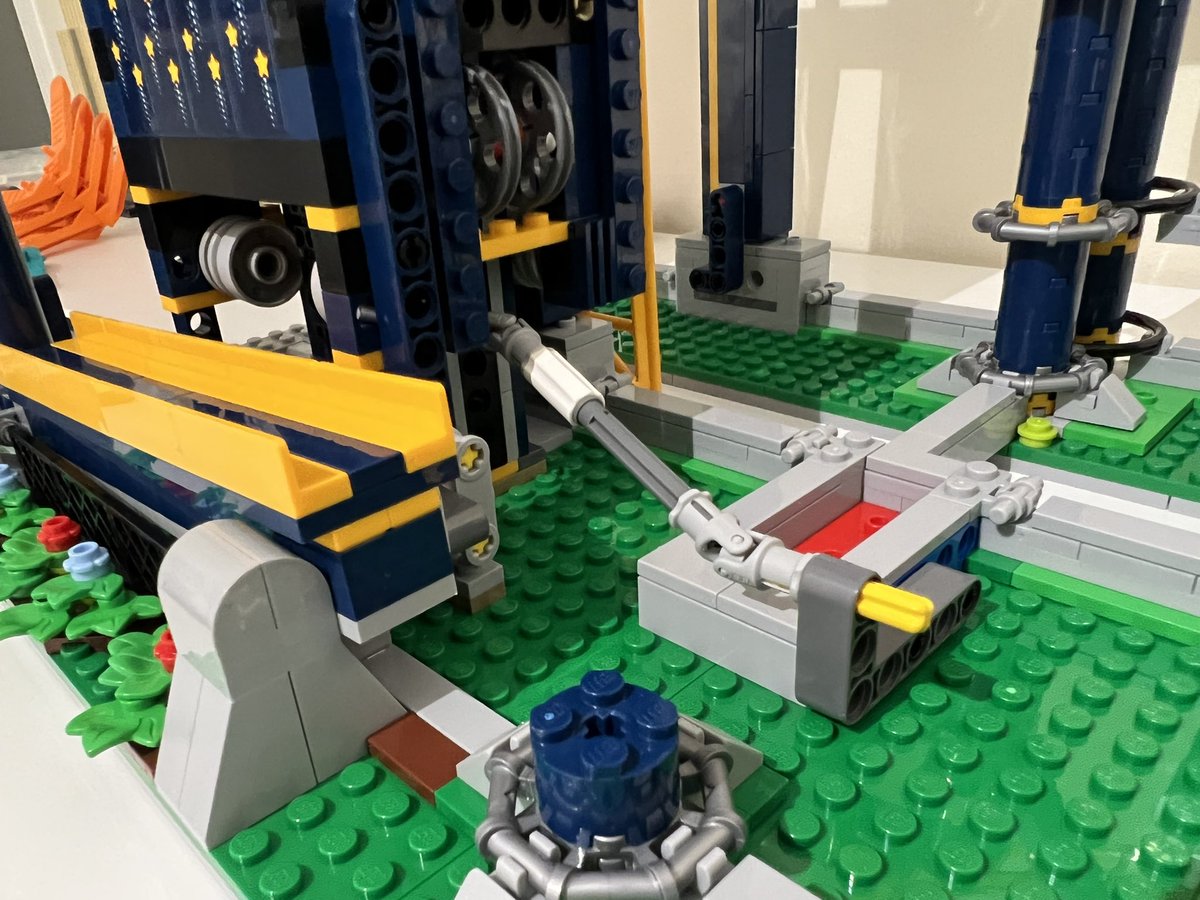
Now there’s a tyre linked to the chain lift.
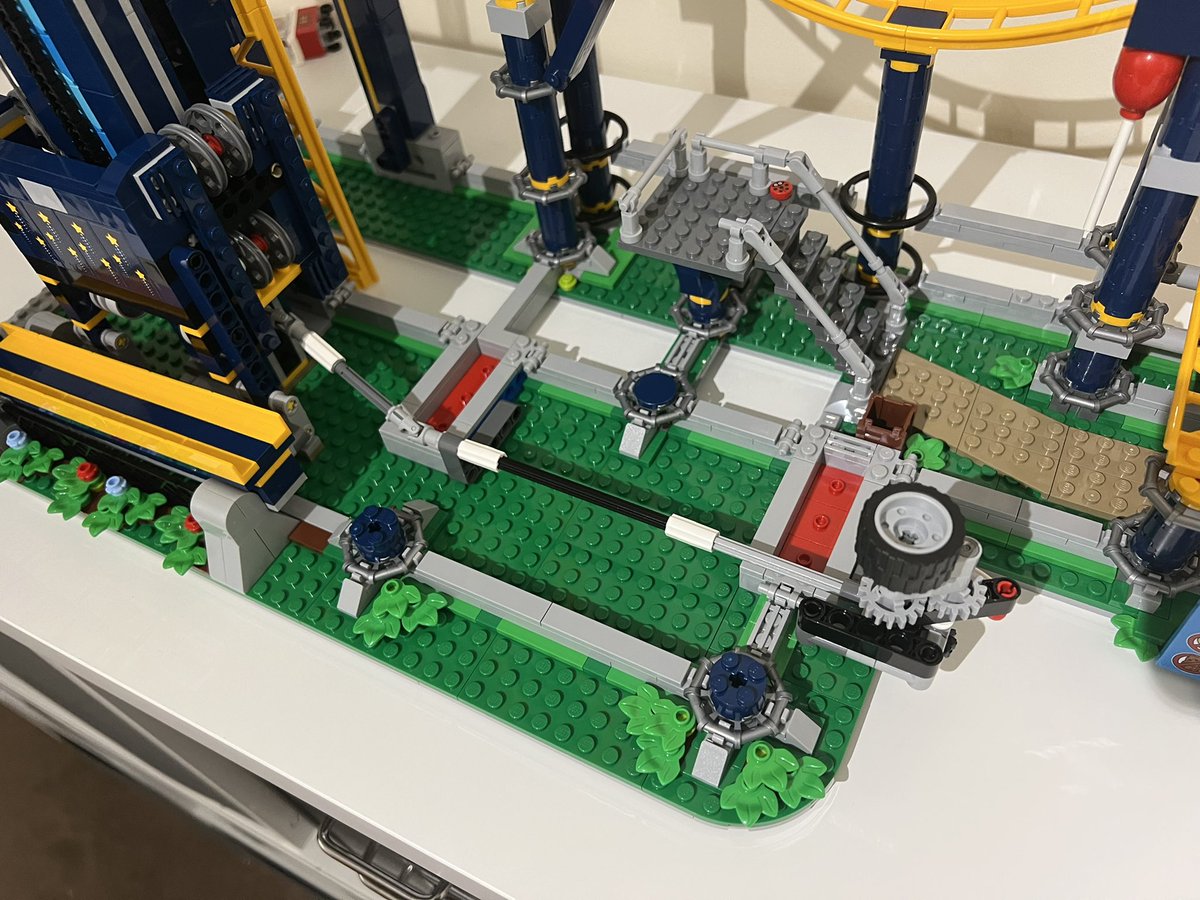
Only one tiny segment stopping the track being a full circuit now.
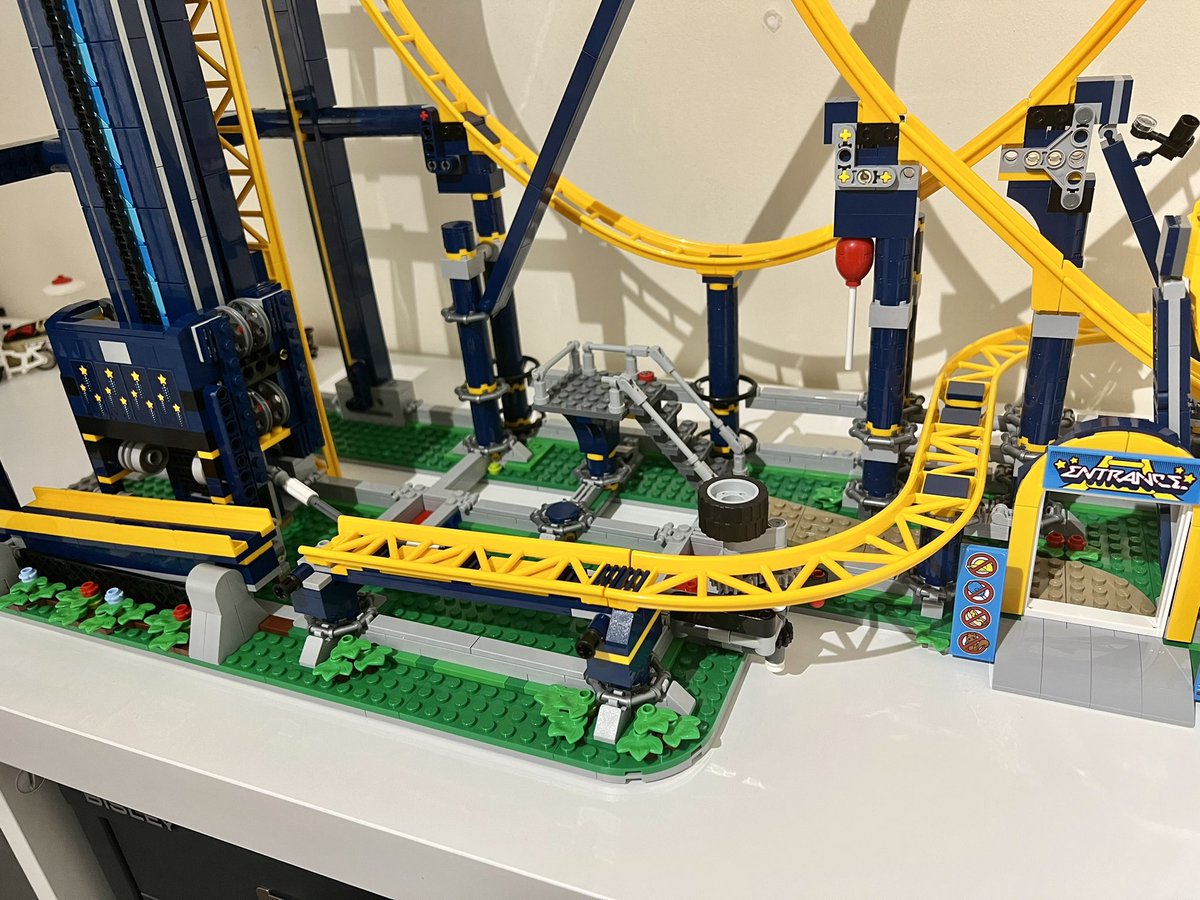
Feeling cranky.
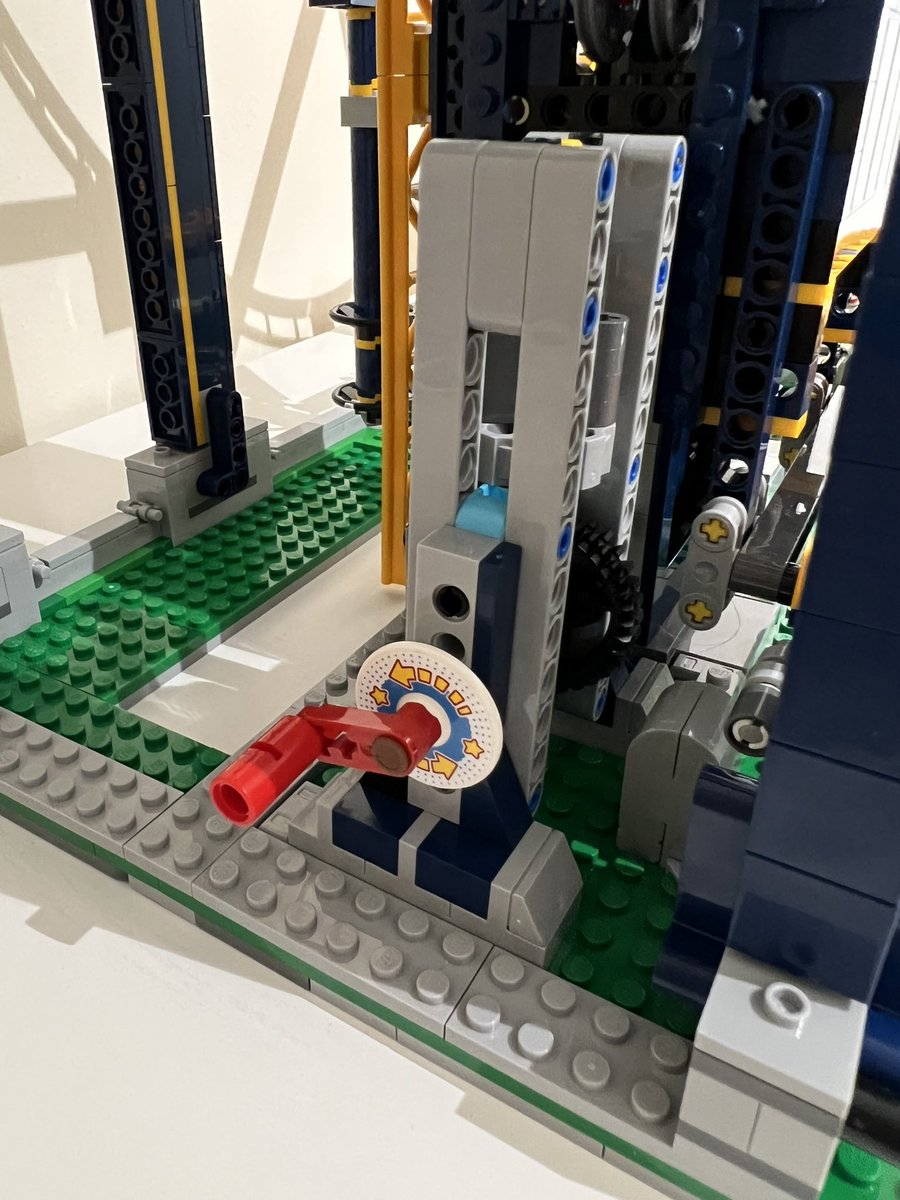
Bag 14 complete: I'm very close to being able to run this thing now.
Bag 15 is the final bag! I see the teeny tiny track piece we’ve been missing, and some surprise new minifigures.
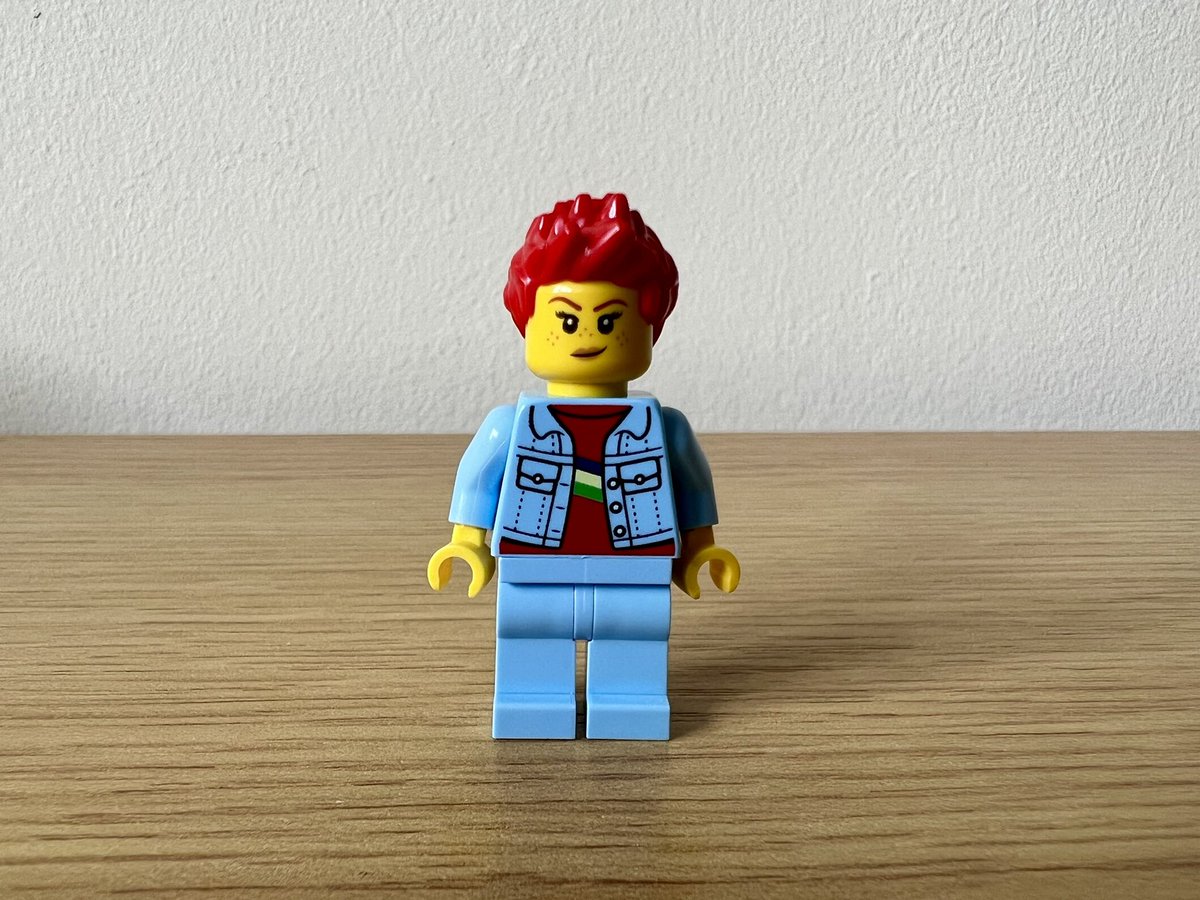
I’ve never seen this on a lego person before, I think she has a hearing aid!
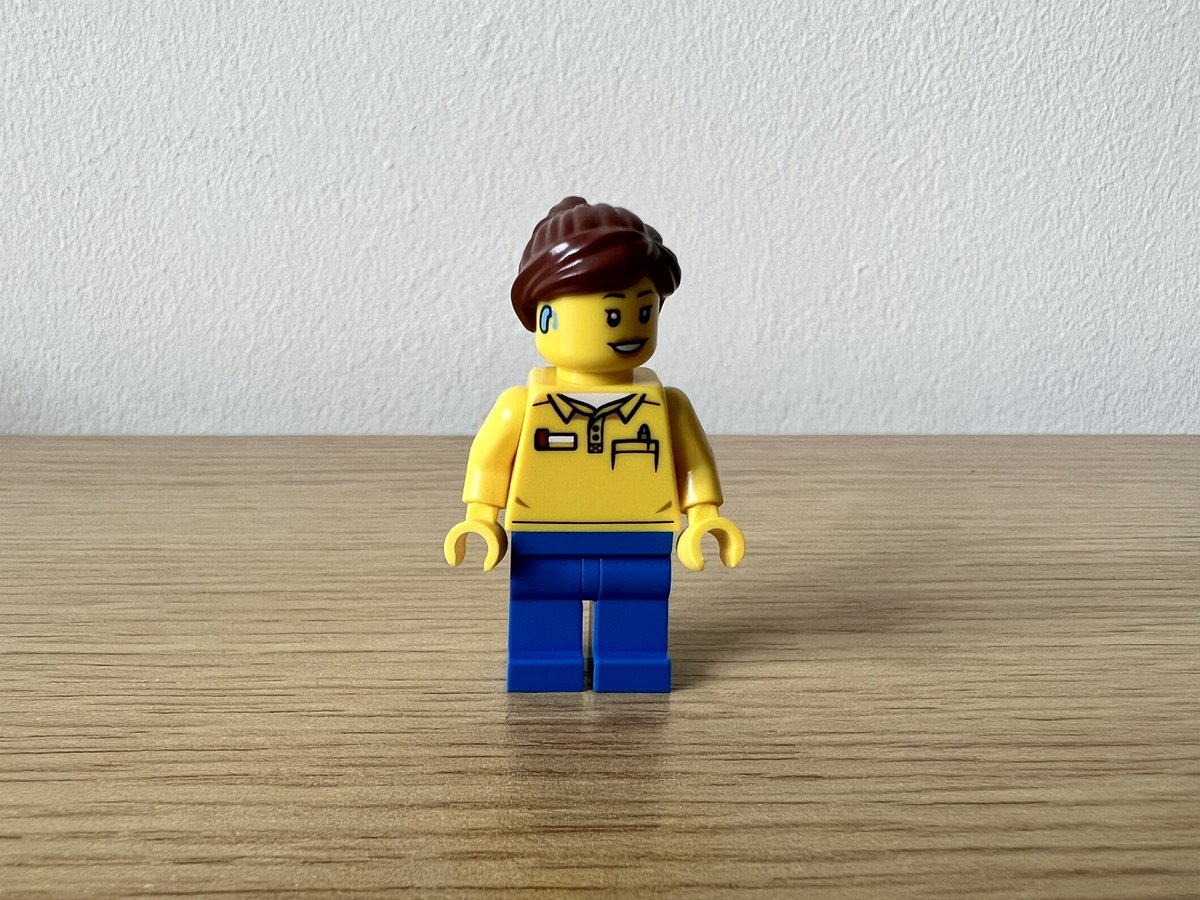
You’re telling me a queer coded this minifigure?
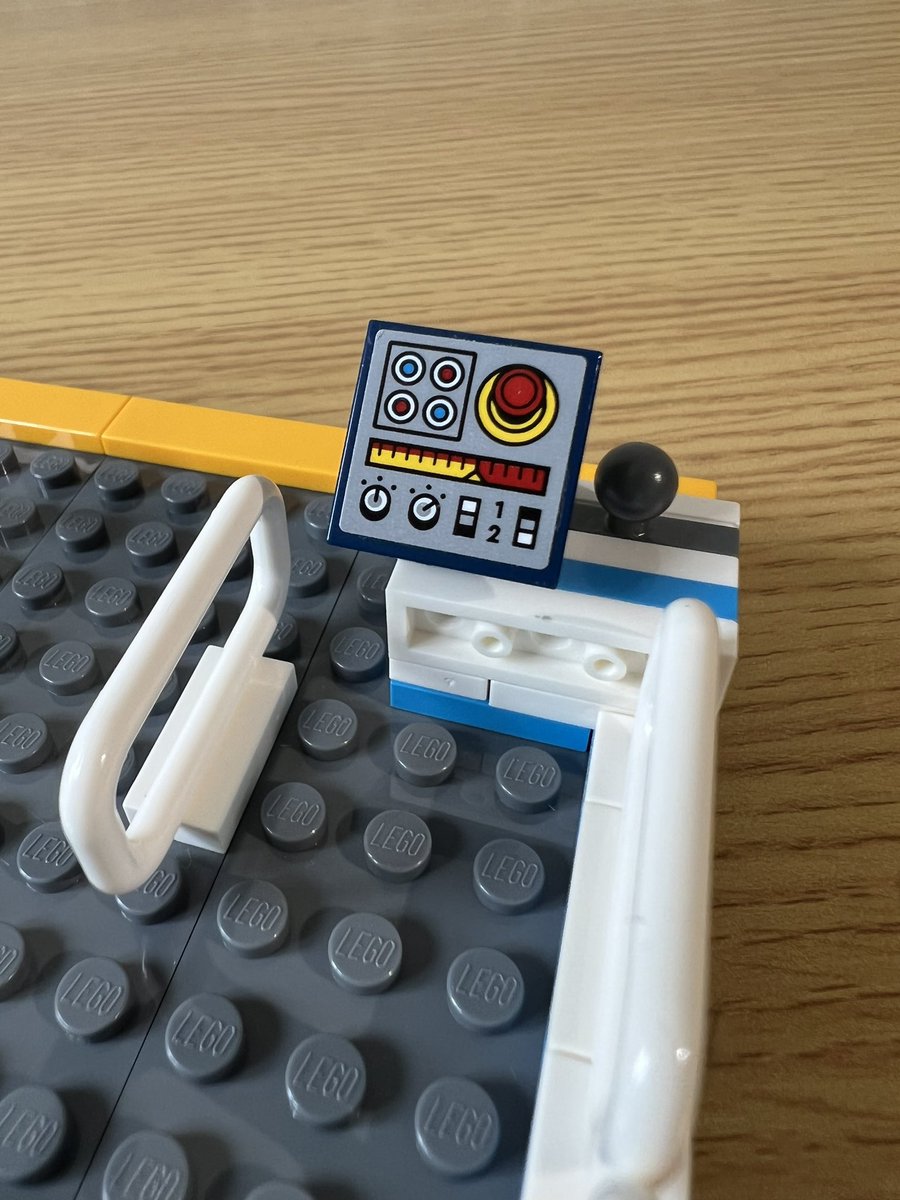
The control panel is quite realistic, especially the OH NO IT’S ALL GONE WRONG button
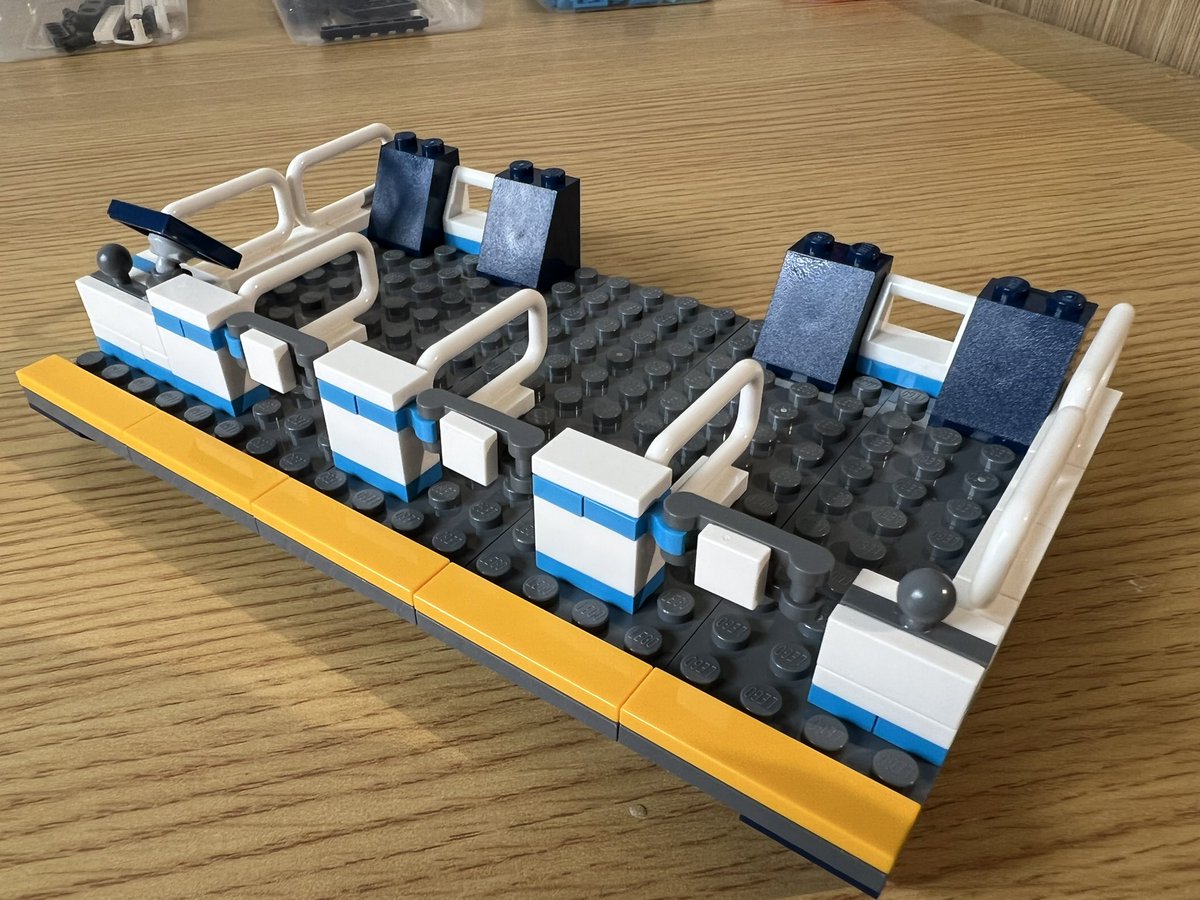
These little queue gates are cute.
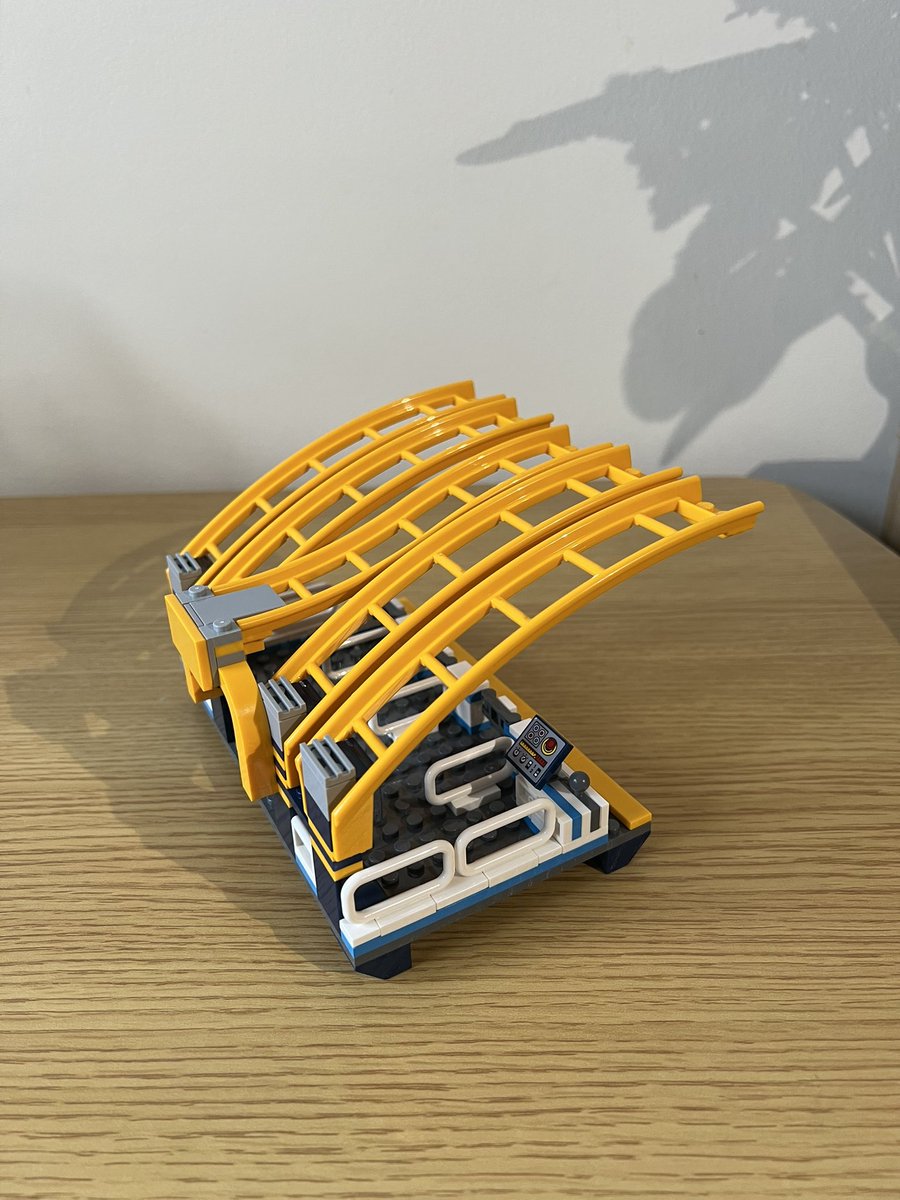
The roof of the station is made from track.
The naughty squirrel hasn’t been following the rules.
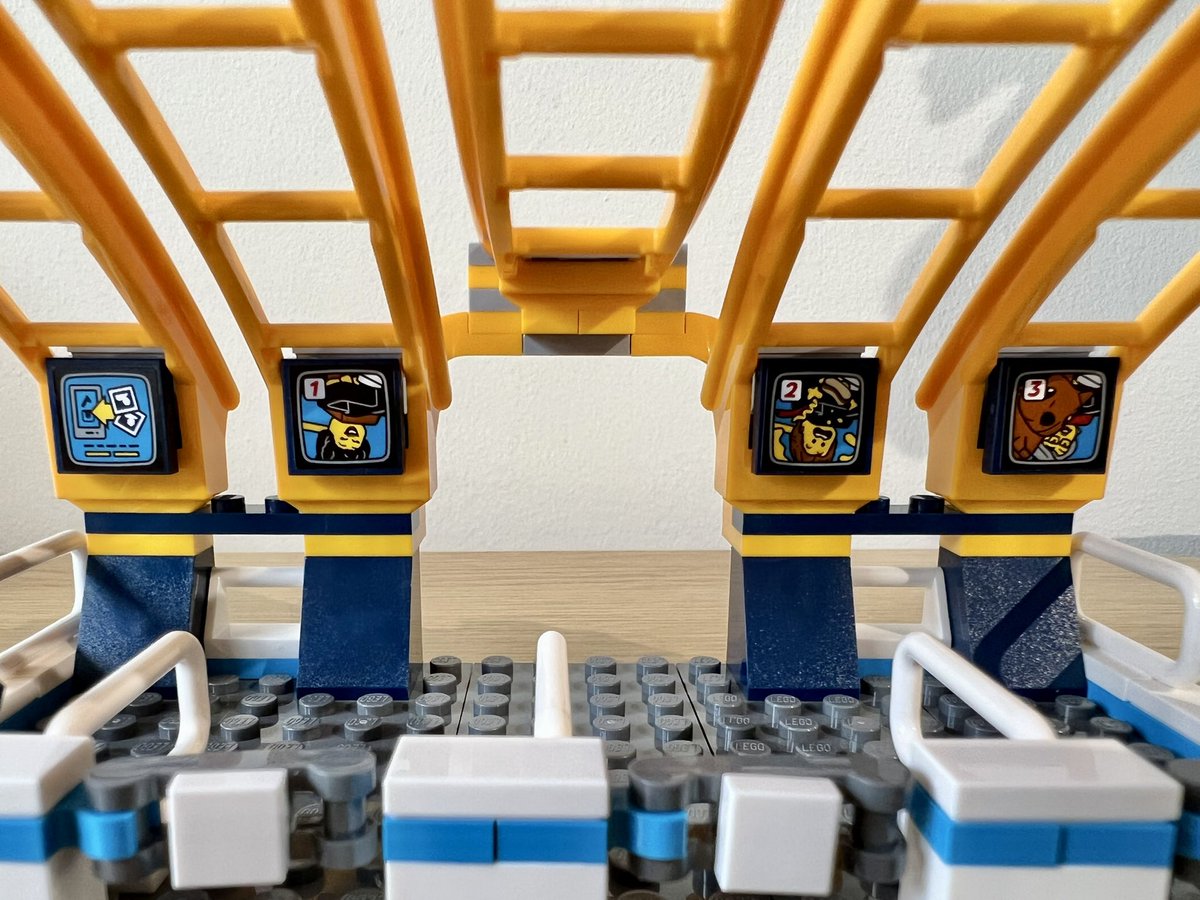
The station is in!
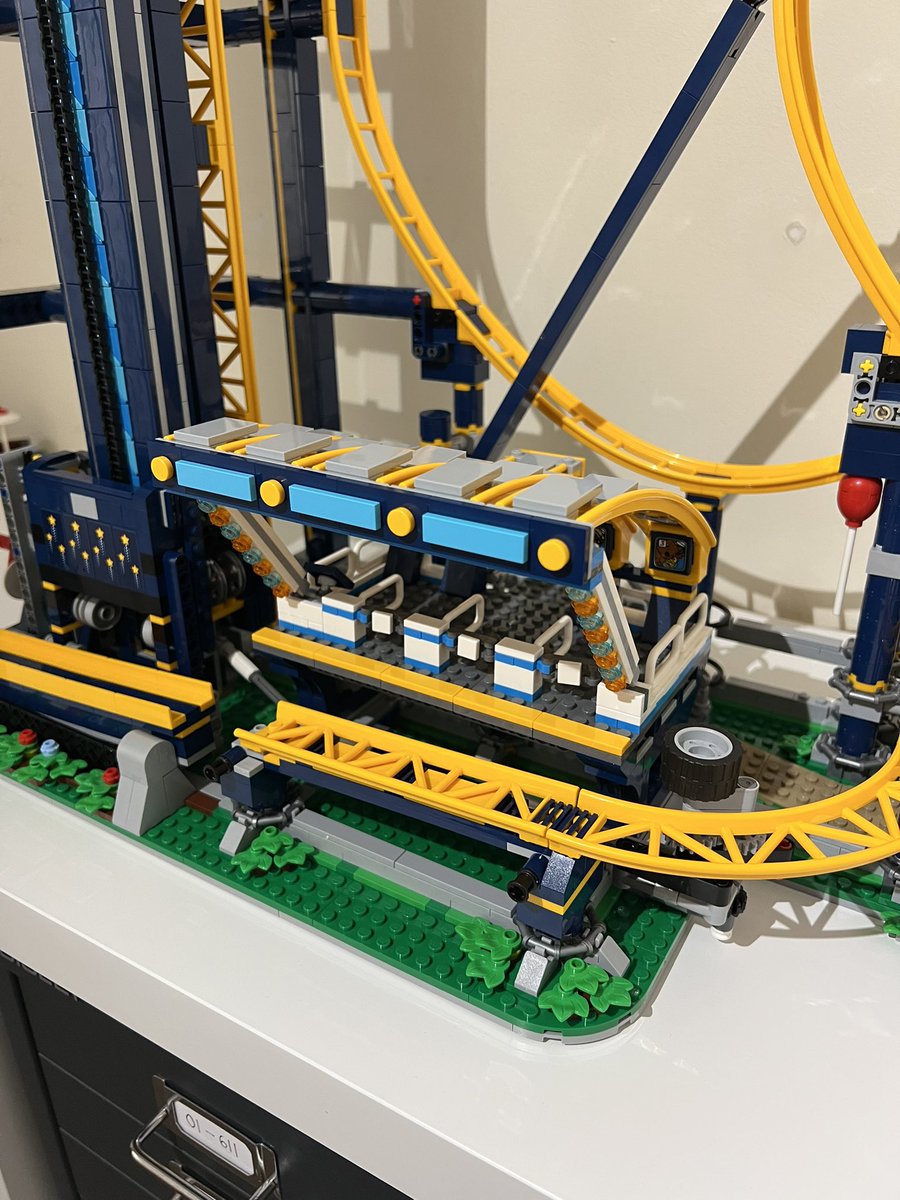
The track is complete! I was half expecting them to make me wait and put this piece in last.
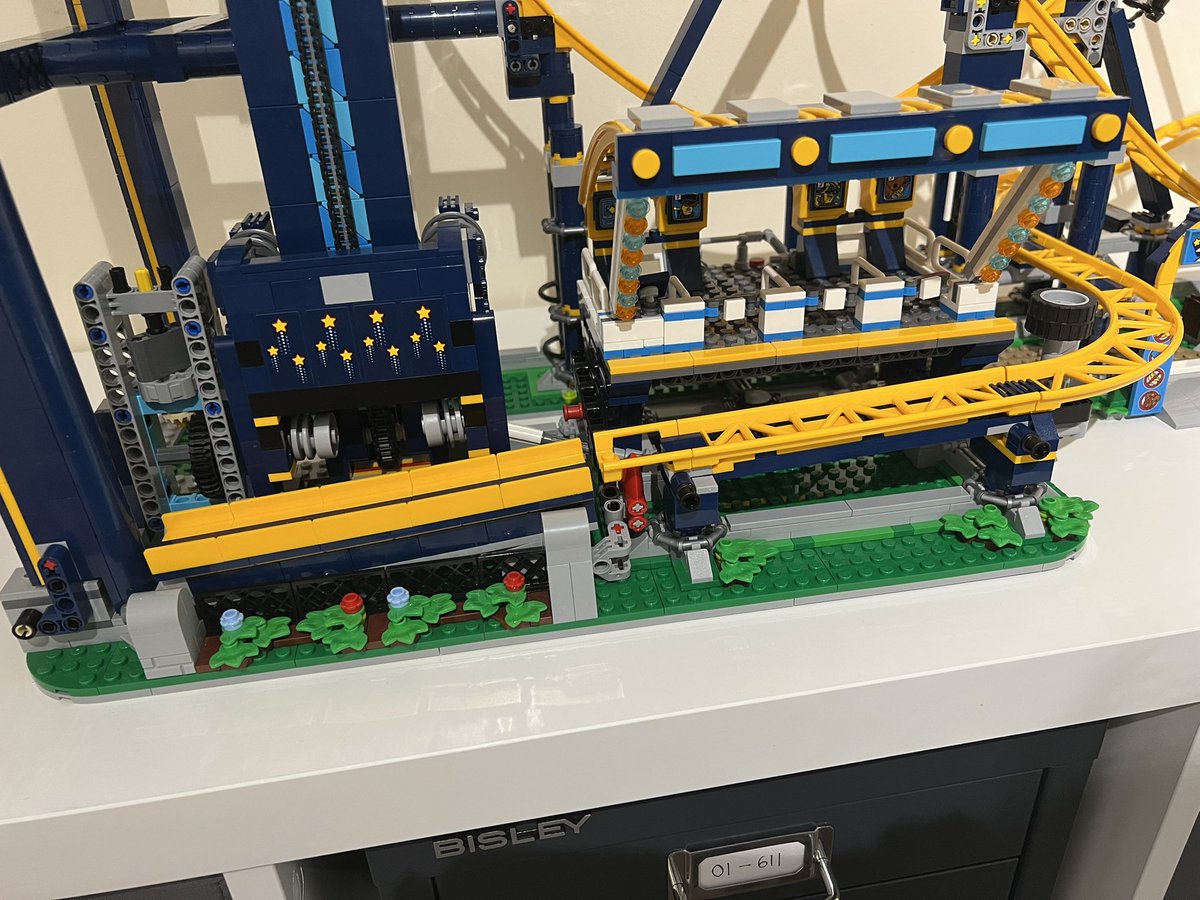
It feels a bit anticlimactic that the last piece you put in is the tree.
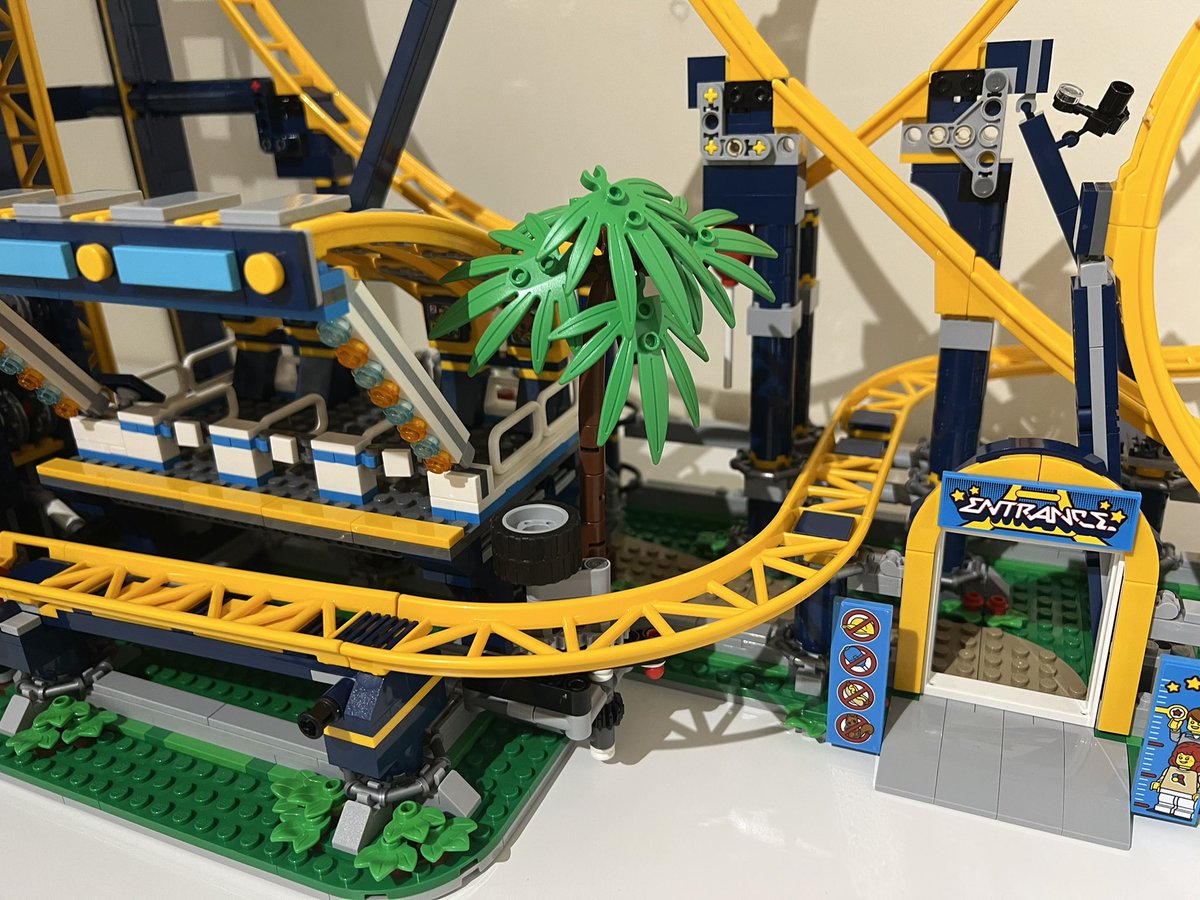
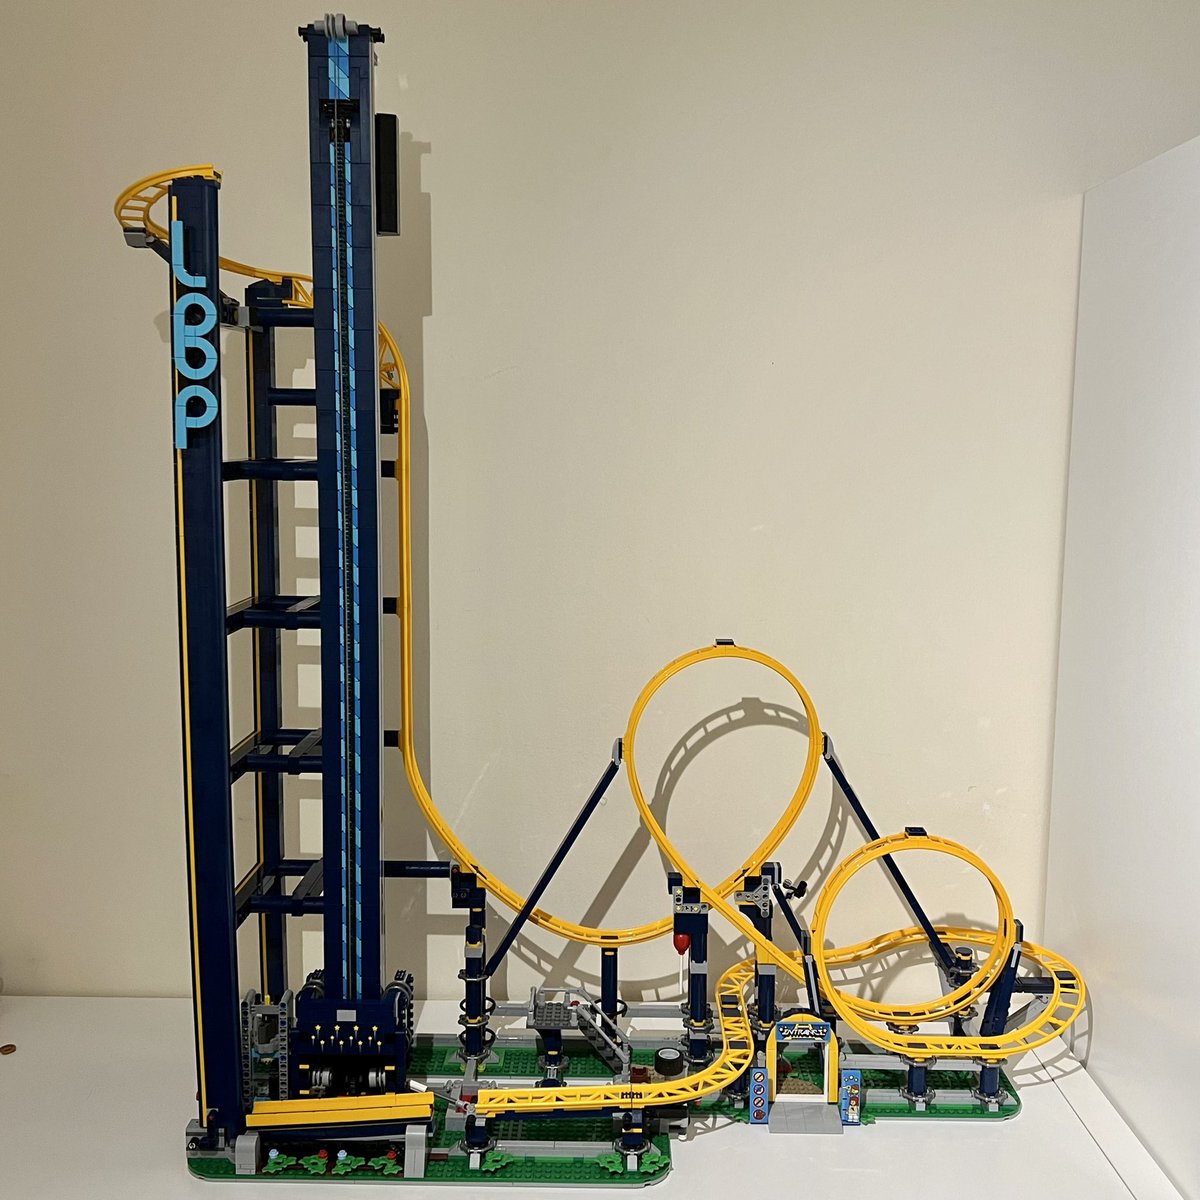
The moment we’ve all been waiting for: the completed roller coaster doing a full circuit!
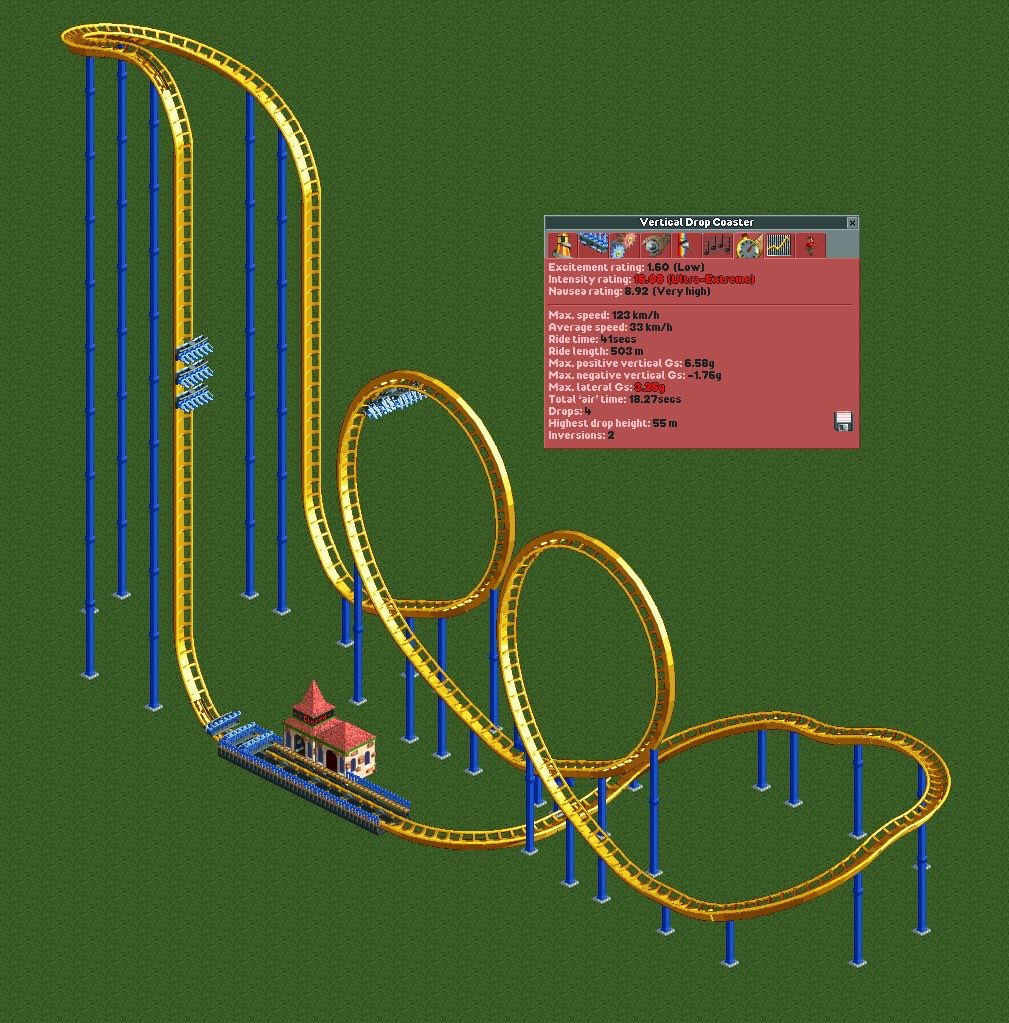
The question on everyone’s mind: is it actually a good ride? Roller coaster tycoon tells us that… no, you may sustain grievous injuries if you ride it.
This was the first time I've made a build diary like this but I think I'll be doing more in the future!